From Picky Eaters To Adventurous Eaters

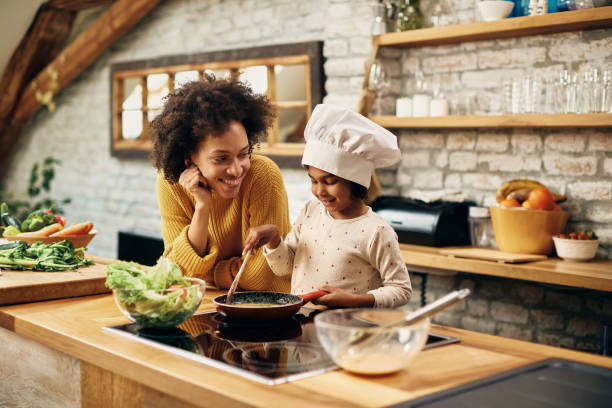
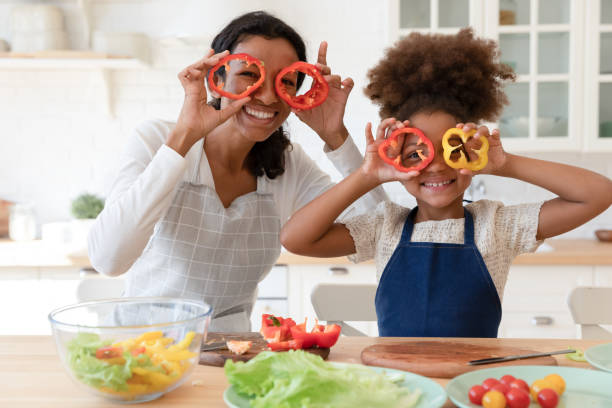
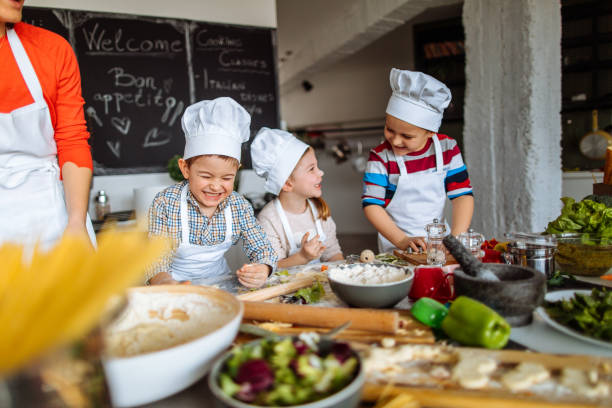
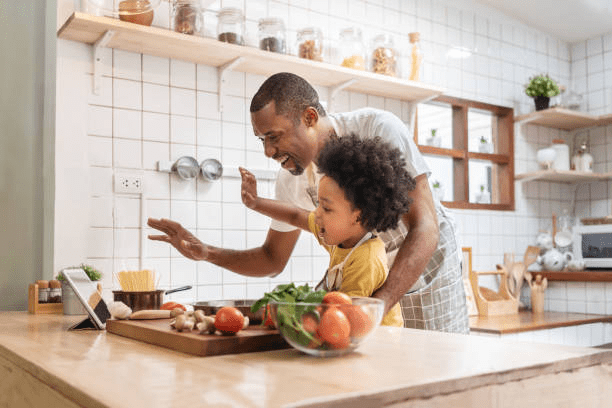
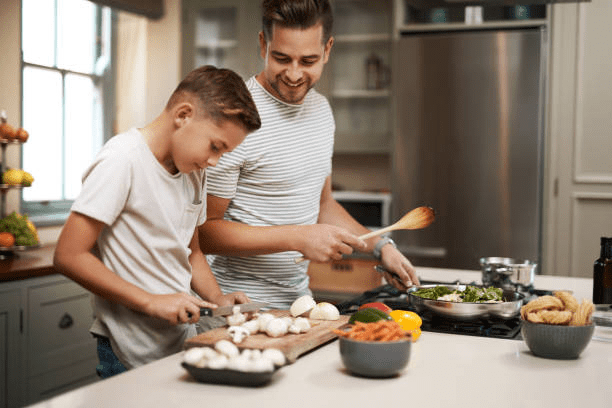
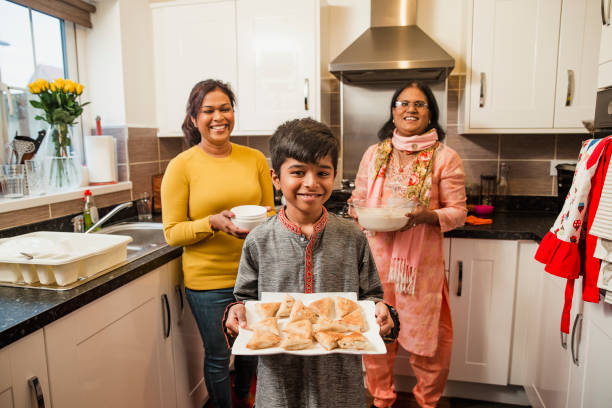
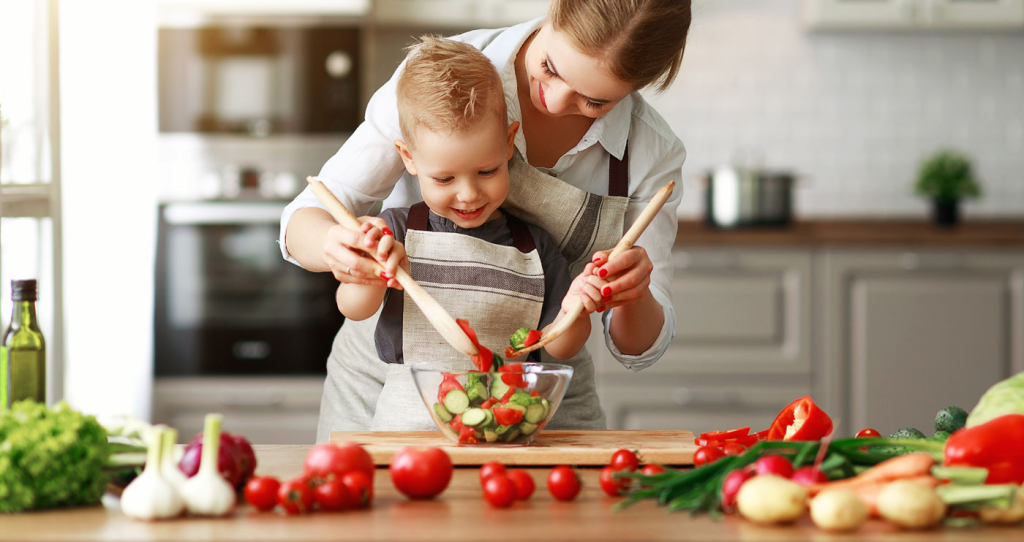
If you do not already cook with your kids or grandkids, now, with the holidays here, is a perfect time to start. Cooking with your children is a great way to bond with them. It helps them learn to appreciate all different kinds of foods, and particularly the traditional foods of their own history. It opens up their minds and their taste buds to new culinary adventures that will last a lifetime. 

I am giving you yet another fun article about cooking with kids. It is from another blogging friend of mine, Sandy Axelrod, from the Traveling Locavores.

5 Ways To Help Your Kids Appreciate New Dishes

By Sandy Axelrod on Dec 14, 2023 12:55 am

All foodies are excited about encouraging a love of food in their kids. They can’t wait to go out to their favorite restaurants or create their favorite dishes and see their kids’ faces light up and ask for seconds and even thirds. However, some kids can be a little picky. They might not want to try some new dish when they could have chicken nuggets. There’s nothing wrong with nuggets, but you can still find ways to help them appreciate new dishes. Here are 5 ways to help your kids appreciate new dishes.
5 Ways To Help Your Kids Appreciate New Dishes: 

1. Teach Them About The Culture 

It doesn’t matter what your favorite food is, there is a rich, flavorful history behind these dishes. Teaching your kids about these cultures and highlighting their history can help them understand why food is so important. Whether you want to show them the history of tacos or explain how a Bandeja Paisa was the perfect way for farmers in Medellin to stay fueled throughout the day, you can enjoy a significant and valuable learning experience with your kids, and they will be more willing to try new things.

2. Make Food With Them 

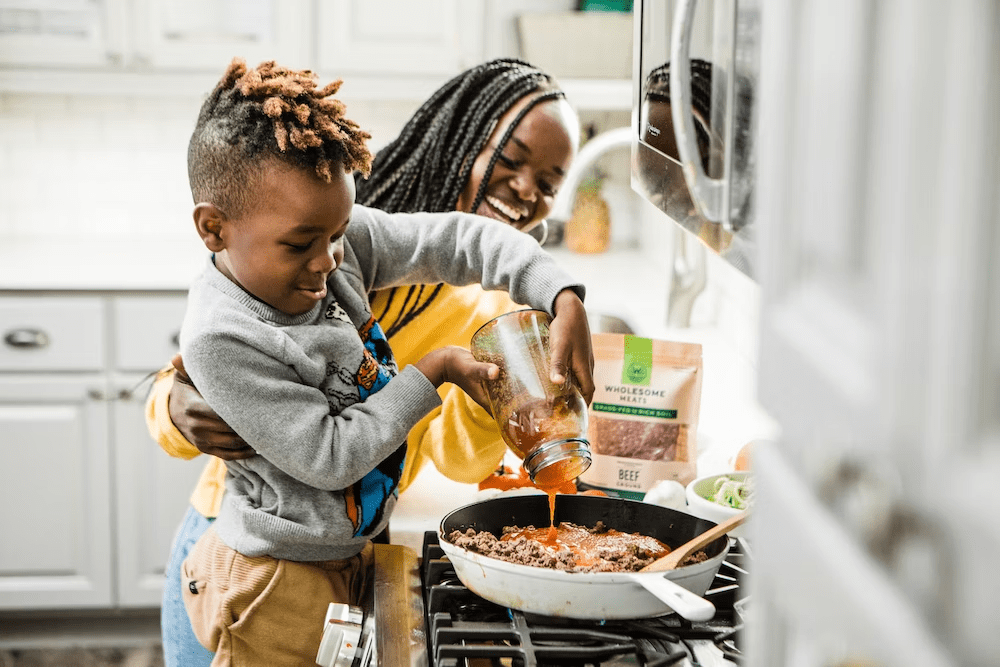
There is no better substitute for learning while doing. Not only does cooking with your kids inspire vital life skills, but it also shows them how these new dishes aren’t much different from what they’re used to. They might not like the sound of a chicken schnitzel, but making it with them will show them that it’s just a huge chicken nugget. You can also use this time to encourage them to try more vegetables and other foods they might not be as keen on. 

3. Visit New Countries 

If you love to travel, you can give your kids a front-row seat to some of the finest cuisines in the world. It doesn’t matter where you go, there’s always a delicious local dish waiting for your kids to try and fall in love with. Not only that, but visiting new countries also encourages learning new things, which should inspire your kids to be more curious. They will make positive memories during these travels and be more open to trying new things in the future. 

4. Let Them Sample It 

Your kids might be too young to try certain foods, but this doesn’t mean you can’t let them have a little taste now and then. Your favorite spicy curry packs too much heat for them to eat in full, but you could let them take a bite to see how they react. The burst of flavors and textures could intrigue them, even if they aren’t ready for a main course yet. 

5. Create Their Favorites With New Flavors

You shouldn’t force new foods on your kids, but you can adapt their favorites by including new flavors that show them there’s nothing to be scared of. If they love chicken pizza, why not make a butter chicken curry pizza one night? It’s not too spicy, and it contains all the fundamentals of their favorite food. 

Delicious

Your kids are likely to come around to new dishes eventually, but you may as well give them the chance to do this as soon as possible. From tasting to making to learning, these tips can all encourage your kids to love the same foods as you and maybe even branch out further.
The post 5 Ways To Help Your Kids Appreciate New Dishes appeared first on The Traveling Locavores.

Cooking is supposed to be fun and creative. It’s never to early to start teaching your kids how to cook and be adventurous in the kitchen. As I always say, play with your food, and teach your kids it’s OK to play with their food too. This will be the best gift you can give to them, and it is a gift that will keep on giving for a lifetime to come.

Have a great day and make everyday great. Stay safe and stay well. Merry Christmas, Happy Chanukkah and Happy Holidays. ’Til next time.

!Carnitas Delicioso!

Carnitas are a traditional Mexican dish enjoyed all throughout Mexico and beyond. There are some disagreements about where the dish actually originated in Mexico, but there is no dispute about them being Mexican or being delicious. However, most accounts point to Michoacá as the birth place of carnitas, by Hernán Cortés, who was a soldier serving Diego Velázquez in 1511. Cortes was sent to explore the Yucatan Peninsula of Mexico. The Spanish brought pigs to Mexico, since pork is a staple in Spanish foods, and the Mexicans were marvelled observers of that strange and chubby animal, that seemed to be in a coma, always asleep (cochi in Nahuatl.) That is how the Spanish pig received its new Mexican name cochino – the one that sleeps.

Unlike tacos or beans, carnitas wasn’t part of the diet of ancient Mexicans. The reason is that pork was brought to Mexico by the Spanish colonialists only in the 16th century. However, it didn’t take long for this new type of meat to earn its place on the tables of Mexicans of all backgrounds. In short, more than a food, carnitas was a form of community bonding until not so long ago. Mexicans love their carnitas so much, that it has become an important part of other dishes, particularly tortas ahogadas, or drowned tortas, a typical delicacy in the state of Jalisco. 

Mexican food, like its people, is a blend of native and European influences.  This is different from the United States, where native American culture has always remained quite distinct from mainstream American culture. In Mexico, the two have blended together to create something new.  This blended culture is called “mestizo,” and it can be seen in the food of Mexico as well as in its people.  

A Carnitas taco, topped with guacamole and pico de gallo, is an edible example of mestizo culture at work.  Corn tortillas, avocado, tomatoes, lime and chiles are ancient native foods, while pork (and the cilantro in the toppings) arrived with the Spaniards. Put it all together, and it’s authentically Mexican – a delicious blend of both worlds. Carnitas are made from pork that has been slow cooked with oranges and/or limes or apples to give them flavor and to tenderize the meat. The word “carnitas” means little meats. 

As you have all probably figured long ago, I LOVE good Mexican and Spanish food. Always have, and I love to cook both as well. When had our recent Christmas party, carnitas were on the menu, with all of the traditional fixin’s served with them. Pickled Onions. 

I made my carnitas with some smoked pork that Larry smoked and we put in the freezer. Then I pulled it out, shredded it and slow cooked it some more for about 5 hours at a low heat before serving.

Carnitas

3-3 1/2 lbs pork loin or shoulder

2 cups orange juice

1-2 orange slices, optional

1 TBSP orange or citrus seasoning

2 tsp cumin

2 tsp cayenne pepper, or to taste

1-2 TBSP garlic

1 tsp marjoram

1 tsp thyme

1 onion, sliced very thin

salt to taste

1 bunch cilantro

Place all the ingredients together in a slow cooker, cover and set at a medium setting. Cook for about 5-7 hours, stirring occasionally. My pork was already cooked when I started, but I wanted to cook it more and tenderize it more, so I set my slow cooker at a low temperature and cooked it for about 5 hours before serving it. I also shredded mine first, since it was already cooked. If you are just cooking it once, shred it after it is completely cooked and has cooled enough to work with.

When the carnitas are ready to serve, serve them with tortillas, either corn or flour, pico de gallo, pickled onions, guacamole, cheese and sour cream, or any combination thereof. I guarantee you will love this. Carnitas are traditionally made with pork, however, you can do the same thing with chicken too.

!Defruitas! Enjoy. Tengamos un gran dia y hagamos que todos los dias sean grandiosos or have a great day and make everyday great. Stay safe and stay well. Merry Christmas, Happy Chanukkah and Happy Holidays. ’Til next time.


Cooking Tips and Advice For Young Chefs

You all know how much I love to teach kids how to cook. I think teaching kids how to cook is an invaluable life skill they will be able to use all their lives. Plus, it’s just a lot of fun. Here are some other things people should know about when working with the young and aspiring chefs in their lives. This is an article written by guest blogger, Abby Holt. It’s full of very good, very useful information.

Whisk Takers: A Guide to Keep Your Mini
Chefs Out of the ER!


The heart of the home beats in the kitchen, a place where families come together to create and share meals. When introducing young ones to the joys of cooking and baking, it’s crucial to prioritize safety. Combining culinary skills with safety measures makes for a delightful and secure cooking experience.
This guide, offered to you by A Jeanne in the Kitchen, provides a seven-step
safety checklist for parents and guardians to ensure little chefs enjoy their
kitchen adventures without any mishaps. It’s about mixing fun with caution to
ensure every cooking lesson leaves only pleasant memories!

Clean Hands, Tasty Meals
Immaculate hands are the first step to a hygienic kitchen. Kids should learn the
importance of washing their hands thoroughly with soap and water before and
after they handle food. This simple act is the frontline defense against germs and cross-contamination. As a fun practice, turn handwashing into a game by singing songs to ensure they scrub for the right amount of time every time they set foot in the kitchen.


Spruce Up Surfaces
Kids tend to be less conscientious of things like dropping chocolate chips on the
counter and then tossing them into the dough – or into their mouths. Before
anyone starts cooking, give surfaces a wipe down with a natural and nontoxic
cleaning product. Vinegar is a great choice. Just dampen a rag or towel, wipe
down countertops, and get cooking!


Crafting an Artful Reminder
Involve kids in a crafty conversation about kitchen do’s and don’ts by creating a
vibrant safety poster. Let them illustrate the concepts as you discuss each rule.
You and your kiddos can add your own text and photos by employing a free
online tool to design and print a poster. This engaging approach serves as a
creative and constant reminder of the safety protocols when they enter the
kitchen.


Dressing the Part
Having the right attire is non-negotiable before the baking begins. Show kids the
importance of tying back long hair and avoiding loose clothing that could easily
catch fire or get caught in kitchen equipment. Opt for aprons that cover their clothes and teach them to roll up their sleeves. This dress code isn’t just about cleanliness; it’s about minimizing risks and
embodying the discipline of a chef.

Safety Through Screen Time
In this digital age, tap into the world of online resources to make safety lessons
as entertaining as they are educational. These tools can be invaluable, from
interactive games that simulate kitchen scenarios to virtual cooking classes
tailored for different ages. They can also serve as a refresher for you to keep
yourself well-equipped to guide your young chefs safely.


Mastering Knife Safety
A knife can be a good friend in the kitchen if treated with respect and caution.
Demonstrate the proper way to hold and use knives, emphasizing a grip that
keeps fingers clear of the blade. Show them how to cut with a motion away from
their body; when not in use, knives should always be placed securely on a stable
surface away from the kitchen’s hustle and bustle.


Handling the Heat
Dealing with heat is an inevitable part of cooking, but it doesn’t have to be
dangerous. Teach children the importance of never touching pots, pans, or
baking trays without protective oven mitts or pot holders. Instill in them the habit of treating every object as if it’s hot to avoid complacency; they should always ask for help if they’re unsure or unable to handle something safely.


The Final Check
The lesson isn’t over once the cooking is done. Educate kids on the necessity of
turning off all appliances after use. Whether you’re cooking from scratch or just
blending a cookie kit, make it a part of the cooking ritual to check that everything is switched off and cool before leaving the kitchen. This reinforces the idea that safety doesn’t end with the cooking—it’s a continuous practice.


Final Thoughts
Marrying the joy of cooking with stringent safety practices ensures kids can
confidently navigate the kitchen. The goal is to cultivate their culinary interests
while ingraining safety habits that will serve them for life.

Follow this seven-step safety checklist, and you’ll find peace of mind as your
young chefs learn to create delicious treats. Together, let’s turn the kitchen into a safe haven of learning and gastronomic delights!

No Matter who you are, or where you are from, cooking, and especially cooking with kids, is all about love. Teach them to cook definitely, but make it fun, and fill it with love. Cooking with kids is a great way to bond with them and to teach them about how food = love, from you to them, and everyone else you share it with.

Thank you Abby for sharing such a fun post, informative post.

Make your time in the kitchen, and especially your time in the kitchen with young chefs, as much fun as possible. Teach them to share the love and that food = love. Have a great day and make everyday great. Stay safe and stay well. Merry Christmas, Happy Chanukkah and Happy Holidays. ‘Til next time.

Links and sources for the article.

Nature Walks – Gettin’ Squirrely Again

My squirrels are out and about once again, getting into all kinds of fun and mischief. They seem to love being photographed. They are always posing for the camera. How can I resist, right?!

Let your hair down a bit and get squirrely too. It’s all OK. 🙂

Pickled Onions

I’m back. Did you miss me? I hope so. I missed all of you. What a busy, fun filled week we’ve had though. We had some friends visiting us from Canada, and they came in specifically for our big, annual ornament exchange and potluck party, so that tells you part of what we did. We were busy getting ready for the party, cooking and cleaning, then hosting the party, and cleaning up after. Yesterday we did our annual cookie decorating with Janet, Bob and their family, then went to go cheer Larry and his hockey team onto victory, followed by a delicious Polish dinner with Maureen, Milos, Mike and Lauren to celebrate Larry’s birthday. And as if this wasn’t enough, we managed to squeeze in a few game nights and a movie night as well. PHEW! I’m exhausted all over again. 🙂

Even though I had our party as a potluck, I still cooked quite a bit as well. I wouldn’t have it any other way. I can’t let everyone else have all the fun. 🙂 Carnitas, with all the fixin’s, was one of our main entres for our big shindig. I served the carnitas with both corn and flour tortillas, pico de gallo, guacamole, shredded cheese, sour cream and some pickled onions. Everyone could add whatever they wanted to their carnitas tacos, making them all individual and unique.

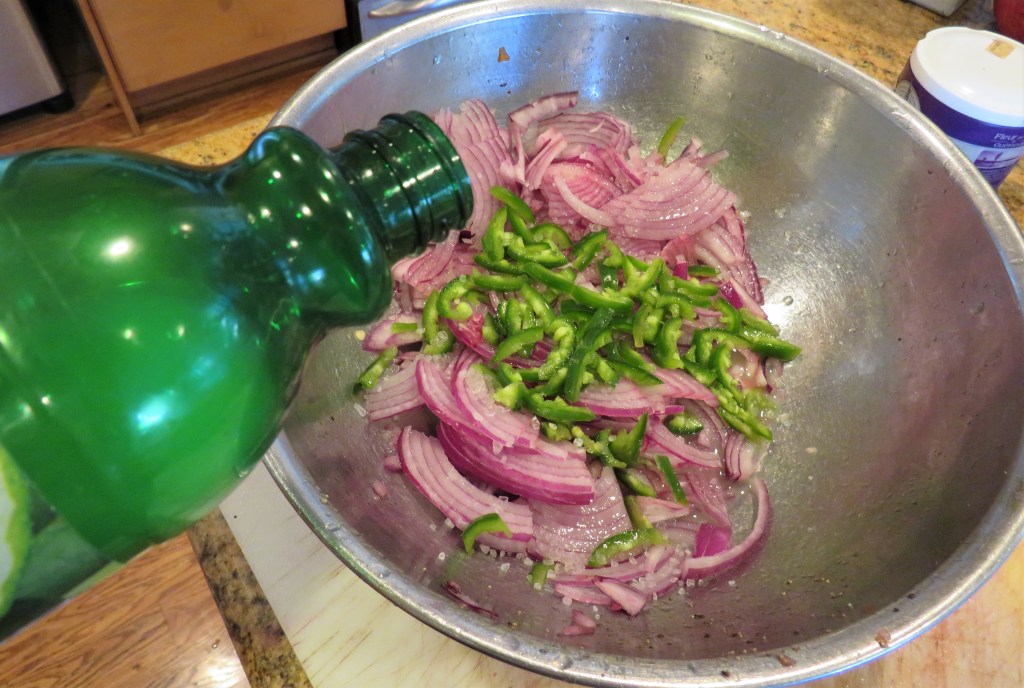
The pickled onions were super easy to make and very tasty. They went perfectly with the carnitas, but they will go well with many other dishes as well. Sometimes, I think simple is just as good as tasty. 🙂 This versatile recipe only asks for four basic, everyday ingredients that we all have in stock all the time. With their red and green colors, they were perfect for the holidays too.

Pickled Onions

1 red onion, sliced very thin

1 jalapeno, seeded and sliced thin

3/4 cup lime juice

about 1 tsp coarse salt

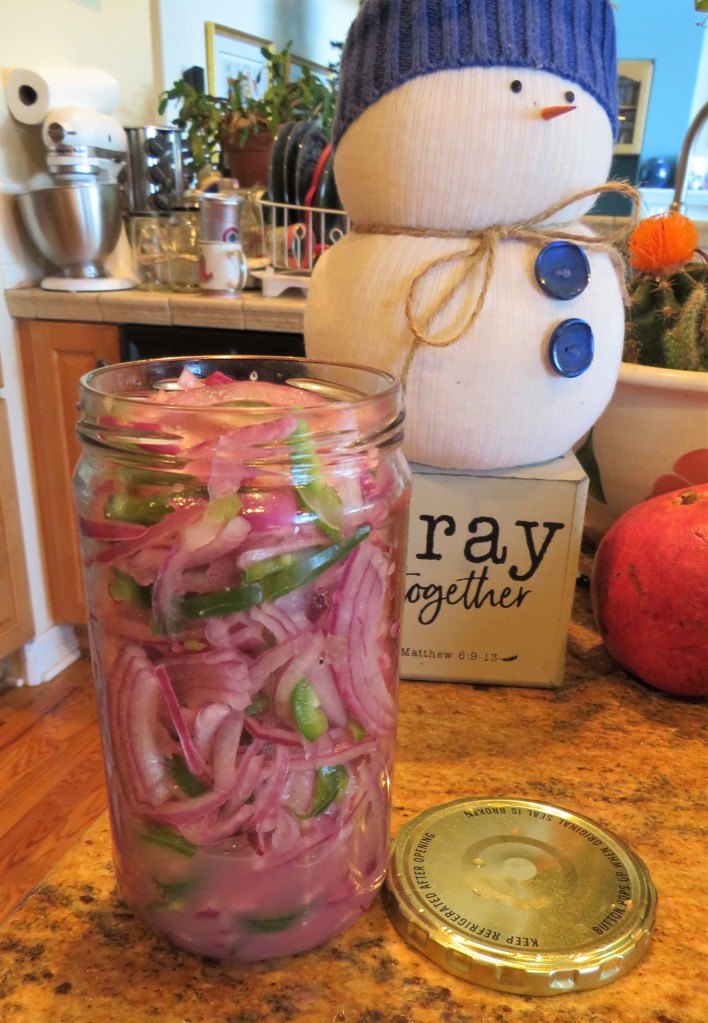
Mix everything together well then pour it all into a jar with a tight fitting lid and turn over a few times before storing in the refrigerator until ready to use.

When ready to serve, let the onions sit at room temperature for about 30 minutes or so before serving, and turn over a few times once again. This is to mix everything up so you get the best of all the flavors. Then serve on top of or aside your favorite meats or on top of a salad. They have a kick, but for those of us who like to spice things up, they were just perfect. They got rave reviews.

Walk on the wild side a bit and spice things up. Have a great day and make everyday great. Stay safe and stay well. Merry Christmas, Happy Chanukkah, Happy Holidays and all that jazz. ‘Til next time.

Mashed Sweet Potatoes

I know you all probably think we eat fancy meals all the time. But in reality, we don’t. We eat a lot of leftovers, and I recreate a lot of those leftovers into something completely different all the time. And a lot of times, we eat simple things, like Costco rotisserie chicken, which we love. There is absolutely nothing wrong with the Costco rotisserie chicken as is. It’s perfectly delicious all on its own. But I don’t want to eat it the same way all the time, so I add new sauces and different side dishes to it to change things up. If I am not creating the main dish, then at least I can be creative with the side dishes, right?! 🙂

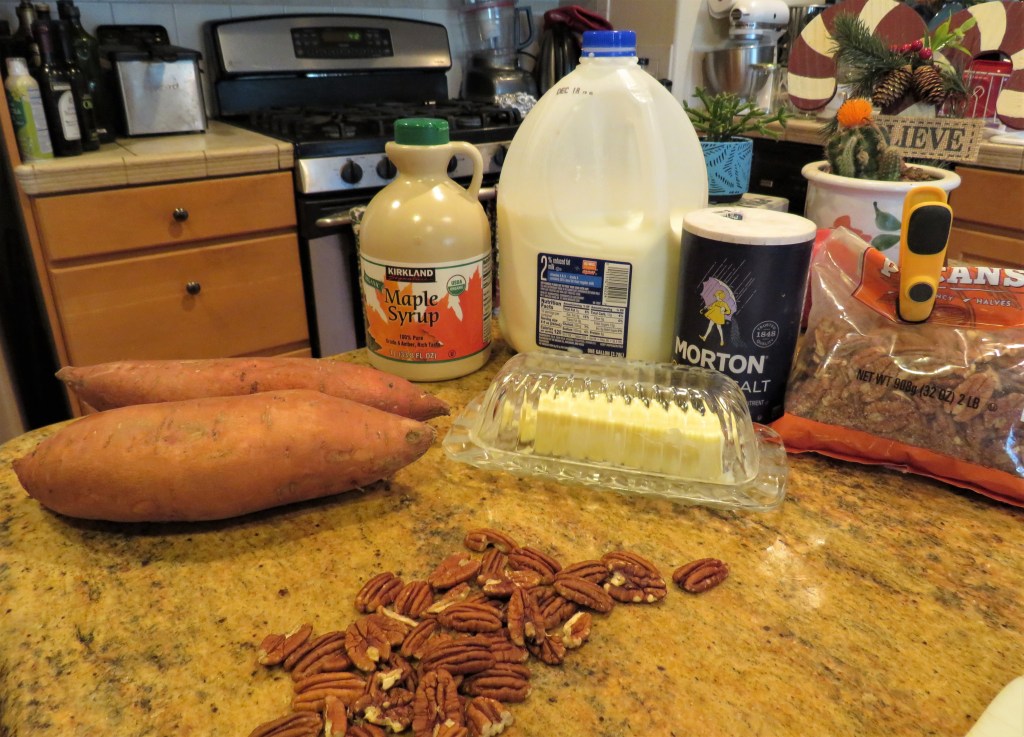
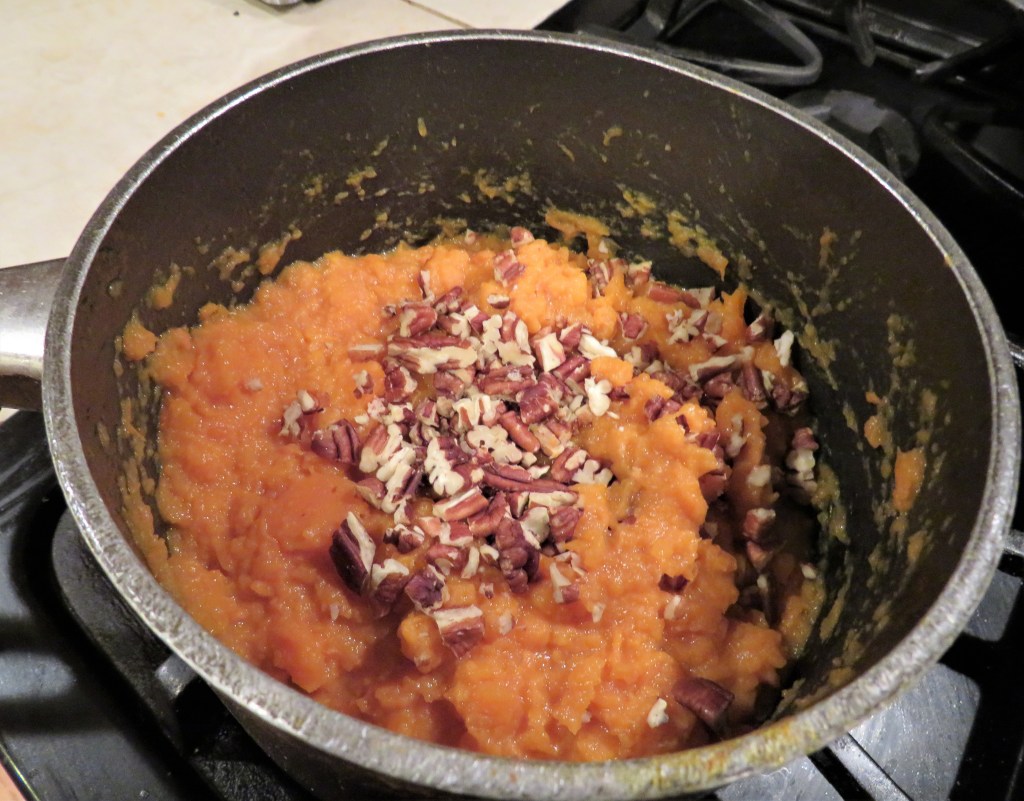
It was one of those Costco chicken nights, and I needed a good side dish to go with it. We hadn’t had sweet potatoes in awhile and they just sounded really good. Sweet potatoes is was. I mashed them with lots of butter, a little maple syrup and topped them with some chopped toasted pecans. Simple, but delicious. The chicken was very good too, and of course, I dressed that up a bit as well.

Mashed Sweet Potatoes

These tasty sweet potatoes are just as easy to make as regular mashed potatoes, but they are more festive for the fall and holiday seasons. These are actually a lot less caloric than regular mashed potatoes too, or at least my mashed potatoes. All it takes is a few sweet potatoes, butter, a little milk, salt and a small amount of maple syrup.

2-3 large sweet potatoes, peeled and cubed

2-3 TBSP milk

3-4 TBSP butter

2 TBSP maple syrup

1 tsp salt

1/4 cup toasted, chopped pecans

Cube the sweet potatoes and boil them in enough water to completely cover them. Boil them at a rapid boil for about 15-20 minutes, or until they are tender enough to mash easily. Drain off the water when they are done. Then add the butter, salt, milk and maple syrup and mash away until they are the consistency of creamy mashed potatoes.

When they are done and ready to serve, top them with the toasted pecans.

it doesn’t get much easier than that, but they taste divine. I served them with chicken that I topped with a light citrus reduction sauce. The combination of the sweetness from the potatoes and the light citrus flavors from the chicken was perfect.

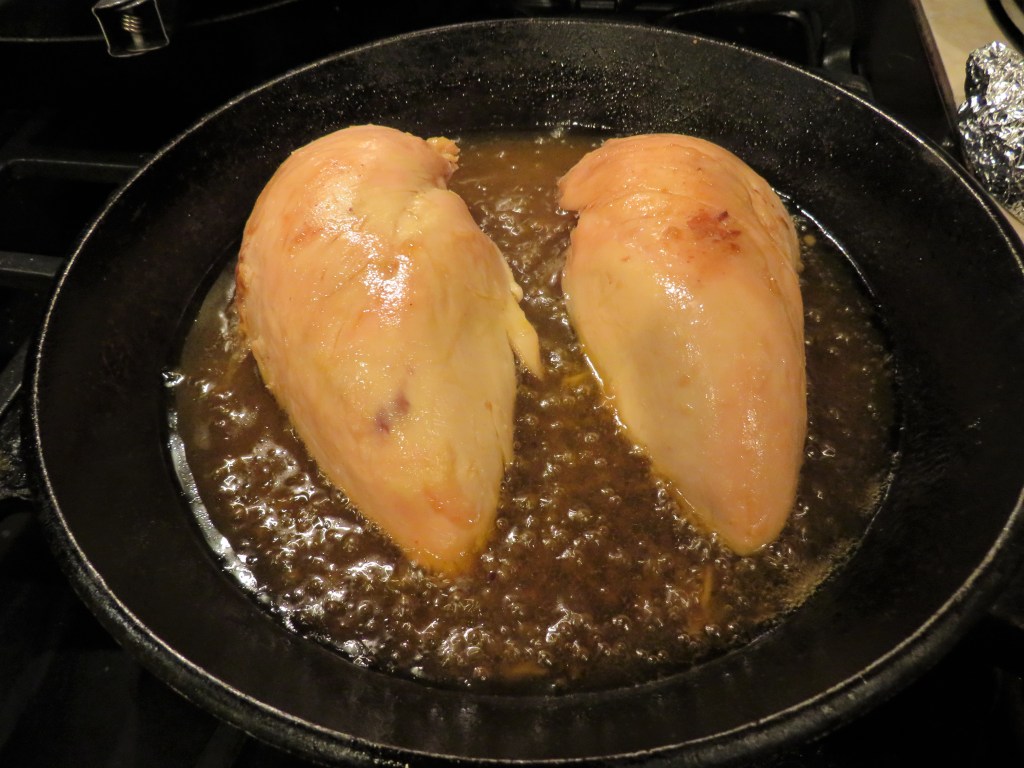
I cooked the chicken breasts in a light, citrusy, slightly spicy reduction sauce. All I did was combine about 2 TBSP of Mike’s Hot Honey with 2 TBSP of white balsamic vinegar, 1/2 cup or orange juice and about 2 TBSP of blood orange olive oil.

I cooked it for about 10 minutes on a medium-low temperature and added the chicken to it after about 5-7 minutes, just to heat thoroughly and to soak up some of the flavors. Again, very easy-peasy, but oh so delicious. I added the sauce on top of the chicken, with some chopped parsley and a few more of the toasted pecans, and voila. The meal went from simple leftovers to something fancy in no time at all, with very little extra effort needed.

With a little creativity and imagination you can easily transform simple meals into extraordinary meals. People will think you slaved away in the kitchen for hours. Let them think that, but you’ll know the truth. 🙂

We are having company coming in from Canada tonight, and will be staying with us for a few days. So once again, more than likely, I will be off the computer and out of touch. We will be taking them to see and do as much as we can in the few short days they will be here, but we are also having our big Christmas party on Saturday. Maureen and I will be busy cooking away to get ready for that on Saturday morning too. But have no fear, I will be back again before you even have a chance to really miss me. 🙂

Have a great day and make every day great. Stay safe and stay well. ‘Til next time.
Nature Walks – Walking On Water

Our weather is all over the place right now. One minute it’s warm, the next it’s cold, and then it is warm again. But, with our last snow just a few days ago, it was cold enough to freeze our ponds up a bit. They were not solid enough for anyone or anything heavy, but they were frozen just enough for the ducks and the geese to walk on top. This being said though, that was a couple of days ago. Now most of the ice has already melted off again. But we are supposed to have more snow again this weekend.

Everyday is different, and everyday has its beauty. Take it all in stride and enjoy it all.

Smoked Pork With Chipotle Cream Sauce

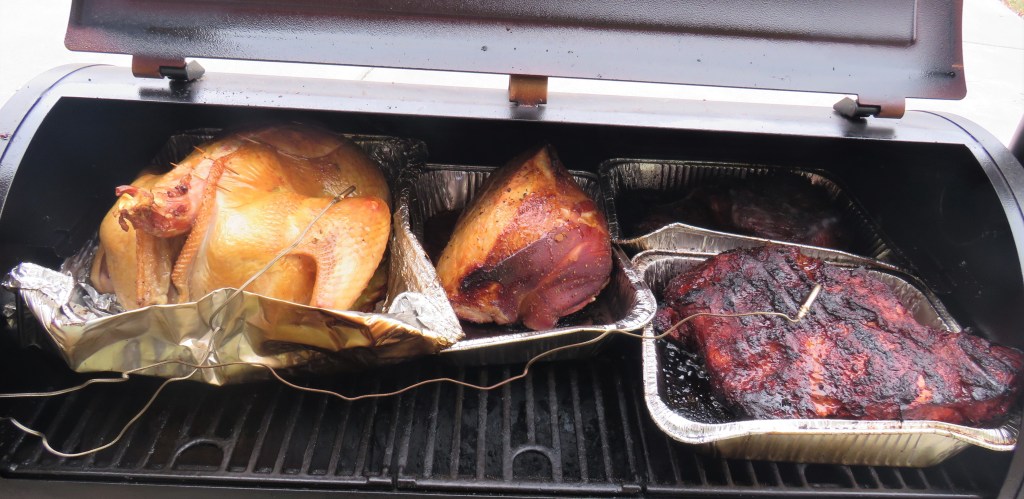
When Larry has his smoker out, he smokes as much meat as the smoker will hold. He last fired up the smoker on Thanksgiving Day. Aside from the turkey, he also smoked a of pork loin as well, then stuck it in the freezer. We pulled it out and had it for dinner the other day. As always, it needed a little something in addition to just the meat. The meat is definitely very good on its own, but it needed saucing up. So I made a chipotle cream sauce to top it. The sauce gave the smoked pork just the right kick that it needed to make it really delicious.

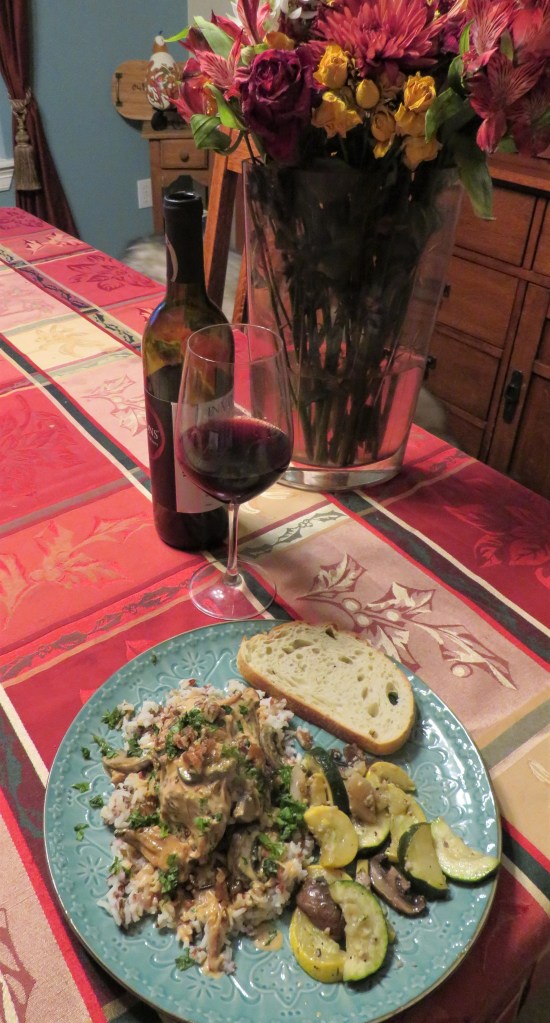
The chipotle cream sauce was easy-peasy to make, yet turned the pork from being just good to super good. I served it over some wild rice with sauteed vegetables on the side and a pinot noir to really complete the meal.

Chipotle Cream Sauce

This deliciously spicy sauce will go very well with chicken or steak too. It is a heavier sauce, so it needs to go with a hearty meat that is able to handle it. This spicy sauce is NOT for the light hearted. It has a real kick.

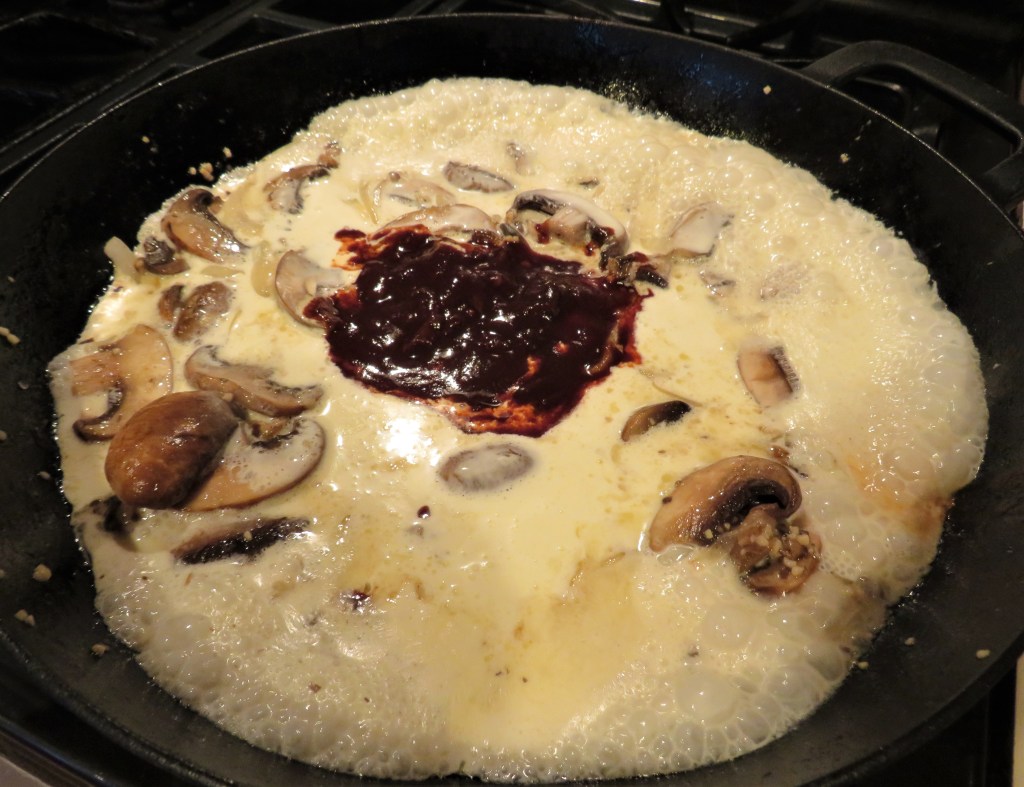
2-3 chipotle peppers, chopped fine, with sauce

1/2 onion sliced thin

1 1/2 cups sliced mushrooms

1 TBSP garlic

1- 1/2 cups heavy whipping cream

1/4 cup fresh cilantro, chopped

olive oil

1-2 TBSP butter

Sautee the onions, mushrooms and garlic together in the olive oil and butter for about 3 minutes, or until the onions become translucent.

Add the cream and the chipotle peppers and sauce. Mix together thoroughly. bring to a boil, then reduce the heat to a simmer.

Add the pork and cook for about 10 or so minutes, or until the pork is completely heated through, stirring occasionally. At the very last part of the cooking process, add most of the cilantro and stir in.

When you are ready to serve, top with a bit more of the cilantro and desfruitas! Enjoy! The sauce turns ordinary smoked pork into a Southwestern delicacy.

Que tengas un gran dia y haz que cada día sea grandioso, or have a great day and make everyday great. Stay safe and stay well. Merry Christmas, Happy Chanukkah and Happy Holidays. ‘Til next time.

Nature Walks – A Pair Of Northern Flickers

Lately I have been seeing a lot of Northern Flickers around our lakes. They are such pretty birds. The males have a bright red spot on their throats, whereas like so many other birds and animals, the females are more subdued. Usually I only see one, but this time, I saw one by himself, and a female by herself, then a pair of them together later.

I almost always have my trusted camera with me. I just never know what I might see, and I want to be ready to capture the moment when I do see something spectacular. Have a great day and make everyday great. 🙂

Shrimp, Sun-dried Tomato, Mushrooms and Artichoke Pasta

While I was working with my sun-dried tomatoes for my sun-dried tomato and olive bread Sun-Dried Tomato and Olive Bread, it made me realize how much I love sun-dried tomatoes. I hadn’t eaten them in awhile, where I used to use them for just about everything. I missed them. I don’t know what made me forget about them. I LOVE sun-dried tomatoes. Always have. Good thing too, because I have a large jar that needs to be used up, so I need to find more things to add them to. 🙂

Tomatoes drying in the sun have always been a popular thing in the Mediterranean countries, especially in Italy and Greece. Sun-drying tomatoes is a traditional method that concentrates the flavors and extends the shelf life of tomatoes. In Italy, tomatoes are a symbol of life and vitality.

Here are some tips for drying your own tomatoes at home. The tomatoes can be ready in about 4-10 days.

  1. Choose the Right Tomatoes: Select ripe, firm tomatoes. Roma or other paste tomatoes are often used because of their meaty texture.
  2. Wash and Cut: Wash the tomatoes thoroughly to remove any dirt. Cut them in half lengthwise. If using larger tomatoes, you may want to cut them into quarters.
  3. Remove Seeds and Moisture: Gently squeeze the tomatoes to remove excess juice and seeds. This helps to reduce drying time.

  4. Season (Optional): You can sprinkle the tomatoes with salt and herbs such as basil or oregano for additional flavor. This is optional, and the amount used can be adjusted to taste.
  5. Prepare the Drying Surface: Lay out a clean and fine mesh or use drying racks, ideally made from food-grade stainless steel or plastic. Avoid using surfaces that may react with the tomatoes’ acidity, like galvanized or aluminum screens.
  6. Place Tomatoes on the Surface: Arrange the tomatoes cut-side up on the drying surface. Make sure they are not touching, so air can circulate around them. Traditionally, they were dried right on the the tiled roofs all over Italy and Greece.
  7. Sun Dry: Place the racks in a sunny spot where they will receive direct sunlight for most of the day. You’ll want a location that receives at least 6-8 hours of sunlight and has good air circulation.
  8. Cover with a Net: To protect against insects and birds, cover the tomatoes with a fine net or cheesecloth.
  9. Turn Regularly: Turn the tomatoes once a day to ensure even drying.
  10. Bring Them Inside at Night: If there’s a chance of dew or rain, bring the tomatoes inside at night to prevent them from reabsorbing moisture.
  11. Monitor the Drying Process: Sun-drying can take anywhere from several days to over a week, depending on the weather and humidity. Check the tomatoes regularly; they should be dry but still pliable when done.
  12. Store Properly: Once dried, store the tomatoes in an airtight container in a cool, dark place. For longer storage, you can pack them in olive oil.

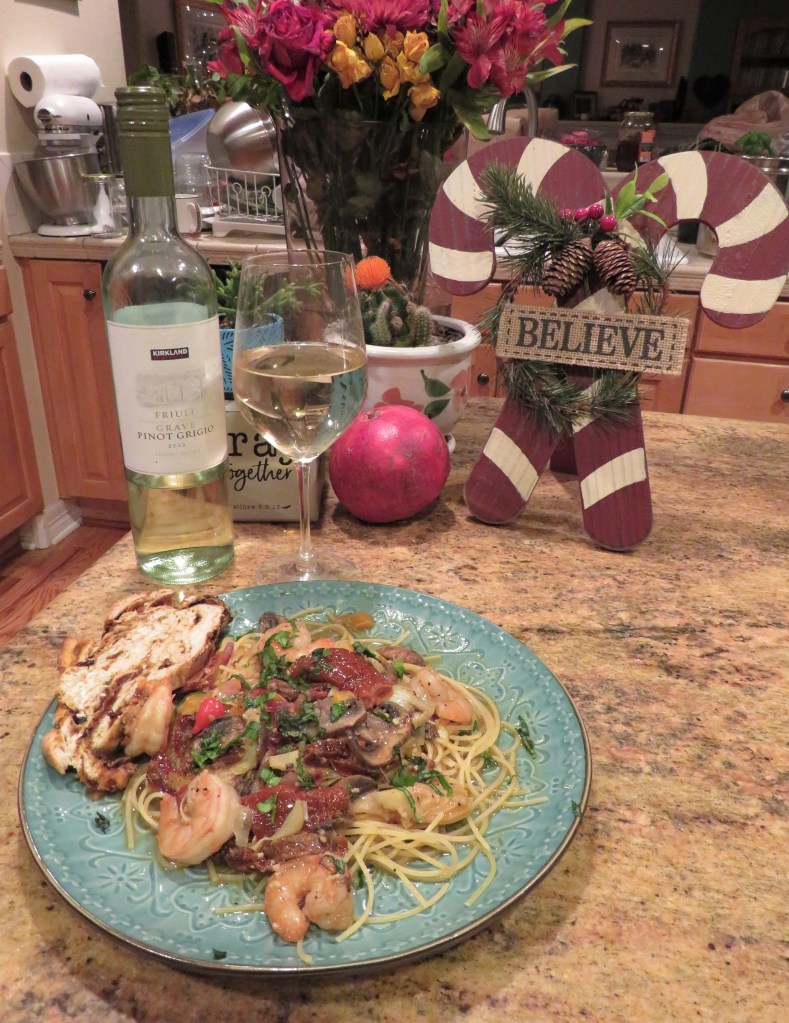
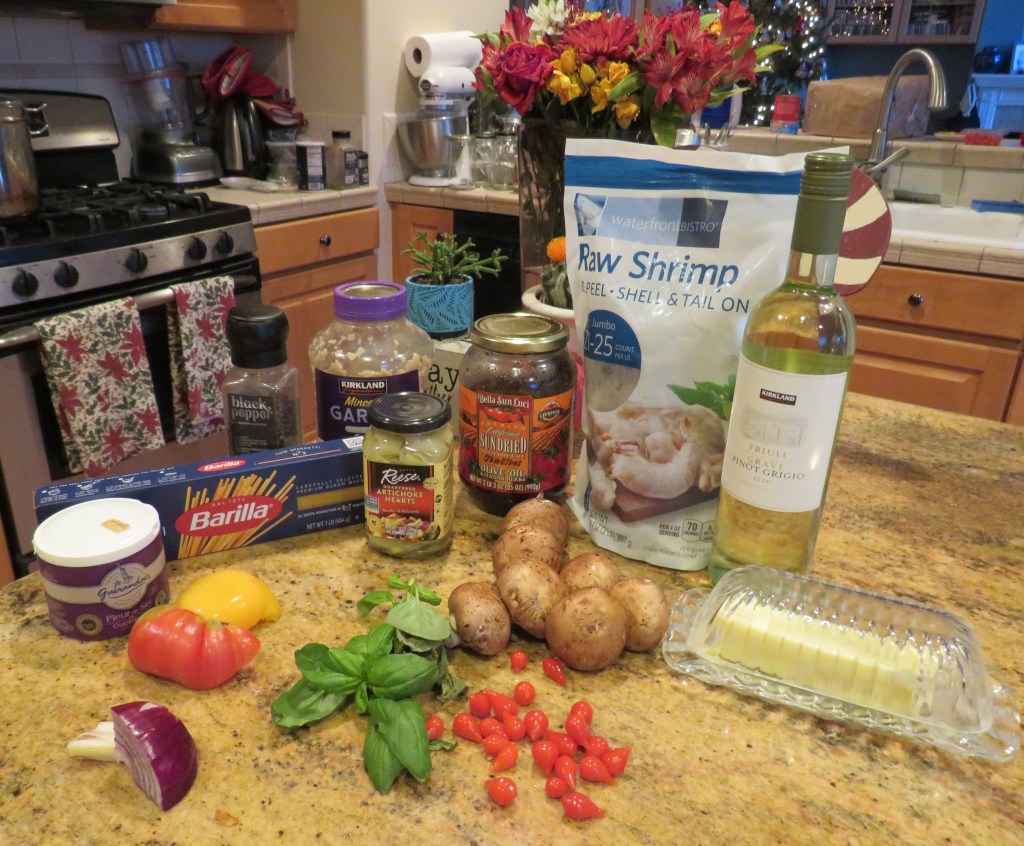
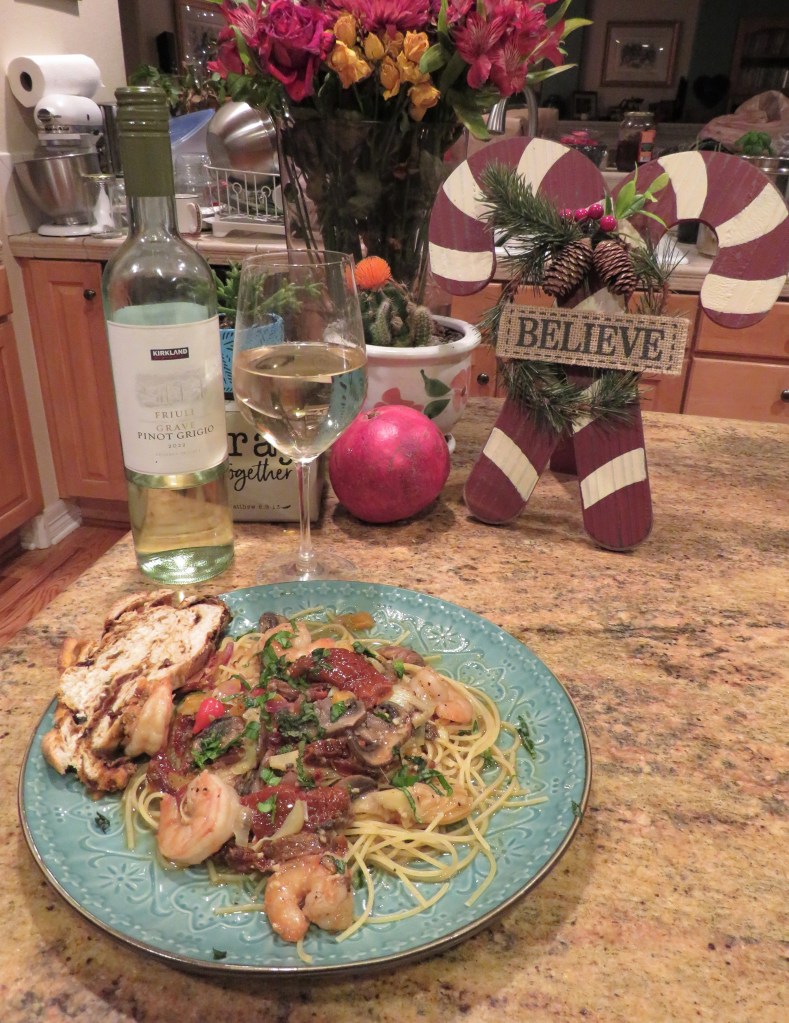
I found a great way to highlight my delicious sun-dried tomatoes. I made some pasta with shrimp, sun-dried tomatoes, mushrooms and artichoke hearts, with my sun-dried tomato and olive bread on the side. YUM!

This recipe is quick, easy-peasy and delicious, but then how could it be anything but delicious with these great ingredients. 🙂

Shrimp, Sun-Dried Tomato, Mushroom and Artichoke Heart Pasta

This is a light dish with a light sauce, so you do not want to use a heavy pasta. The flavors of the sauce will get lost if served over a heavy pasta. Angel hair or a very thin pasta will be best for this dish.

1 1/2-2 lbs large shrimp, peeled, deveined and rinsed

1- 2 cups sliced mushrooms

1 jar artichoke hearts, drained and quartered

1 cup sun dried tomatoes in oil, chopped

1 TBSP garlic

1/4 red onion sliced thin or diced

1 tomato diced

1-1 1/2 cups dry white wine

salt & pepper to taste

2-3 TBSP butter

1-2 TBSP Peruvian peppers, optional

2-3 TBSP fresh basil, chiffonade

angel hair or thin pasta, cooked

olive oil

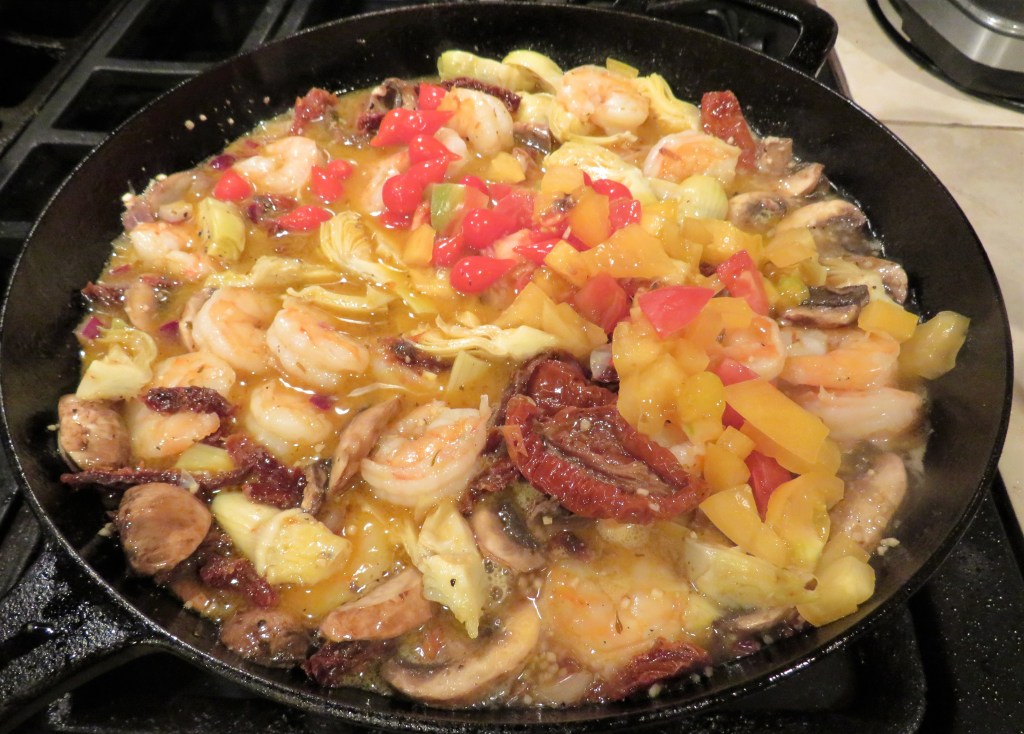
Heat up a large skillet and get it very hot, then add the olive oil and shrimp. Cook the shrimp for about 2-3 minutes per side, or until it is completely cooked. Remove it from the heat and set aside and keep warm.

Add the mushrooms, onions and garlic and cook for about 3 minutes, or until the onions become translucent, stirring often.

Carefully add the wine. Let it cook for about 2-3 minutes. Add the sun-dried tomatoes, artichoke hearts, seasonings, and re-add the shrimp. Mix everything together well.

Cook for about 2 minutes, or just until everything is heated through. Add the Peruvian peppers, if using, and the chopped fresh tomatoes at the very end so they do not break down. Add the butter at this point too. The butter is a finishing touch to finish the sauce and make it a bit richer. Add 1/2 of the chopped basil and mix everything together.

When everything is ready, serve it over the cooked pasta and add the rest of the chopped basil. !Mangia! Buon appetito! Serve with the same dry white wine you used for the sauce and dinner will be complete. The thing that will take the most time is waiting for the water to boil for the pasta. 🙂

Have a great day and make everyday great. Stay safe, stay well. Merry Christmas, Happy Chanukkah and Happy Holidays. ‘Til next time.