I have created this site to help people have fun in the kitchen. I write about enjoying life both in and out of my kitchen. Life is short! Make the most of it and enjoy!
Author: ajeanneinthekitchen
I have worked in the restaurant and catering industry for over 35 years. I attended 2 culinary schools in Southern California, and have a degree in culinary arts from the Southern California School of Culinary Arts, as well as a few other degrees in other areas. I love to cook and I love to feed people.
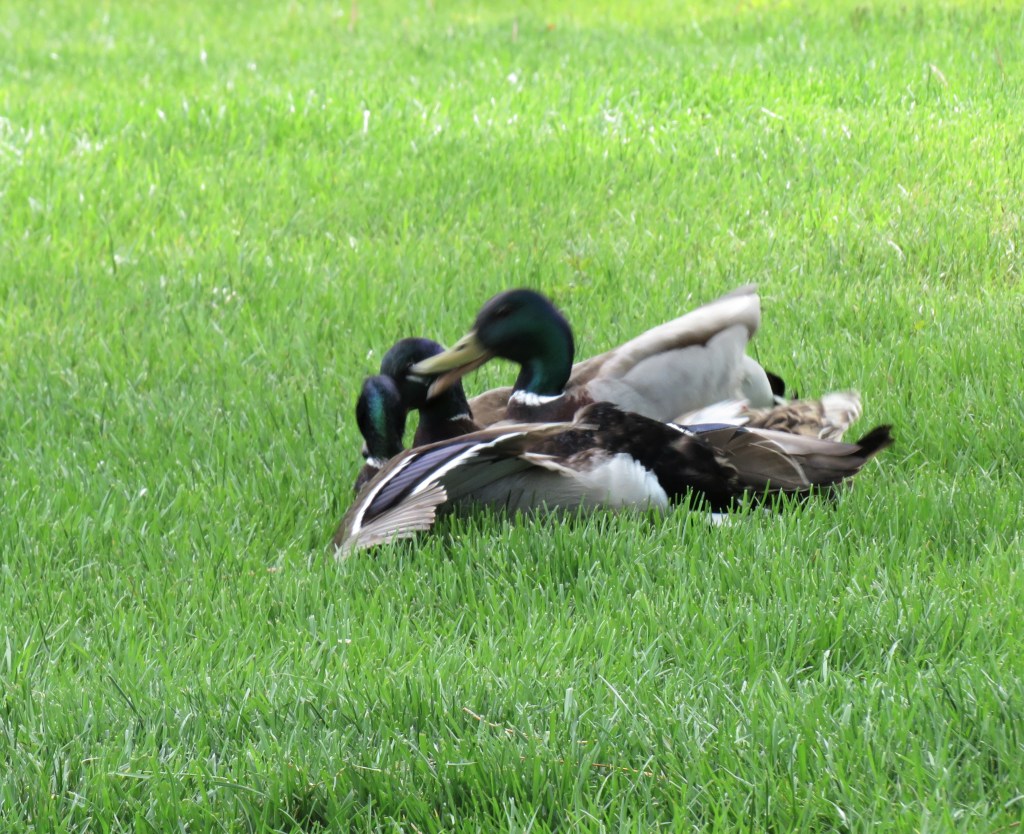
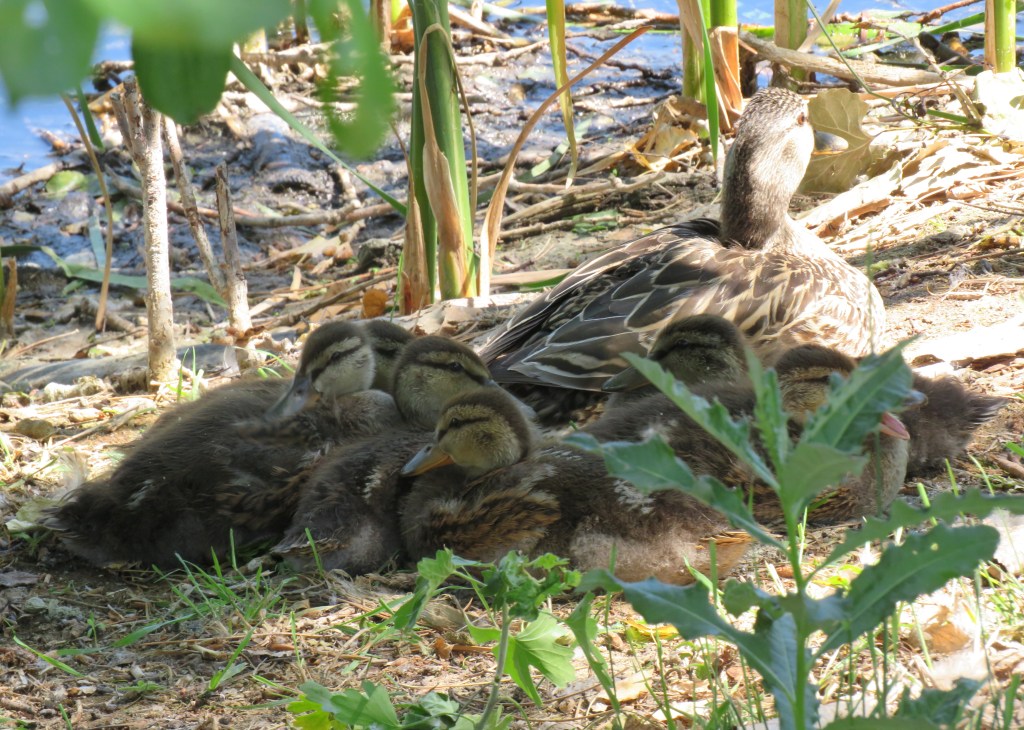
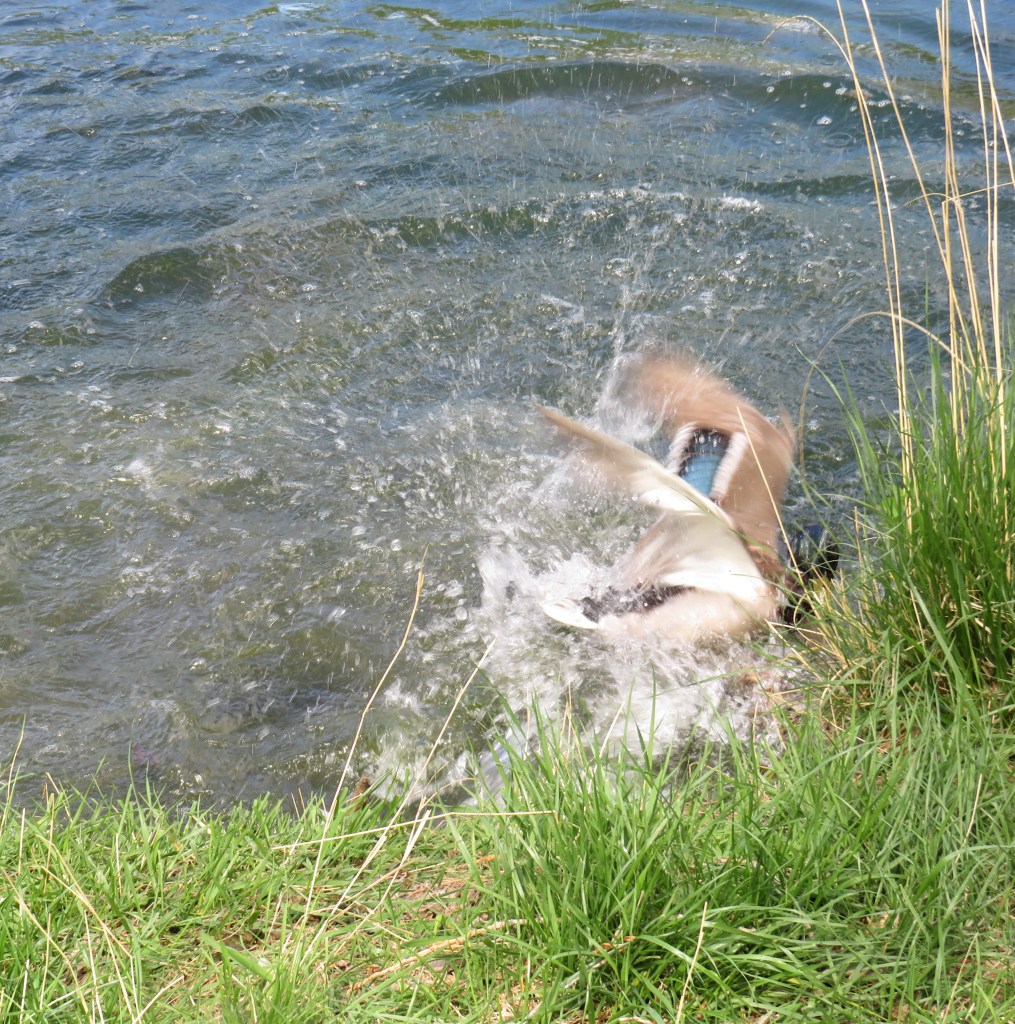
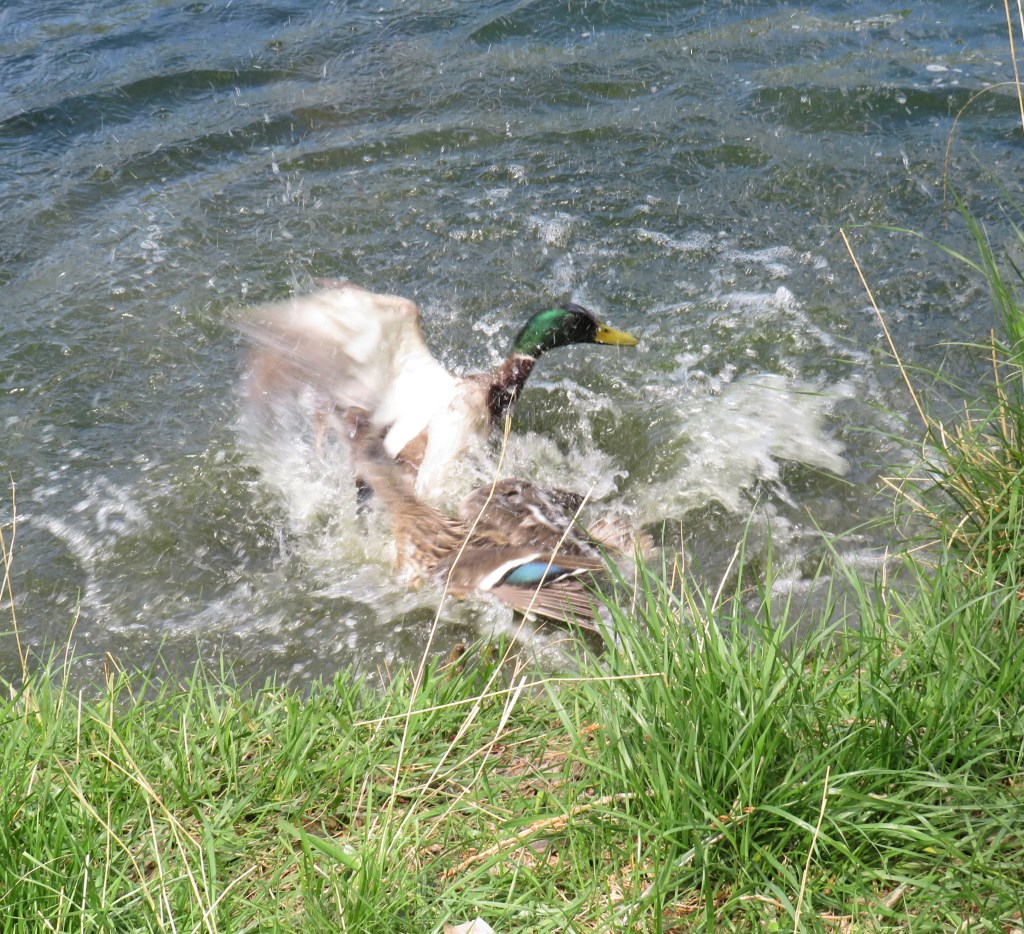
We have a wide variety of different ducks that call our lakes home. Our resident ducks are the Mallards, and they live here pretty much on a permanent basis. For the most part, they are all pretty chill, and aren’t really bothered. They just go about their business and don’t let things bother them.
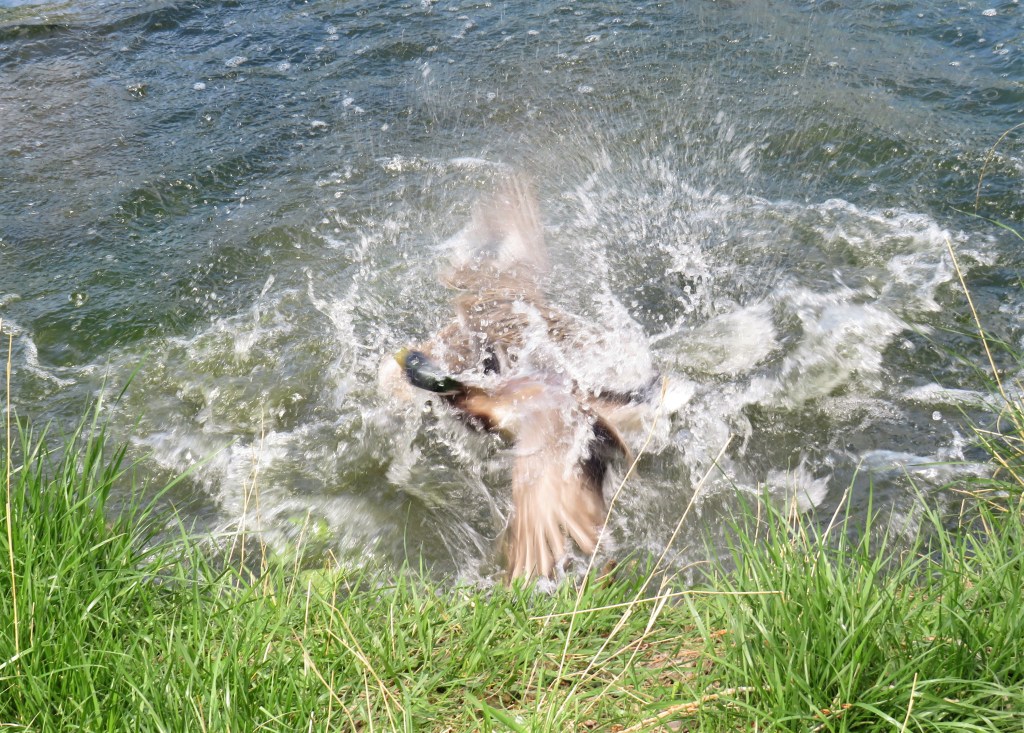
But every now and then, they get their feathers ruffled, and sometimes, there is even a duck fight or two. This was actually a male attacking a female. He was relentless. Fortunately, she was able to break free and was fine.
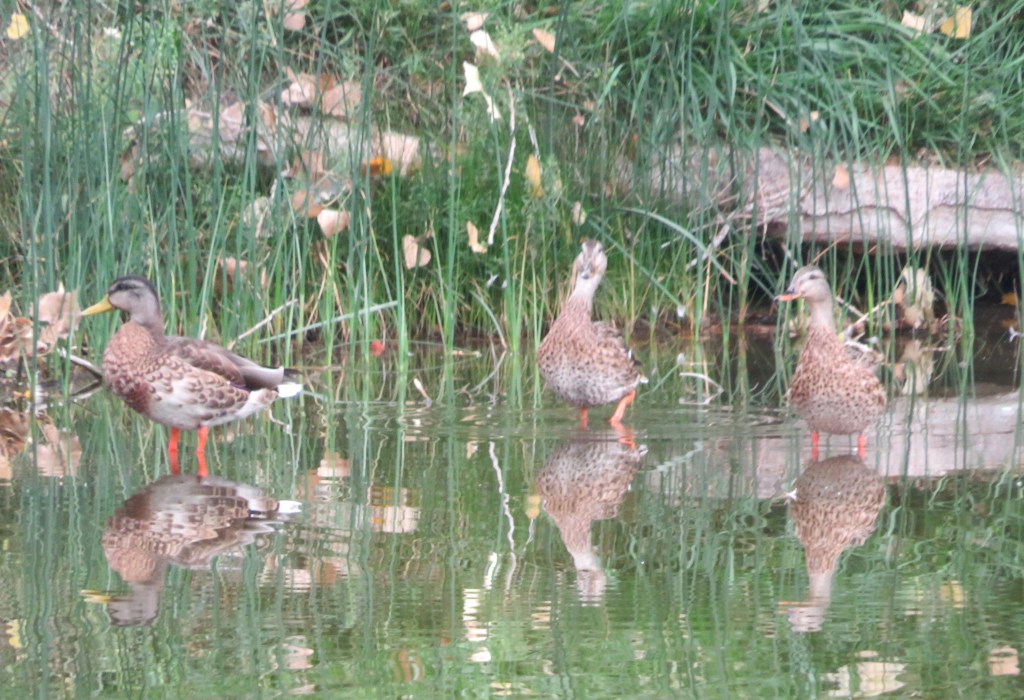
You just never know what you are going to see when communing with nature. It is always an adventure.
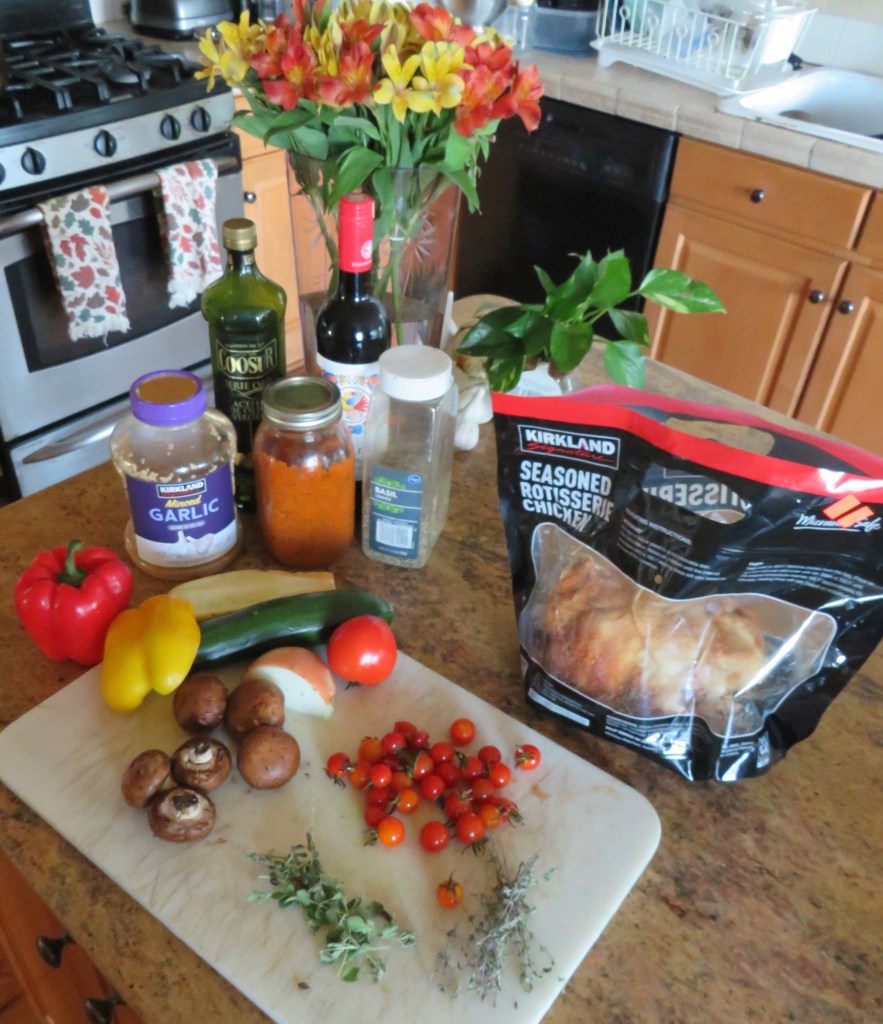
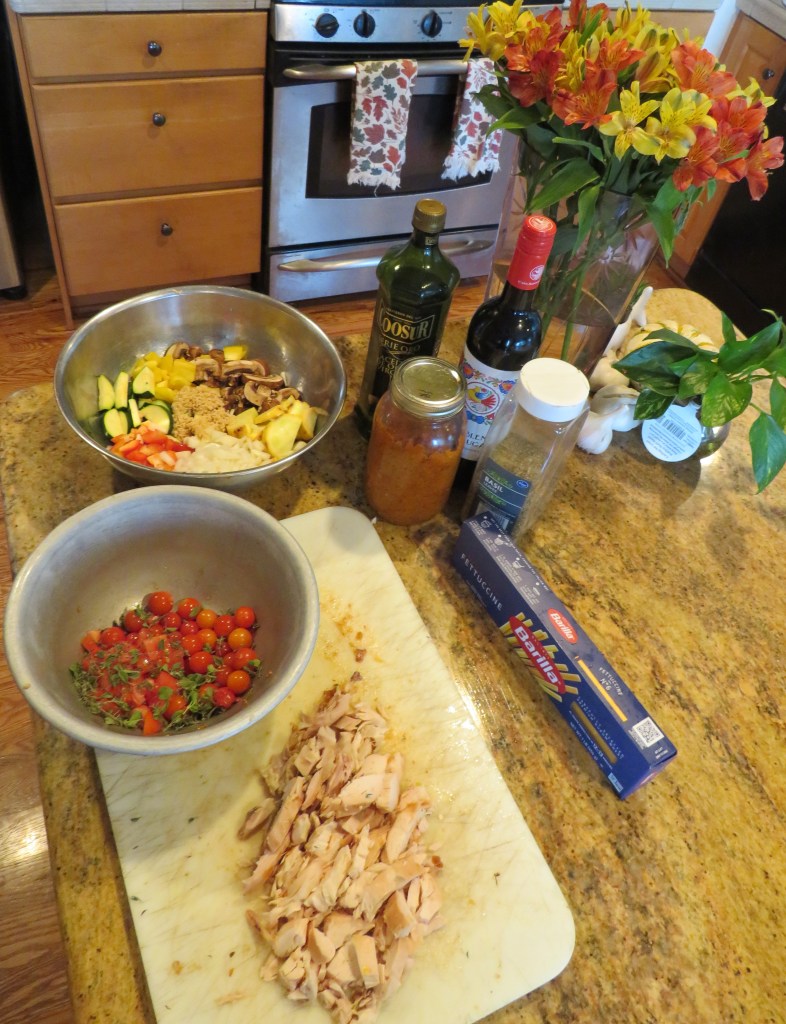
Since I made fresh roasted tomato and vegetable sauce, Roasted Tomato & Vegetable Sauce I had to come up with some delicious way to use it. And of course I did too. I made some chicken cacciatore, using some of my Costco rotisserie chicken. I also got to use up some more of my delicious tomatoes.
Chicken Cacciatore, or “Hunter’s Chicken” originated in 14th century Italy, combining wild game such as rabbit or chicken, with whatever vegetables were on hand; tomatoes, onions, red wine and vinegar. Originally, the main ingredient was rabbit, not chicken, but today, chicken is used. The word cacciatore means hunter. Now, chicken cacciatore has evolved into many different versions around the world. Many parts of Italy lay claim to this delicious chicken and vegetable dish, but most people think it originated in Tuscany, though many argue that it originally came from Milan. Who really knows? All I know is that it is delicious and that’s all that really matters. 🙂
Chicken Cacciatore
As with any dish that has been around for centuries, there are many different versions. This is just one.
2 lbs chicken, either breasts or parts – I used cooked chicken this time
1/2 each red bell pepper, yellow and/or green bell pepper, cut into medium chunks
1 TBSP garlic
1/2 zucchini, sliced
1/2 yellow crookneck, sliced
4-5 tomatoes, diced
1-1 1/2 cups sliced mushrooms
1/2 onion, diced
1 TBSP each fresh oregano, thyme, basil, marjoram or Italian herbs of your choice or 1 tsp each of dried
2 cups tomato sauce
1 cup red wine
olive oil
salt & pepper to taste
lemon juice or lemon olive oil, optional
If you are using cooked chicken, there is no need to cook the chicken again. If not, season the chicken with salt & pepper, get a large skillet or pot very hot, then add olive oil and butter and brown the chicken on all sides.
Cut all the vegetables, separating the heartier vegetables from the softer, more fragile vegetables. Cook the heartier ones in olive oil for about 5-7 minutes, stirring frequently. You want a little crispness left to them, since they will continue to cook with each additional layer. If using fresh herbs, add with the tomatoes later.
If you are cooking the chicken, once it is browned, add the vegetables and sauce to the chicken.
When the vegetables are ready, add the red wine and the tomato sauce and incorporate thoroughly.
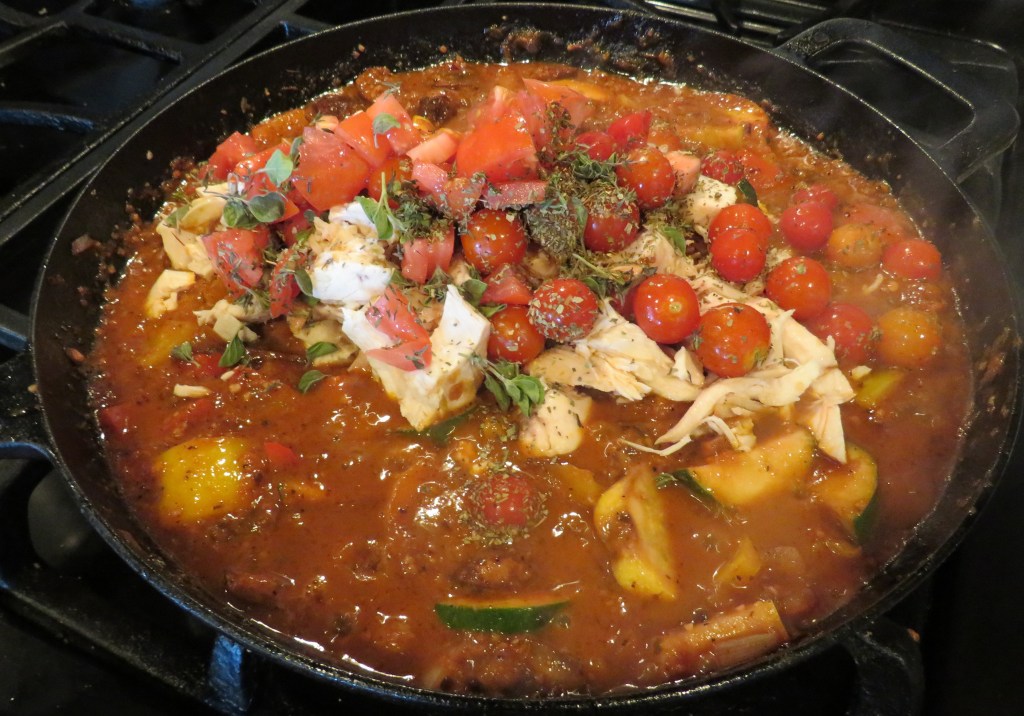
Add the tomatoes and herbs, and cooked chicken. Bring to a boil, then reduce the heat to a simmer and continue to cook for an additional 10-15 minutes, stirring frequently. Top with either 1-2 TBSP lemon juice and/or lemon olive oil at the very end, right before serving. The lemon will enhance the tomato flavors.
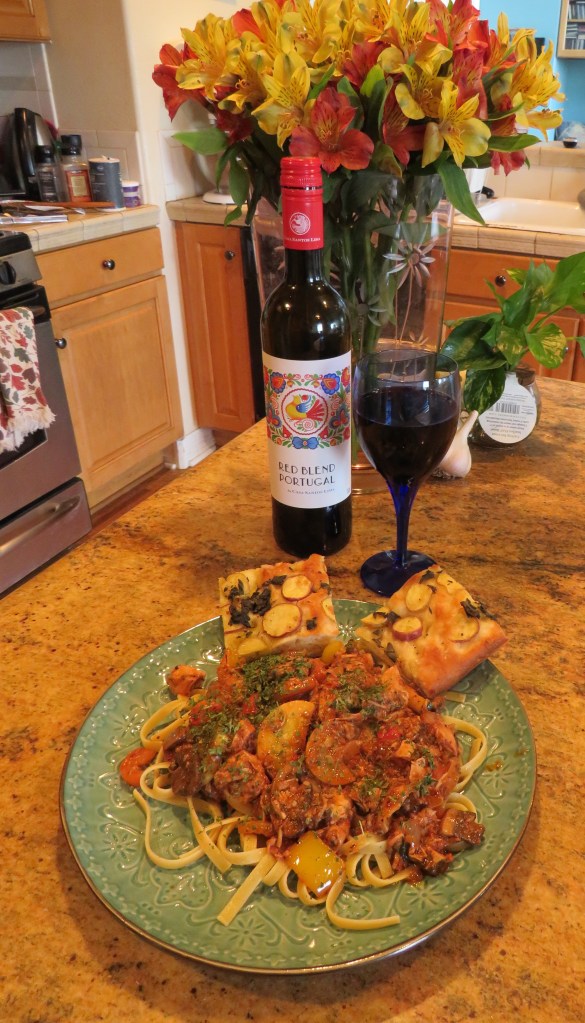
I like to serve it over pasta. This is a hearty, robust sauce, so a heavier pasta, like fettuccine is best. Serve with a robust red wine, preferably the same wine you used for the sauce. I also served it with some potato focaccia I made.
!Mangia! You’re going to love this. I promise.
Have a great day and make everyday great. Stay safe and stay well. ‘Til next time.
It is once again that time of year when my Northern Flickers are out and about. It’s Flicker season again. I love seeing all the Flickers, but then I love all my birds. I am seeing so many. Sometimes I even get some good shots too. 🙂
I just never know what I am going to see, or if I will see anything at all. And just because I see something, doesn’t mean I am always able to capture it with my camera either. It’s all just a matter of good luck and timing. 🙂
I am SILL using my wonderful tomatoes I received from Janet and Bob a while ago. It seems like I am using a ton, but I don’t seem to be making a dent in them at all. It’s almost like they just keep multiplying. 🙂 That’s perfectly OK though. I love tomatoes. I was trying to make as many dishes as I could without making a tomato sauce, but tomato sauce was definitely something that had to be done.
There are so many different kinds of tomato sauce, and all are so good. I could make different kinds of sauces everyday and I still would not be able to make them all. The one I chose to make this time was inspired from our friend Chef Eva at Simply Splendid Food at http://simplysplendidfood.com/. Many thanks Chef Eva. The sauce is delicious!
Roasted Tomato & Vegetable Sauce
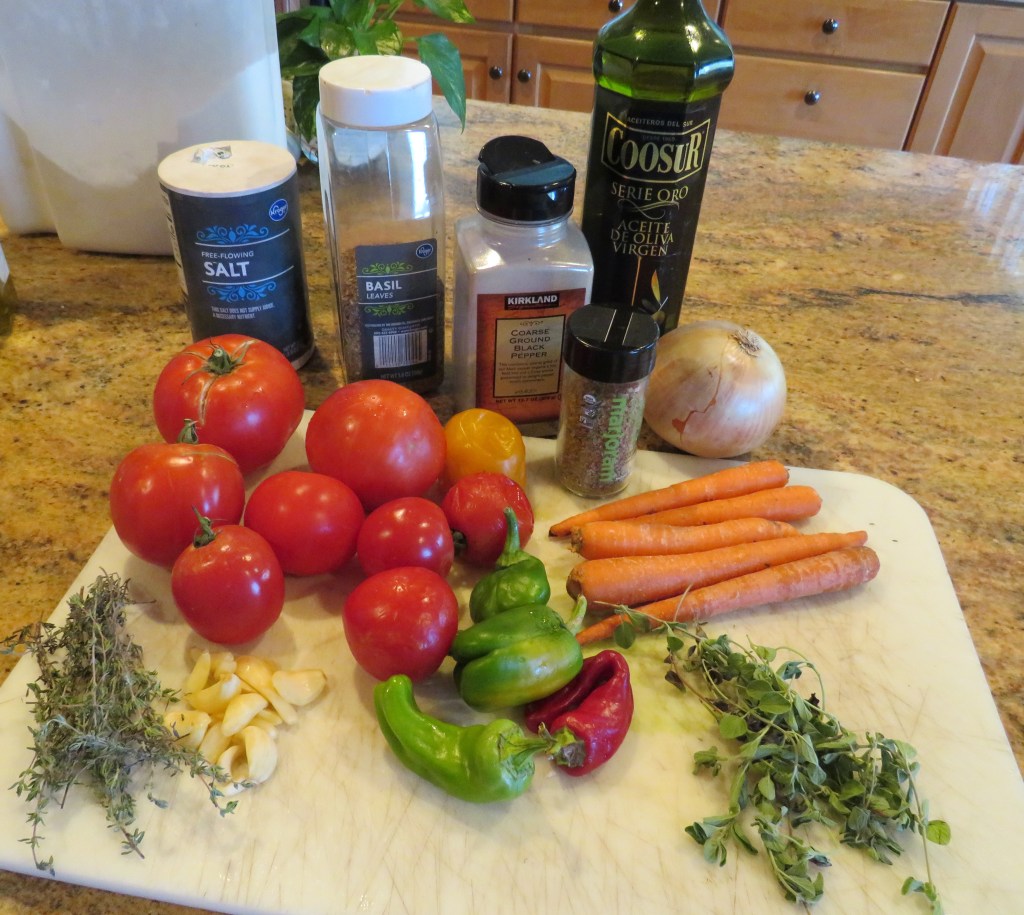
Except for the carrots, all the vegetables were fresh from Janet and Bob’s garden. They are SO good too.
Preheat the oven to 450*F or 200*C.
Line a baking sheet with parchment paper.
3-4 lbs tomatoes, cut into large wedges
1 onion, cut into wedges
4-5 carrots, peeled and cut into large chunks
2 TBSP garlic
1-2 TBSP fresh herbs – basil, thyme, oregano, marjoram or about 2 tsp dried herbs
1-2 bell peppers, cut into chunks
salt & pepper to taste
olive oil
1 cup red wine, optional
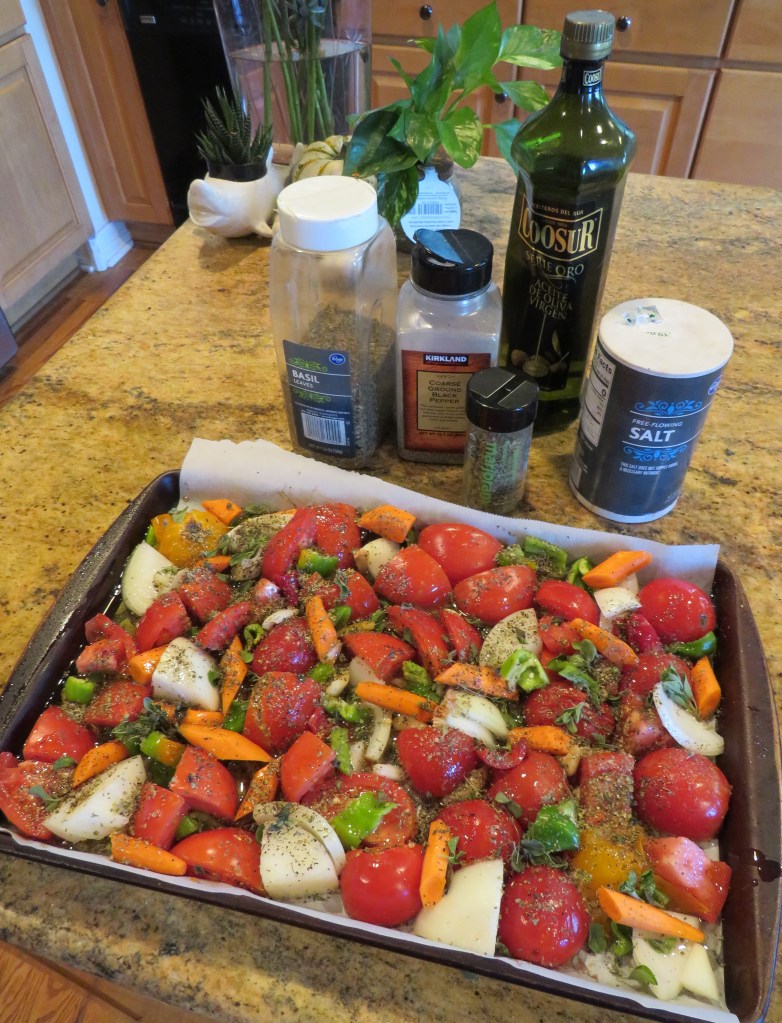
Spread all the vegetables onto the baking sheet in a single layer. Add the herbs and spices. Drizzle with olive oil and roast for about 40-45 minutes.
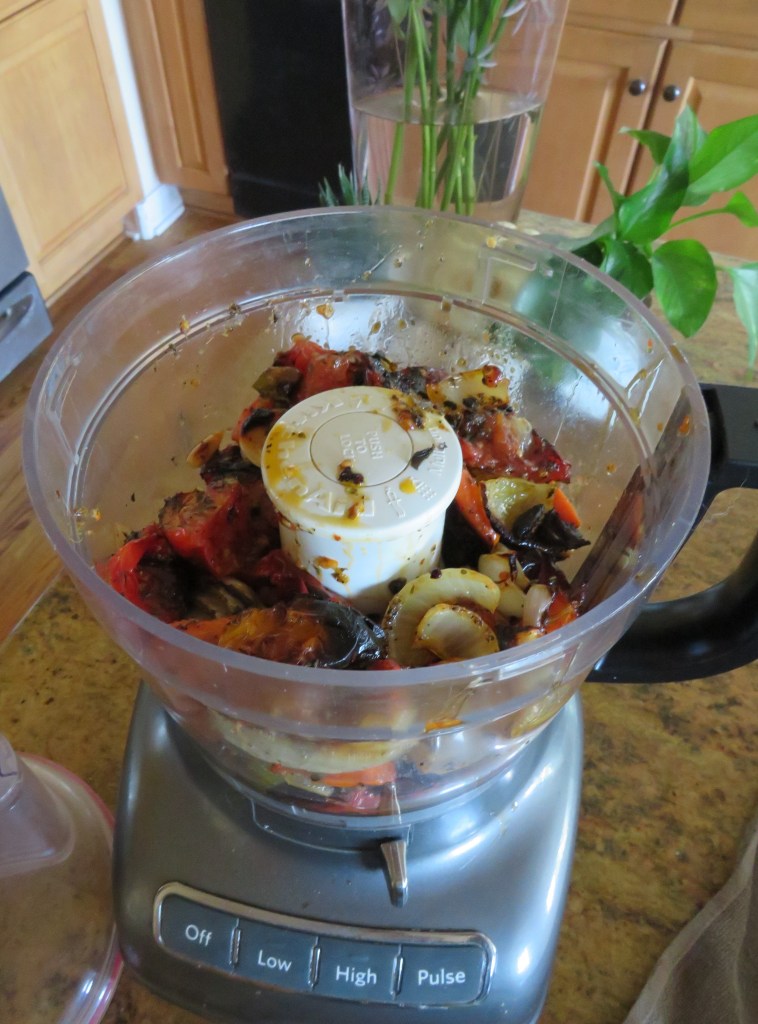
When the vegetables are done, allow them to cool a bit before placing everything into the food processor. I like a chunky sauce, so I like to keep the tomato skins on, but you can remove them if you prefer.
Add a cup of red wine to the mix if you like a little more flavor and texture to your sauce, and process until it all becomes a sauce.
Enjoy with everything that you like a rich, robust tomato sauce with. The flavor of this sauce is so good. You can taste all the fresh goodness in every bite. It reminds me of those old Prego commercials when they are asking about all the ingredients in the sauce and the momma says “It’s in there”. 🙂 !Mangia! !Mangia!
Have a great day and make everyday great. Stay safe and stay well. ‘Til next time.
Rice and bread are staples in the Indian diet. Rice, of all kinds, tends to be eaten in the southern and rural regions of India more regularly than in the northern regions, though rice is eaten all over. The northern regions rely more heavily on a wheat based diet and eat a lot more bread. In fact, in the northern regions, bread of some sort is served with almost every meal.
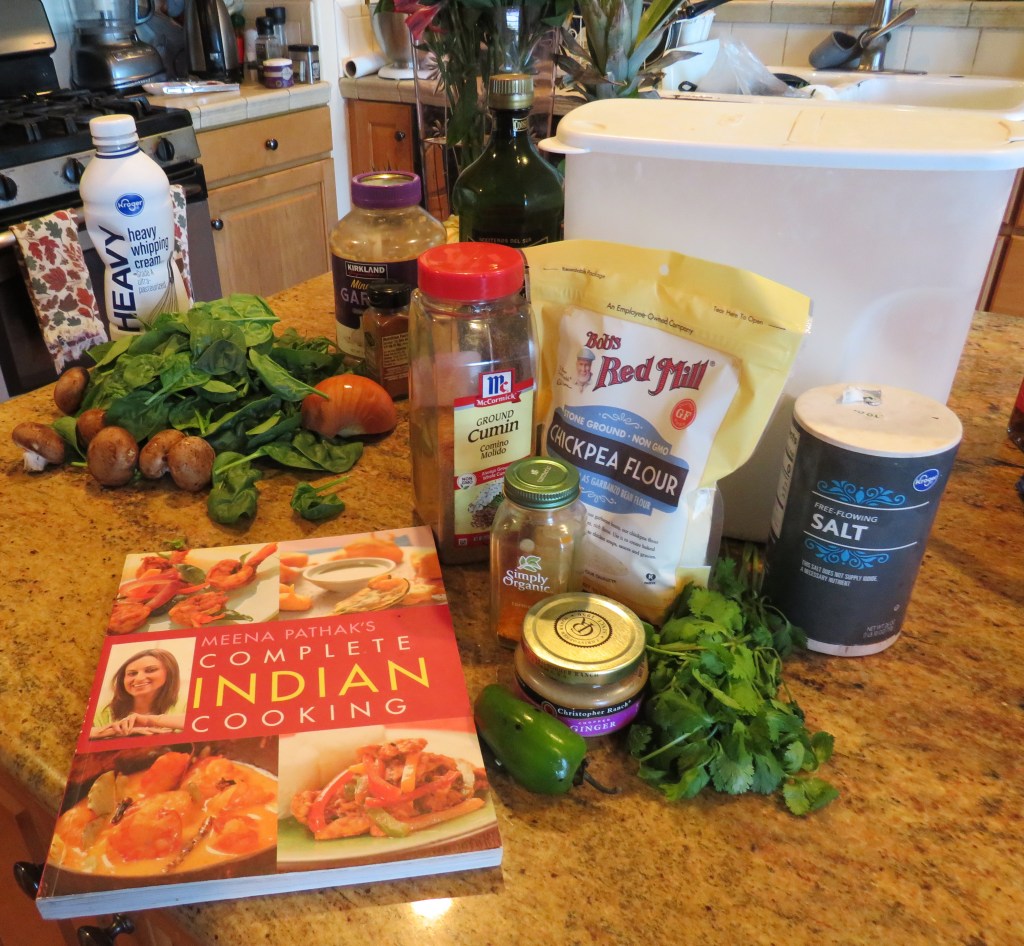
Chickpea flour is used in all kinds of Indian dishes. I used chickpea flour to make some delicious chickpea flour pancakes, or Methi Thelpa to go along with my Indian meal of spicy Indian shrimp Spicy Indian Shrimp and pan-fried mushrooms and spinach Spicy Stir-Fried Mushrooms & Spinach.
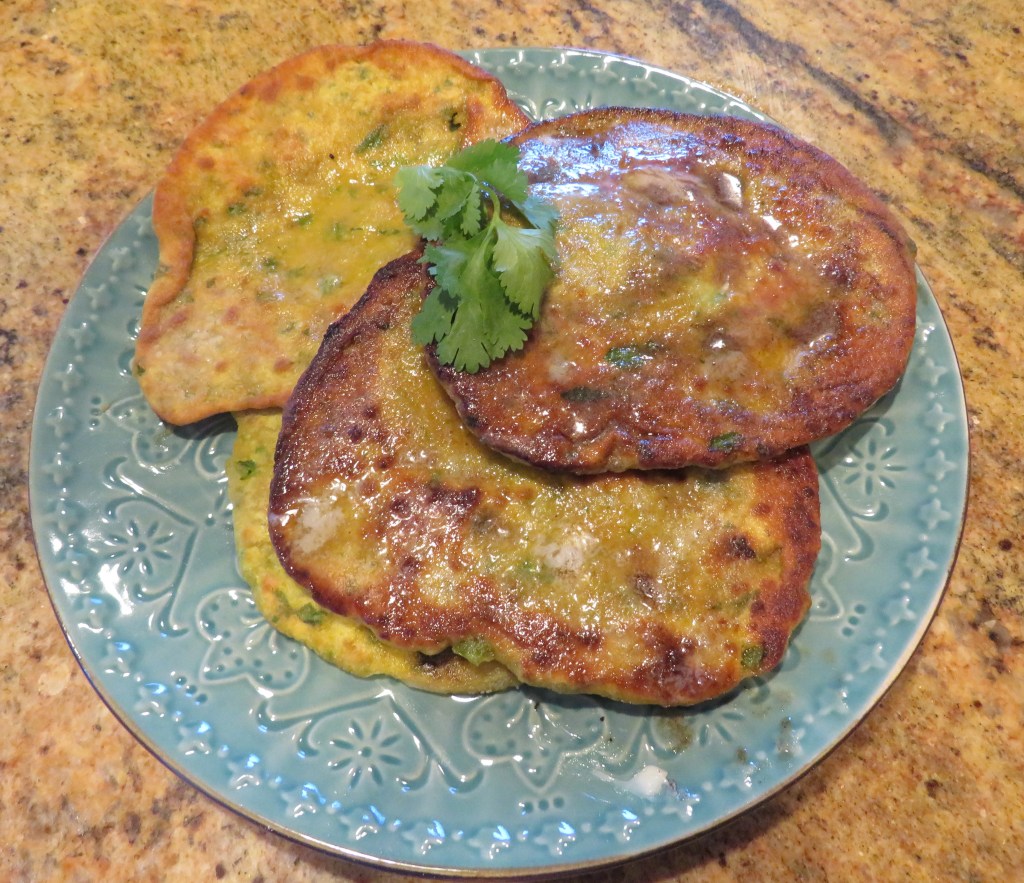
Chickpea Flour Pancakes
These chickpea flour pancakes, or methi thepia, are kind of a working man’s food, that is often eaten by the farmers in the Gujarati areas. They are often enjoyed with yogurt and sliced onions, though they are very good with butter or ghee too.
4 1/2 oz chickpea flour
4 oz flour
1 tsp cumin
1/2 tsp turmeric
salt to taste
1 tsp ginger
1 jalapeno, diced fine
1 TBSP fresh cilantro, chopped fine
enough water to combine everything together to make into a soft dough
oil for cooking
ghee or butter, both for cooking and smearing on top
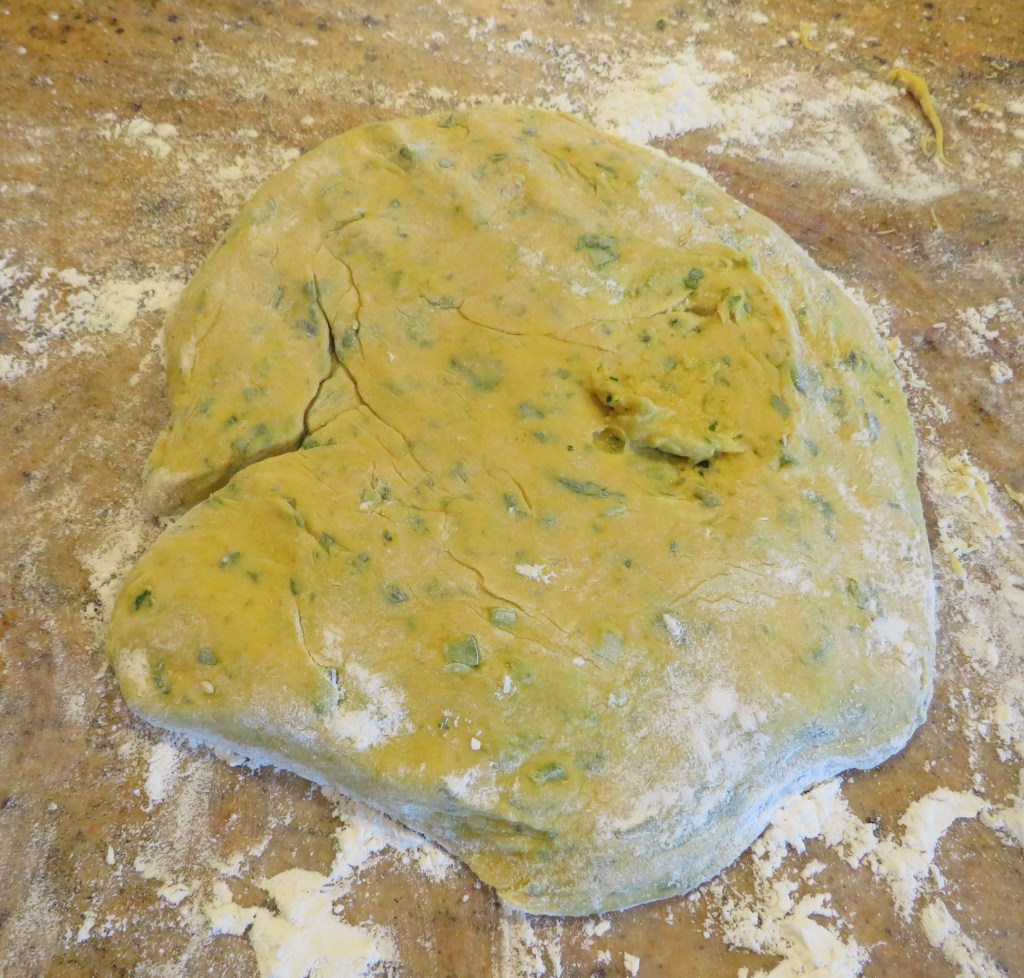
Combine everything together and mix well until it forms into a soft dough.
Let the dough rest for at least 10 minutes before working with it. Divide the dough into 8 equal parts and form into small dough balls.
Roll the dough into very thin pancakes on a lightly floured surface. Get a small pan very hot, and add a little cooking spray and butter every time, for every pancake. Cook for about 1 minute per side, then flip and cook for an additional minute. Continue until all the pancakes are cooked.
Immediately after removing from the heat, smear a little butter or ghee on top of each pancake if you like. Serve hot. I could easily make a meal out of these alone, but I served them with my Indian meal.
We are never too old to learn new things or new techniques. That’s what makes life fun and interesting. 🙂 Have a great day and make everyday great. Stay safe and stay well. ‘Til next time.
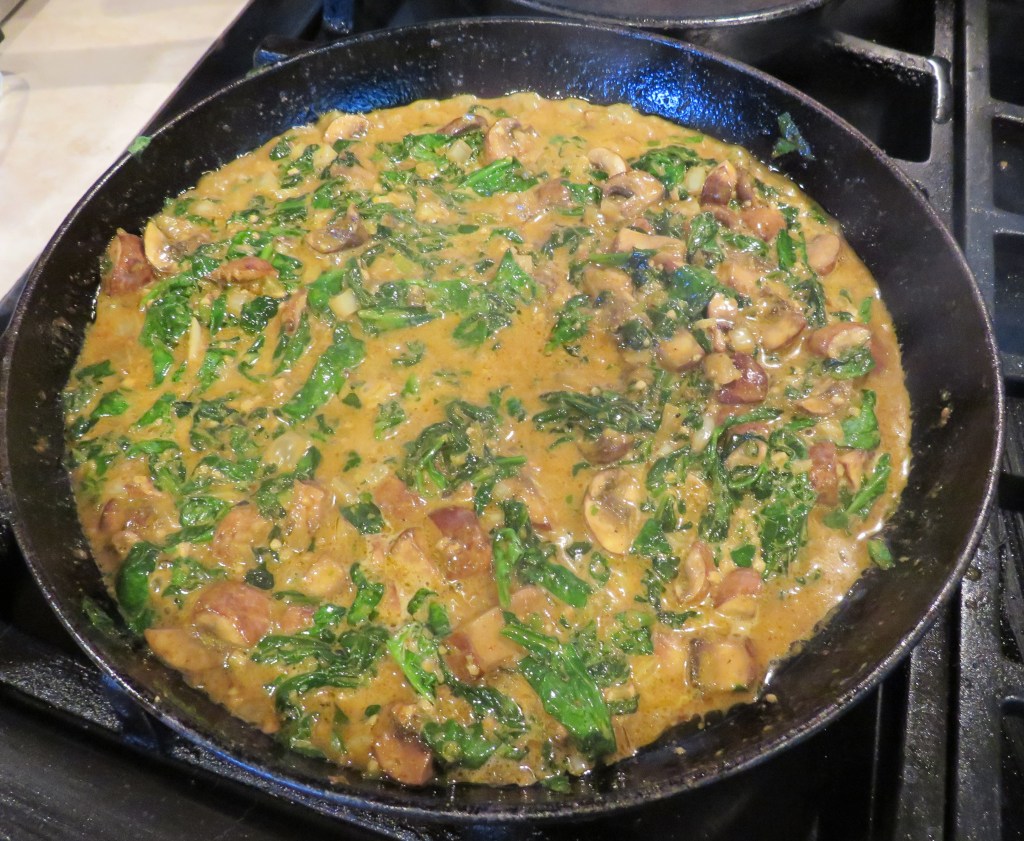
When I cook ethnic foods, I like to prepare the whole meal as authentically as I can, whenever I can. It doesn’t always happen, but I succeed more often than not. When I made my spicy Indian shrimp Spicy Indian Shrimp, I needed some authentic side dishes to go with it. One of those side dishes was some spicy stir-fried mushrooms and spinach, or Khumbh Palak.
Khumbh Palak is mushrooms cooked in a creamy spinach and cumin sauce or gravy as the Indians call it. Palak is an Indian or Hindi word that means spinach. It originated in Kashmir.
The eating habits and diets of Indians varies greatly depending on where they live and what their religion is. One constant is their love for vegetables though. Even the Indians who are meat-eaters still have at least 2 or 3 vegetable side dishes to go with the meat.
Spicy Stir-Fried Mushrooms and Spinach
1 tsp cumin
1/2 tsp turmeric
1/2 tsp garam masala
2 tsp garlic
2 tsp ginger
1 jalapeno, diced fine
1/2 onion, diced fine
2 lbs spinach, stems removed, chopped
1/2 lb mushrooms, stems removed and quartered
salt & pepper to taste
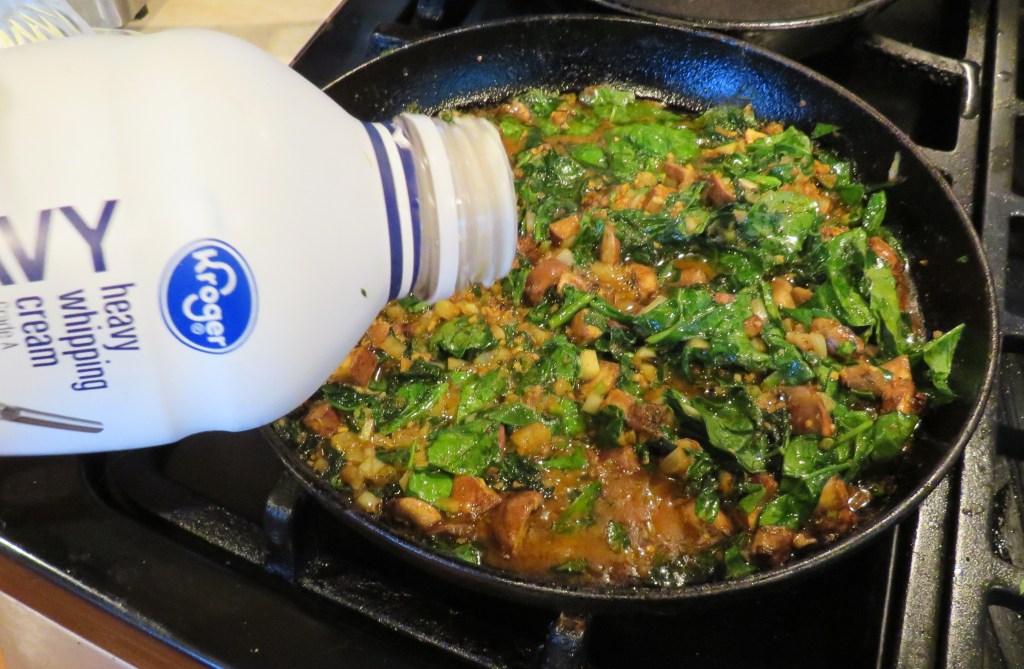
2 TBSP heavy whipping cream
olive oil
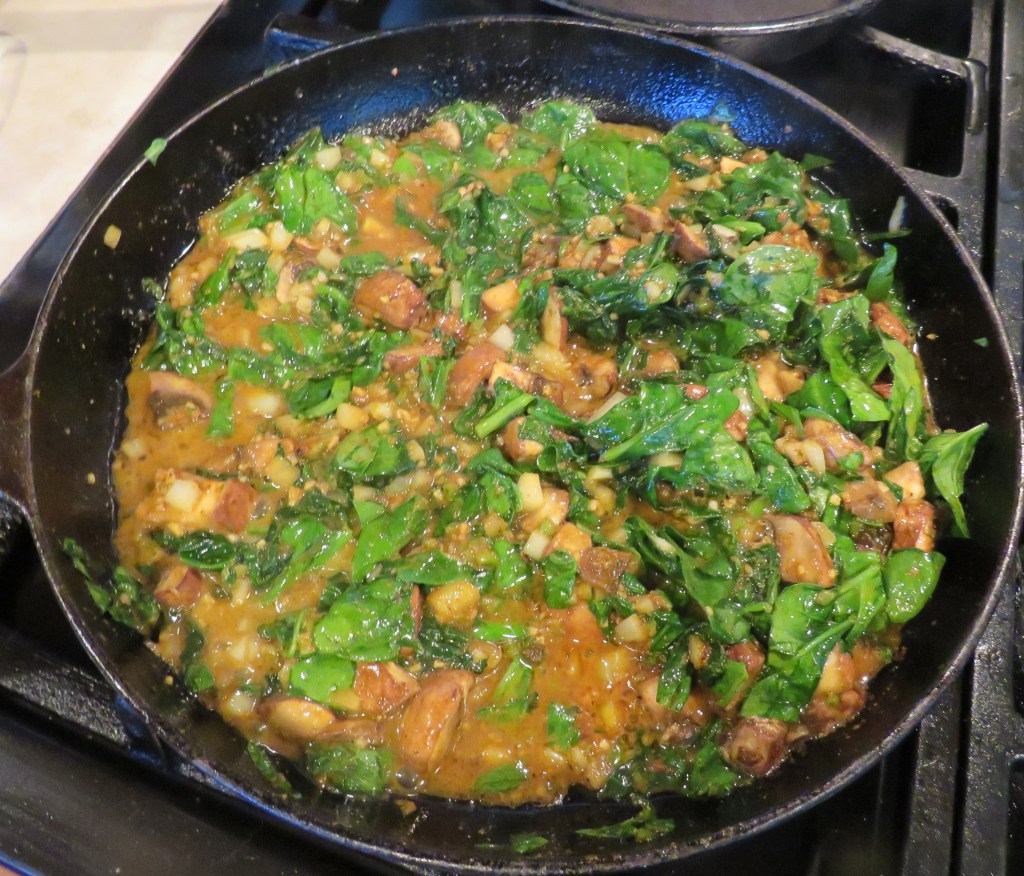
Get a large skillet or pan very hot, then add the oil, onions, garlic, jalapenos, turmeric, ginger and cumin. Cook for about 1-2 minutes, stirring constantly. Add the spinach and mushrooms and continue to cook for about 3 minutes, or until the spinach and mushrooms are cooked, stirring frequently.
When the spinach and mushrooms are cooked, add the garam masala and cream and incorporate well into the mixture and continue to cook for about 1-2 minutes, stirring constantly. Adjust the seasonings as needed.
Serve along side your favorite Indian dishes and enjoy. 🙂
Have a great day and make everyday great. Stay safe and stay well. ‘Til next time.
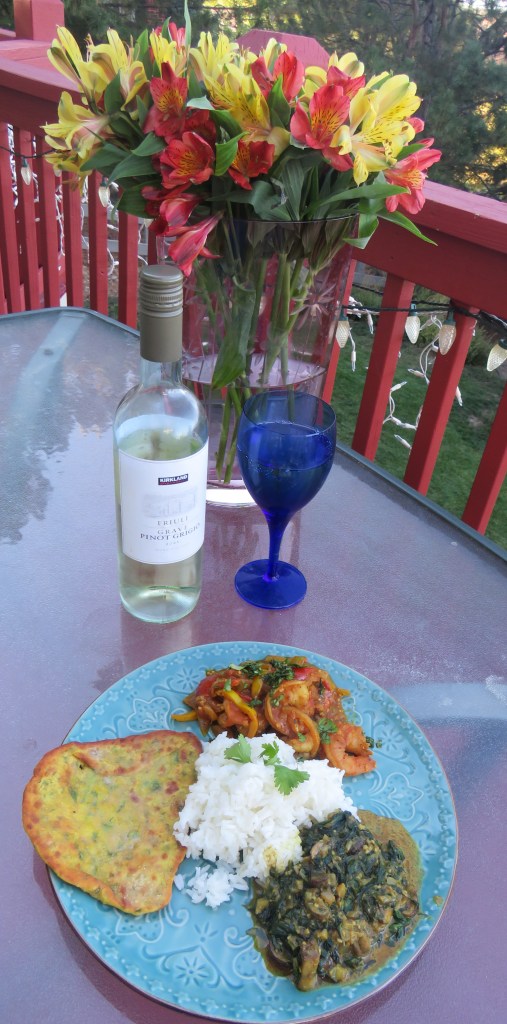
I still had some shrimp down from our last shrimp meal, and had to do something with it. Something different of course. I did too. I turned it into a spicy Indian shrimp dish known as Karhai Jheenga. I served it with rice, spinach and mushrooms or Khumbh Palak and a chickpea flour pancake or Methi Thepia. It was a very tasty, authentic Indian meal.
India is a big country, with over 7000 km of coastline. So seafood and prawns are prominently featured in a lot of Indian dishes, especially those from the south and eastern coastal regions. Though today, seafood is found all throughout India. Seafood and shrimp became popular in India during the 19th century and has been enjoyed in many ways ever since.
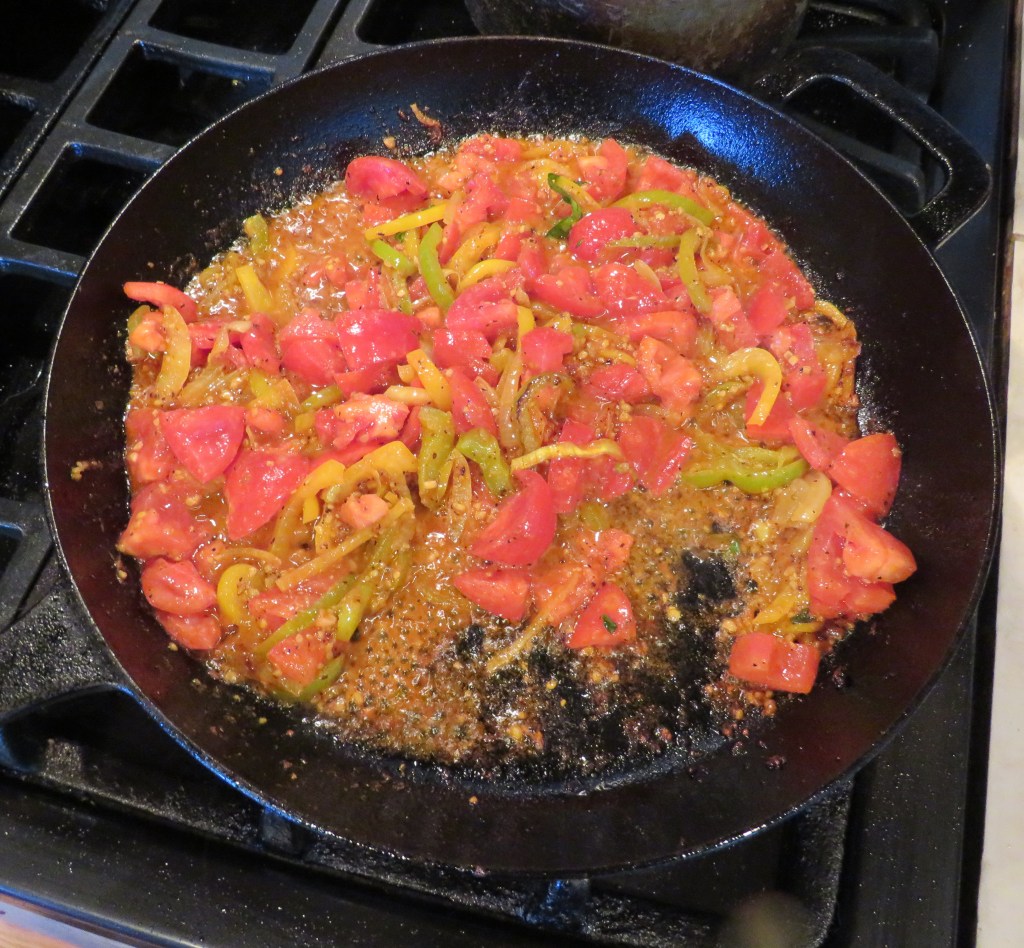
Karhai Jheenga or Spicy Indian Shrimp
I am still trying to use all my delicious tomatoes from Janet and Bob, so not only was I looking for a good recipe for my shrimp, but I was also looking for recipes that used tomatoes too. This recipe met both requirements deliciously.
1 lb large prawns or shrimp, peeled, deveined and rinsed
1 tsp cumin
1/2 onion, sliced very thin
1/2 green and 1/2 red pepper, sliced into thin matchsticks
1 TBSP garlic
1 TBSP ginger
4-6 tomatoes, diced
1/2 tsp turmeric
1/2 tsp chili powder
salt & pepper to taste
pinch of sugar
1/2 tsp red pepper flakes, or to taste
fresh cilantro, chopped and divided
oil for cooking – I used both olive oil and red chili oil
Get a large skillet very hot, then add the oil(s), onions, peppers and spices. Cook for about 10 minutes or until the vegetables start to tenderize and the onions become soft, stirring frequently.
Add the garlic, ginger, sugar and tomatoes, and a little water if needed. Cook for an additional 10 or so minutes, stirring often.
Add the prawns and 1/2 of the chopped cilantro and continue to cook for yet another 8-10 minutes, or until the shrimp are completely cooked.
Adjust the seasonings as needed, top with the remaining cilantro and serve with rice and whatever Indian side dishes you like. If you like spicy foods, shrimp and tomatoes, I promise this will be a new favorite too. I served it with a cool and Pinot Grigio. The white wine pairs nicely with the spiciness of the dish and tones it down.
Life is short. Spice it up. Have a great day and make everyday great. Stay safe and stay well. ‘Til next time.
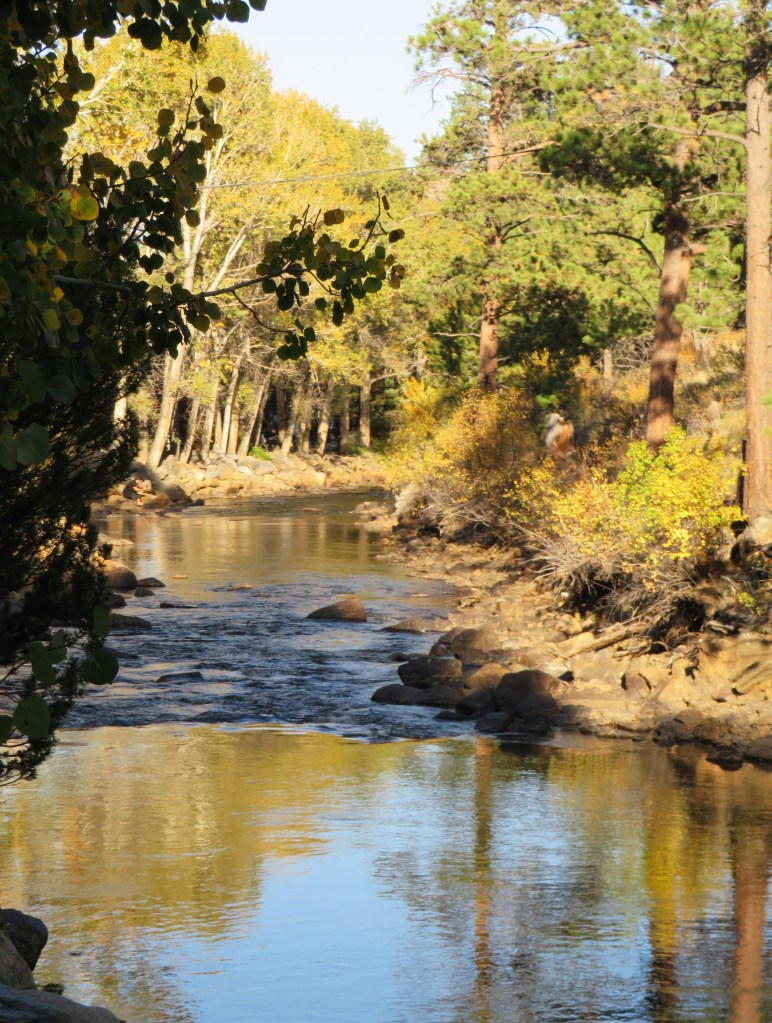
We went to Rocky Mountain National Park (RMNP) for some early fall leaf peeping. RMNP is gorgeous at any time of the year, but it is especially pretty at this time of year. It will be even more beautiful in a couple of weeks, when all the leaves are showing off their fall colors. We took a drive up to RMNP for Lauren’s birthday. 🙂
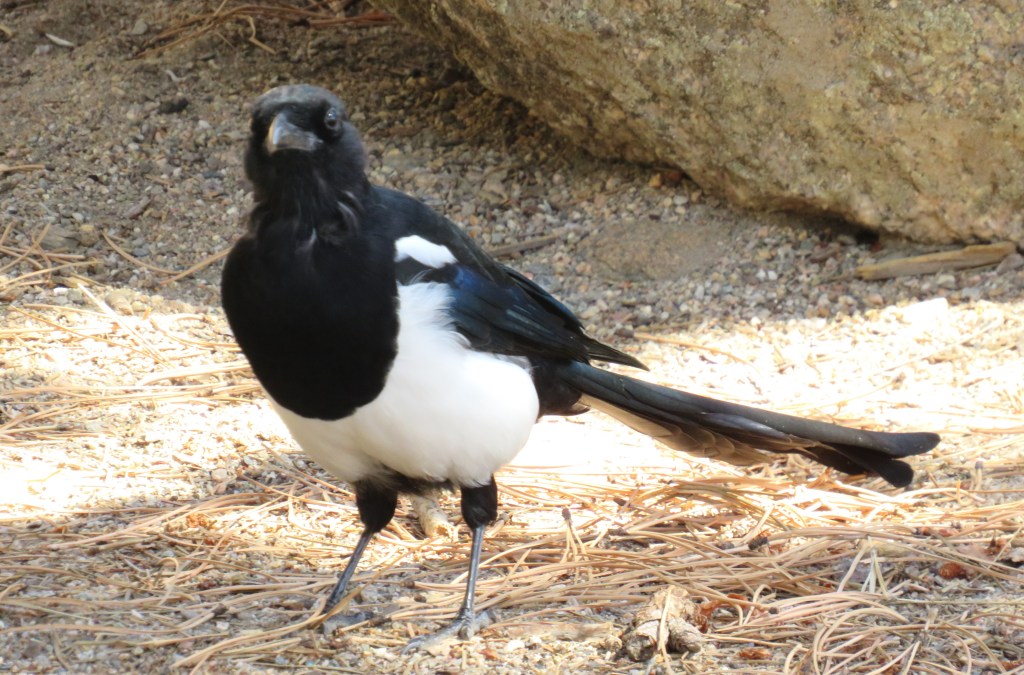
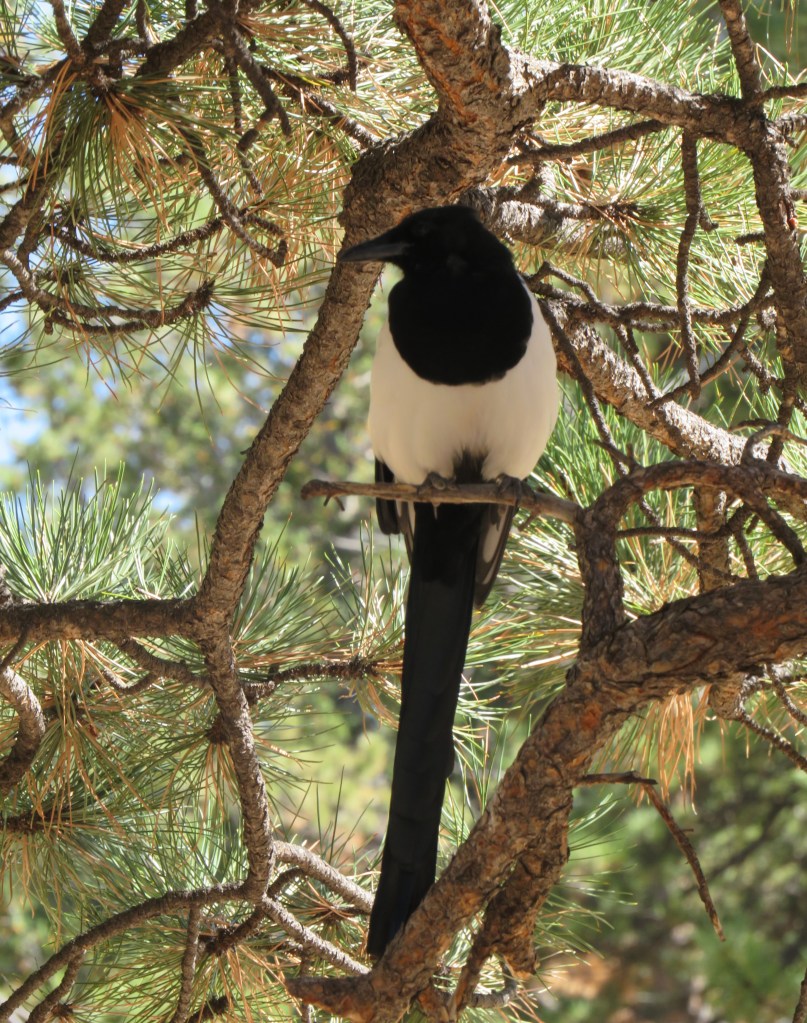
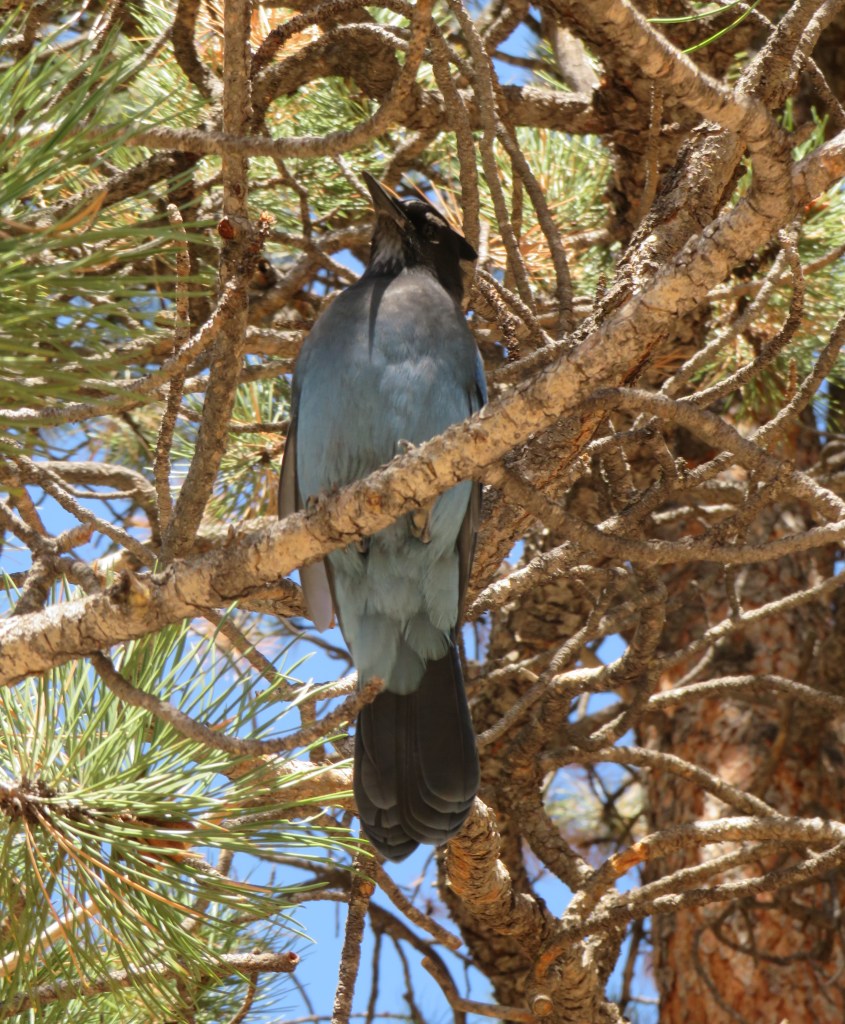
We packed up some sandwiches, fruit, chips, sodas and water, and a few other miscellaneous picnic items and headed to the hills. We had a 12:00 reservation for RMNP. Our first stop in the park was to enjoy our picnic lunch. These beautiful magpies and stellar jays joined us for lunch.
My beautiful birds are ALWAYS welcome, but the views were the reason we went this time.
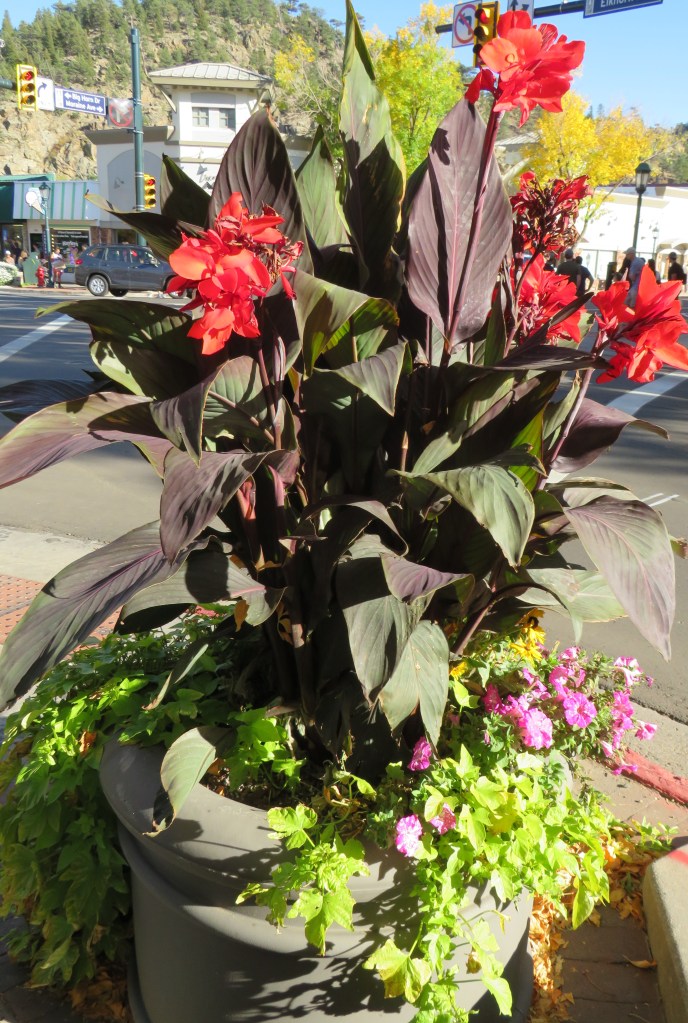
We took the driving loop then headed back down the mountain, and a trip to Estes Park. Estes Park is another gorgeous place. It is one of our favorite places to go to get away for a bit. It’s only a little over an hour away. Because it was such a beautiful day, Estes Park was a busy, bustling place to be. It seems everyone had the same idea we did.
There was also a craft fair taking place.
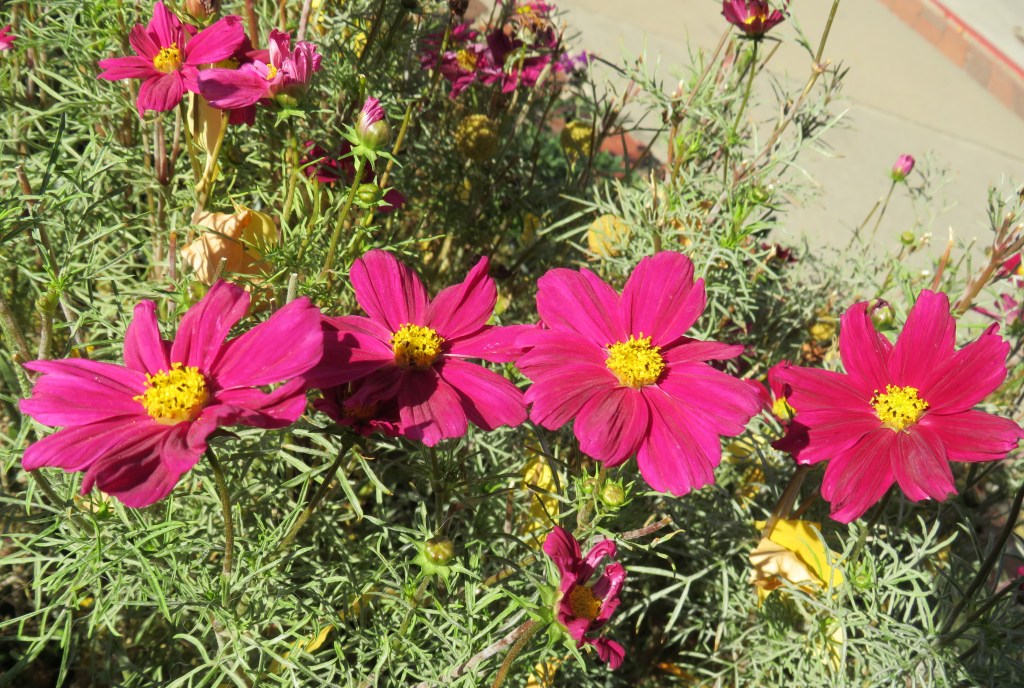
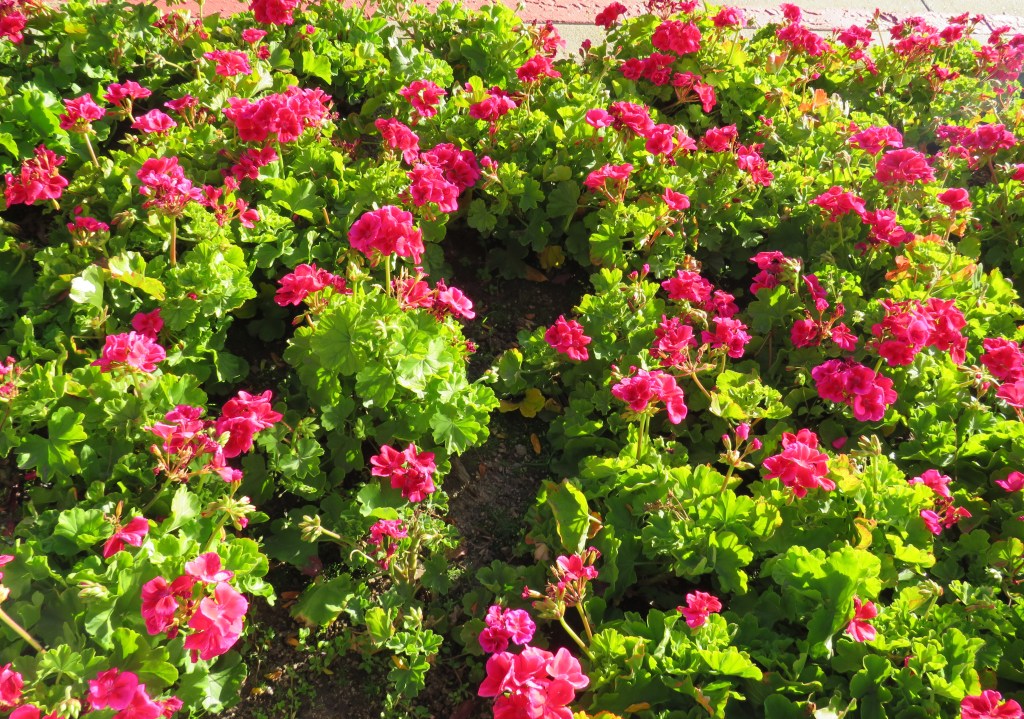
Estes Park was also showing off its fall colors.
The flowers were still blooming brightly and were very welcoming.
We were hoping to see some elk and other critters as well, since it is also elk season, but not this time. Not a one. Next time. But the colors of the trees were spectacular. 🙂 The Aspens were shimmering in gold.
I love fall in Colorado. I love all the phenomenal colors. Happy fall everyone.
We had a busy, celebratory weekend. First, it was our anniversary on Friday, 21 Years Ago Today, Las Brisas and second, we were also celebrating Lauren’s birthday on Saturday, which is tomorrow.
Lauren wanted to go “leaf peeping” up in Rocky Mountain National Park (RMNP) and then into Estes Park to celebrate her special day. The leaves are just now beginning to turn and to show off their fall colors, but they were still beautiful. More on that later. After a beautiful day up in the mountains, we came back to our house for some quick quesadillas, a few rounds of Farkle and some tropical tart that I made for Lauren’s birthday.
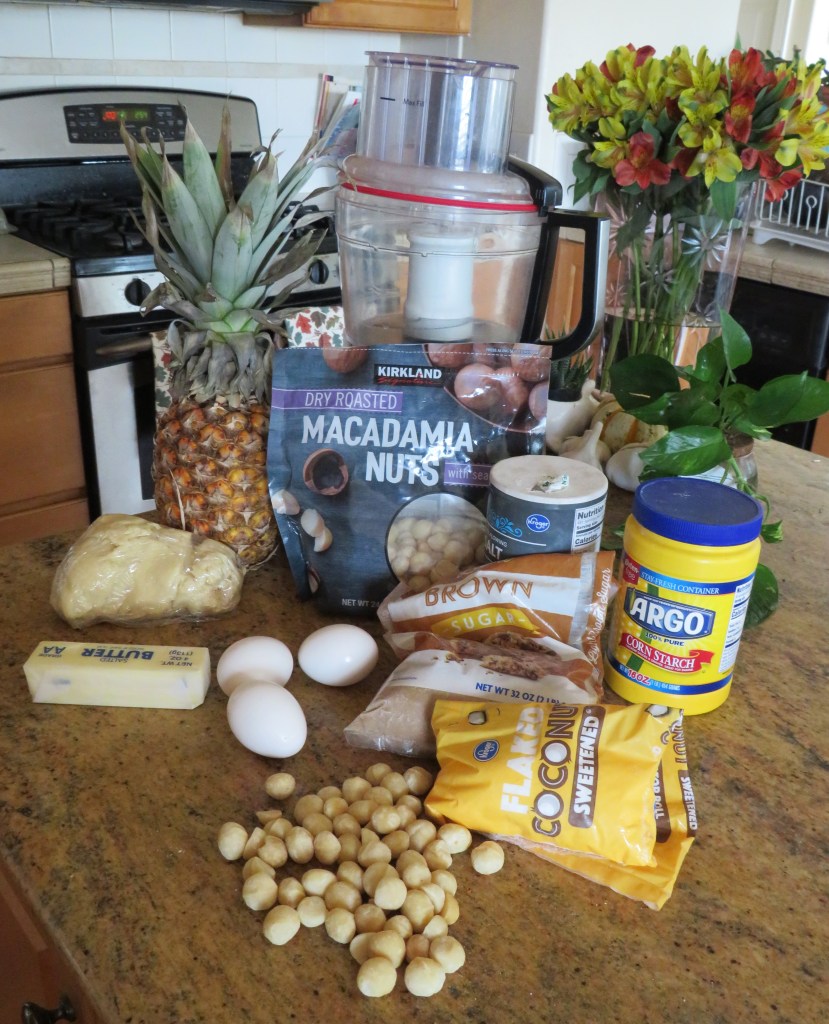
As usual, I started with a basic recipe, then made it completely my own.
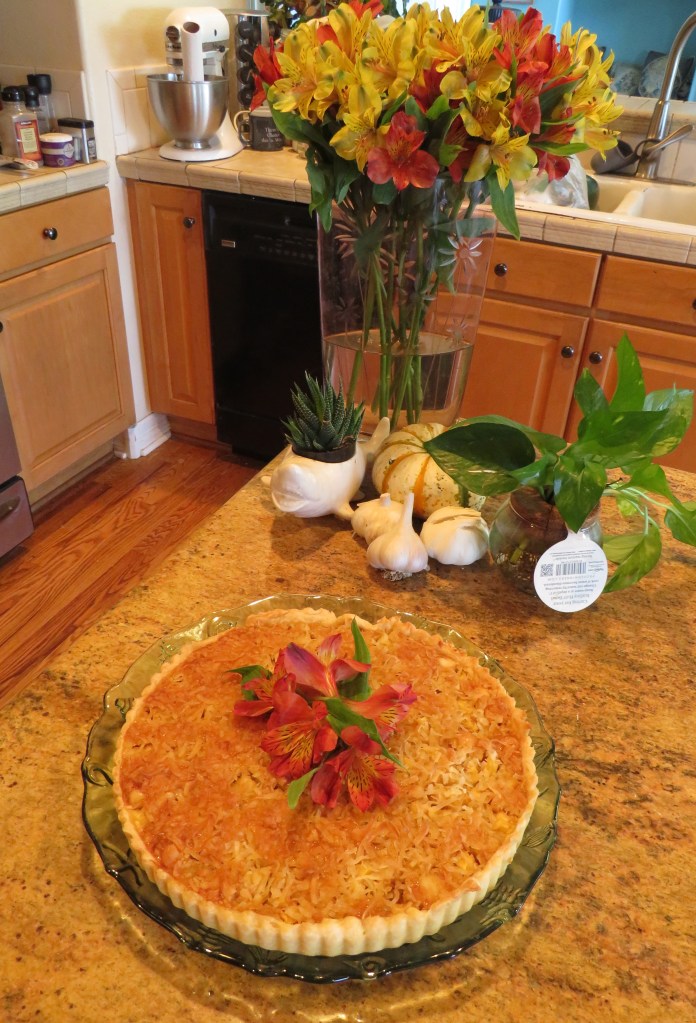
Tropical Tart
I made a pate sucre dough first. That is a sugar dough for those of you “non-bakers”.
1 1/2 cups flour
6 TBSP cold butter, cubed
6 TBSP powdered sugar
1 tsp salt
1 egg
5-6 TBSP heavy whipping cream
In the food processor, pulse together the flour, butter, salt and powdered sugar until it resembles sand. Then add the egg and the cream and mix again until it all forms into a ball. Wrap the ball in plastic wrap and chill in the refrigerator for at least 30 minutes before rolling out to shape in the tart pan.
When ready to bake the tart, preheat the oven to 375* F or 191*C.
1 1/2 cups macadamia nuts, chopped rough
3/4-1 cup chopped fresh pineapple or canned pineapple, drained
1/3 cup butter
1/2 cup brown sugar
1 tsp vanilla
1/4 tsp salt
3 eggs
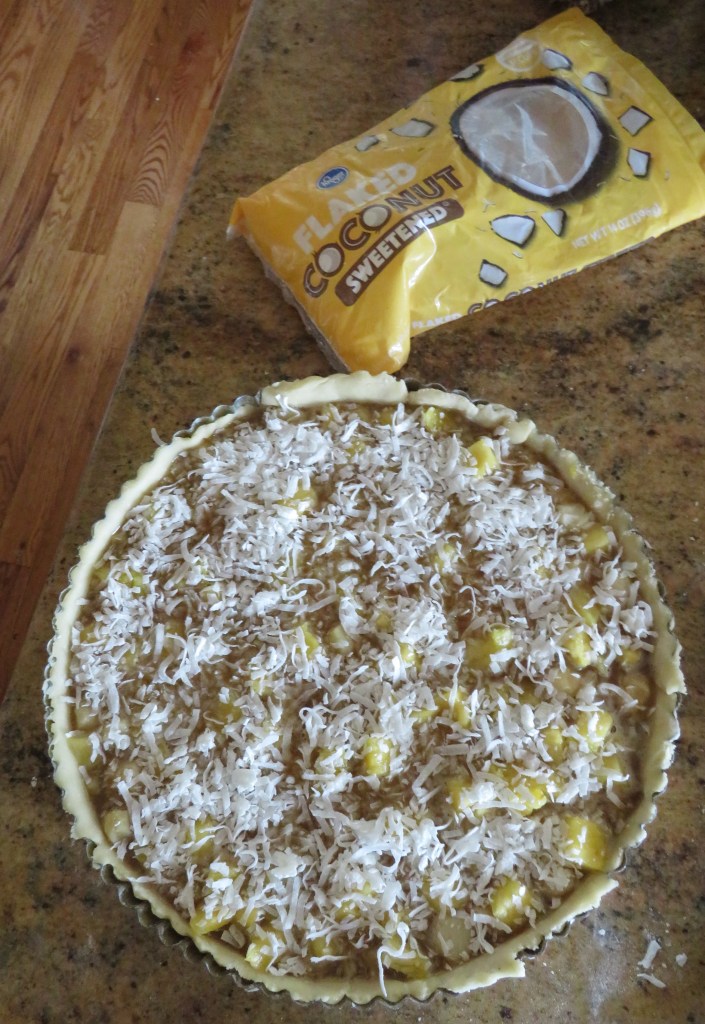
1 cup shredded coconut
1 TBSP cornstarch
2 TBSP heavy whipping cream
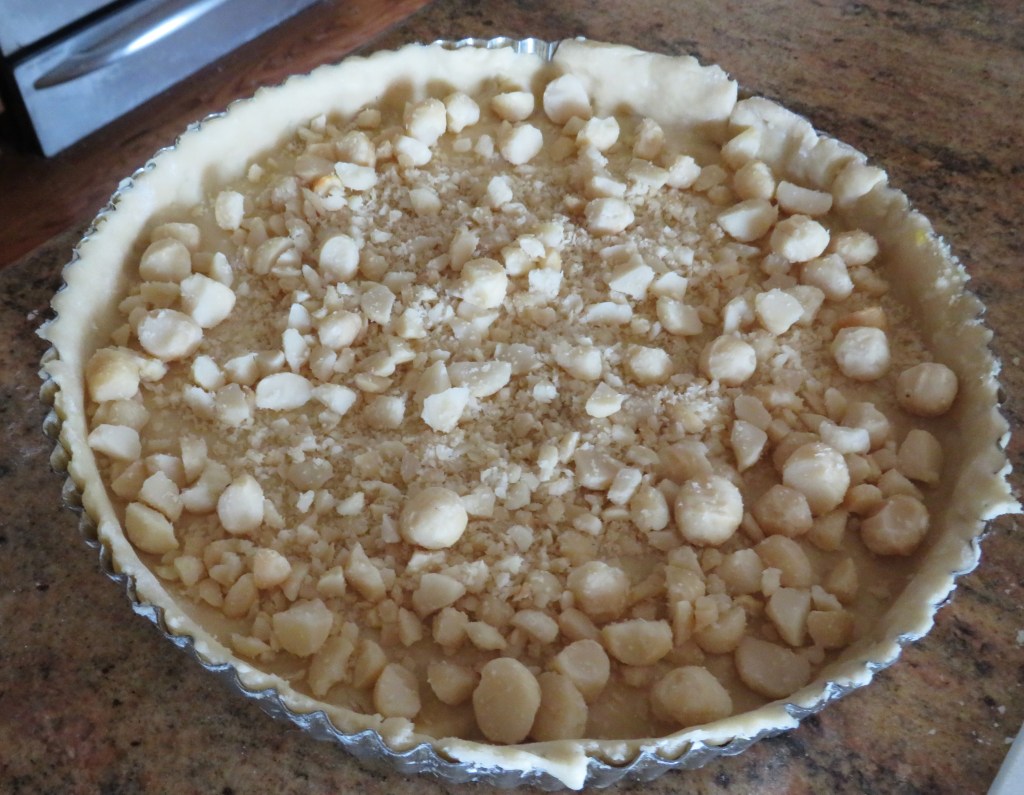
Roll out the dough and firmly press into the tart pan.
Add the chopped macadamia nuts to the bottom of the dough.
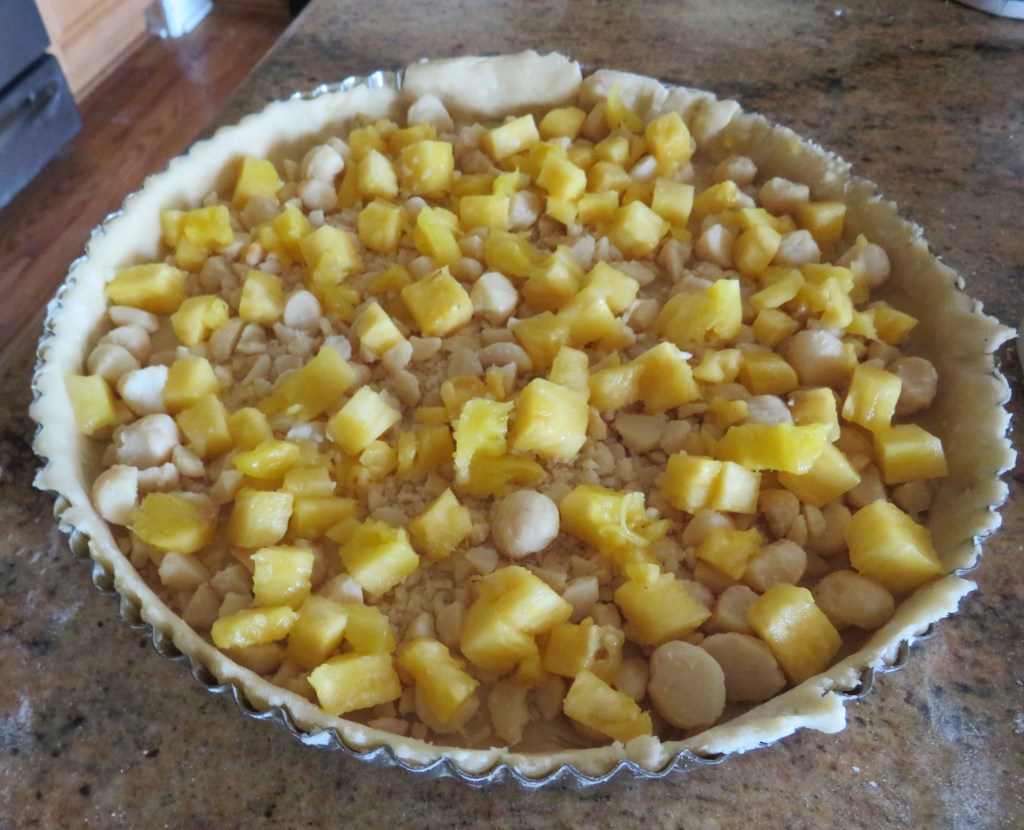
Add the pineapple chunks and cover the nuts and the dough.
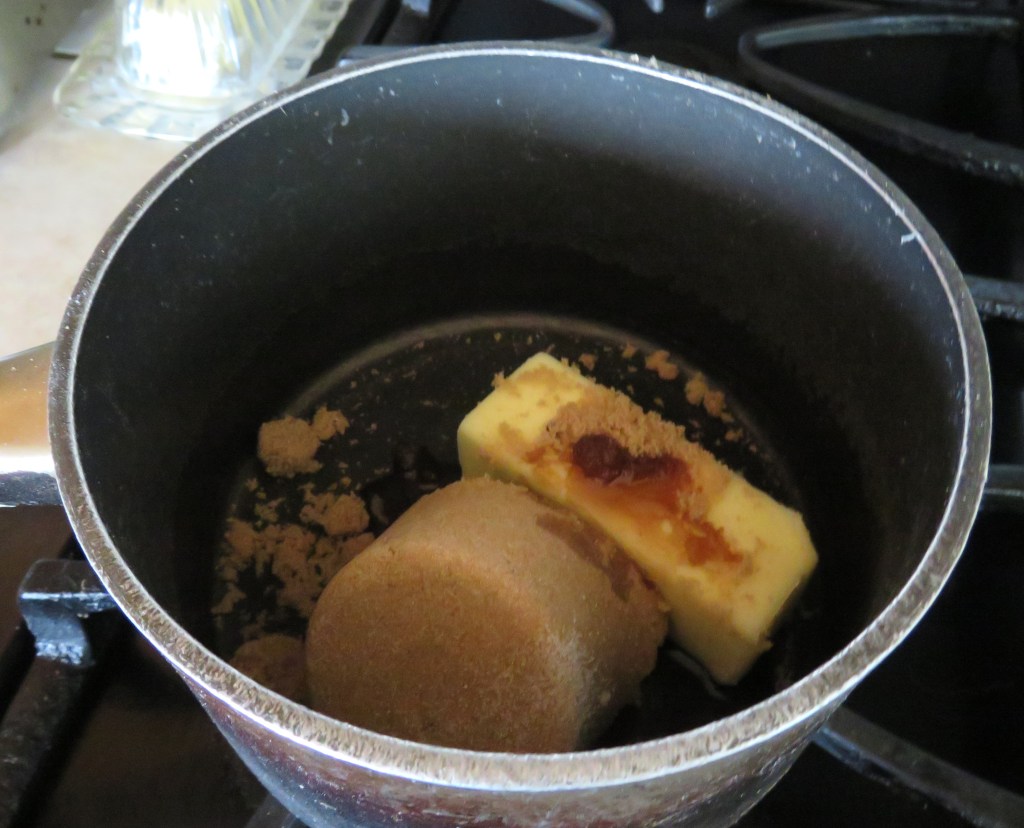
Melt the butter, brown sugar, salt and vanilla together in a saucepan, cooking until the sugar and butter are completely melted.
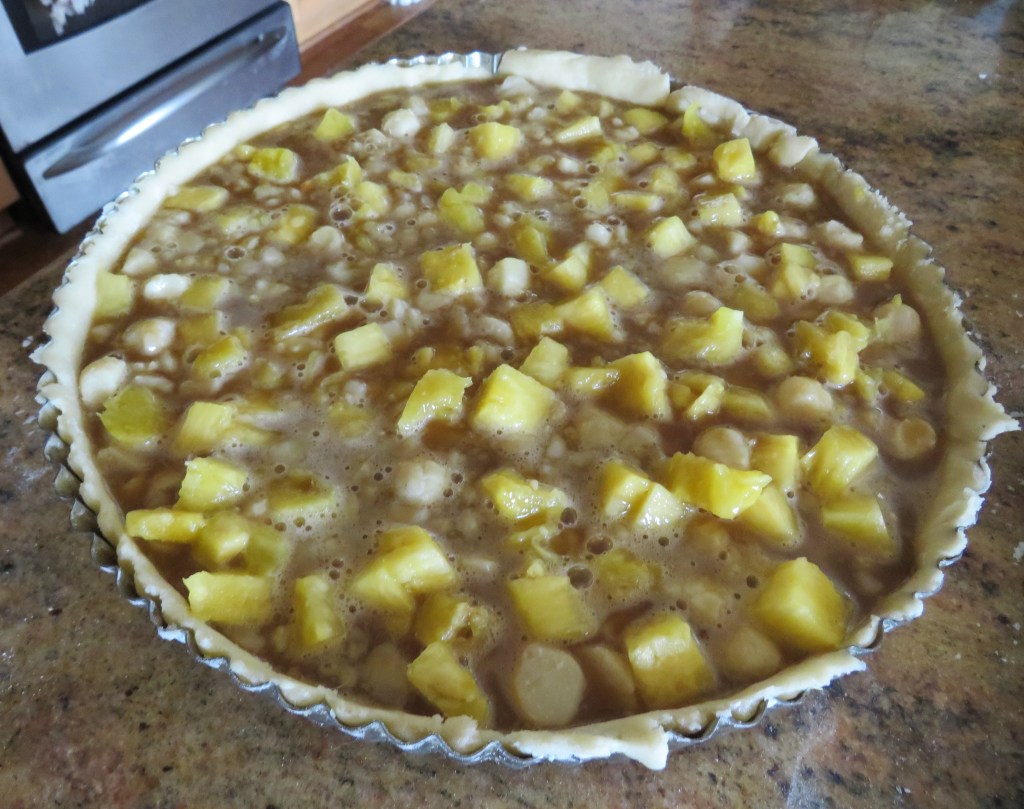
Whisk the eggs and the cornstarch together well, then slowly add to the butter and sugar mixture, whisking quickly and continuously until it is all incorporated together. Pour over the nut and pineapples. You DO NOT scramble the eggs.
Completely coat the top with the shredded coconut flakes.
Bake for about 40-50 minutes, or until the center of the tart is firm and the crust is lightly golden in color.
Let the tart cool completely before removing from the tart pan and slicing. This delicious tropical tart has just enough sweetness to satisfy your sweet tooth, without being too sweet.
If you want to reheat the tart for about 30 seconds in the microwave before serving, go right ahead. I think this tart tastes better when slightly warmed. Lauren loved her birthday tart, and I think you will too. Enjoy! Happy Birthday Lauren. 🙂
Have a great day and make everyday great. Stay safe and stay well. ‘Til next time.
Thank you all for the happy anniversary thoughts. We had a very good day flitting around from one place to the next. We ended our day with a trip to InVINtions, Video #17 – INVINtions, A Creative Winery and then dinner at Las Brisas (The Breezes)that was nearby. When at home, we don’t eat out too often, but it is nice when we do, especially when the food is good, and better yet when it is from a family owned restaurant with family traditions and recipes.
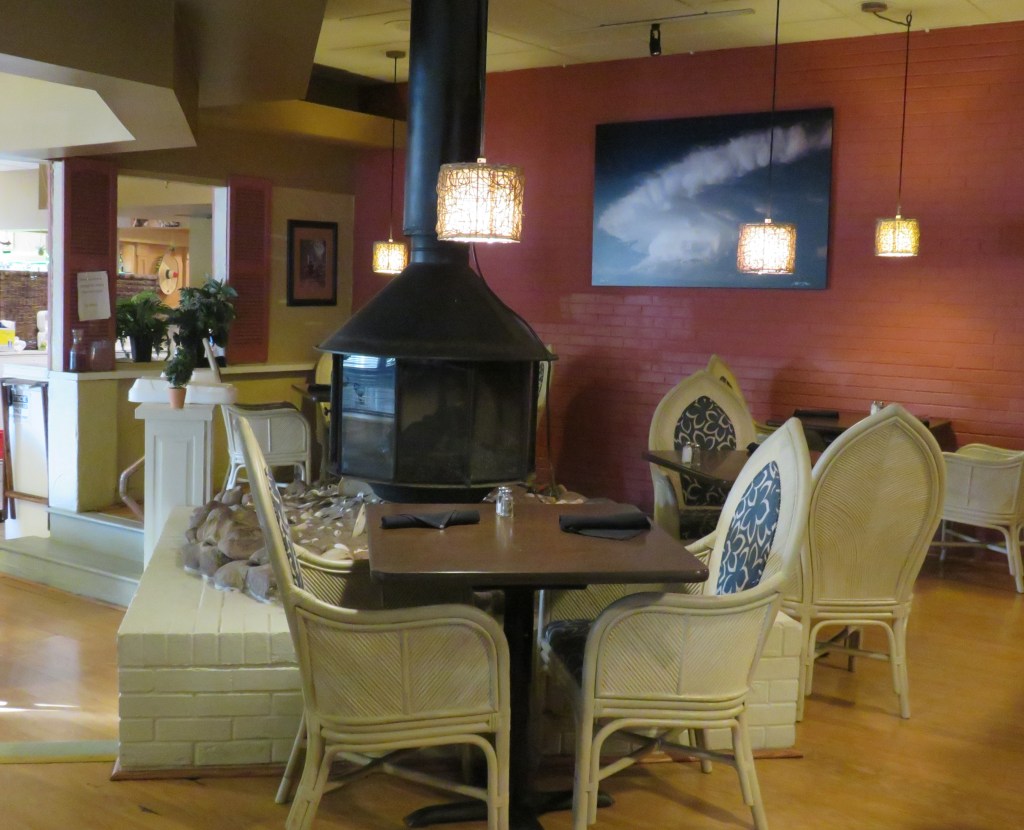
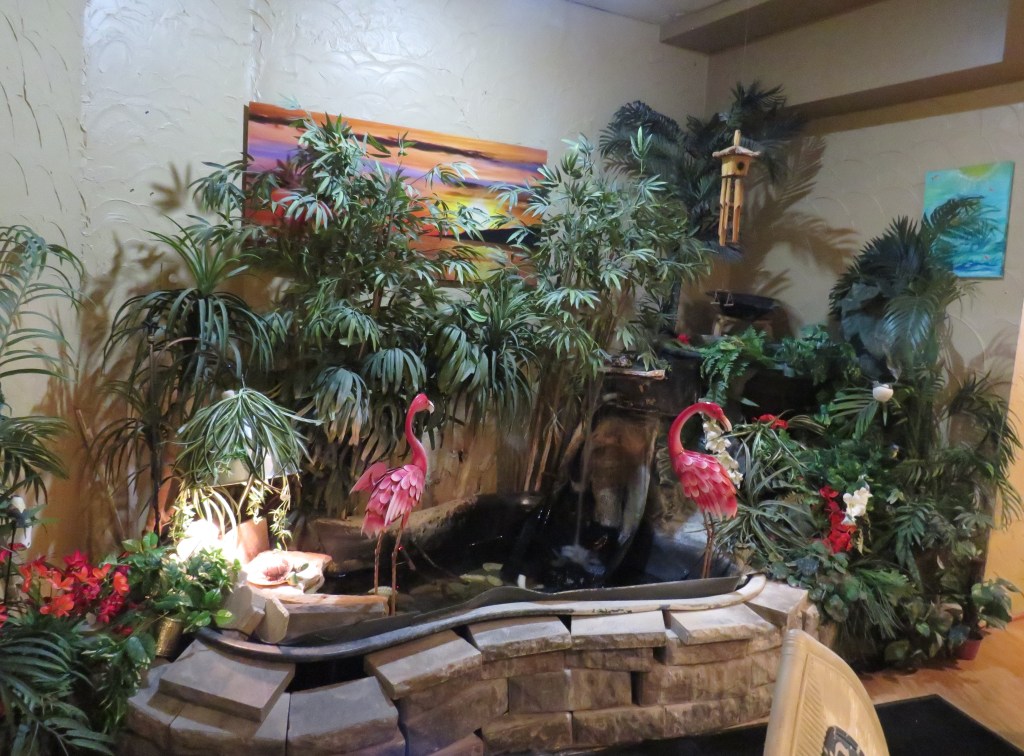
Las Brisas is a family owned Mexican restaurant where everything is made in house from scratch from family recipes. It is a Mexican restaurant that also features a little Italian and Caribbean flair as well. It is a Latin fusion restaurant. It is located at 6787 Clinton Street in Greenwood Village.
We started off with chips, salsa and guacamole, and I had a peach raspberry margarita as well.
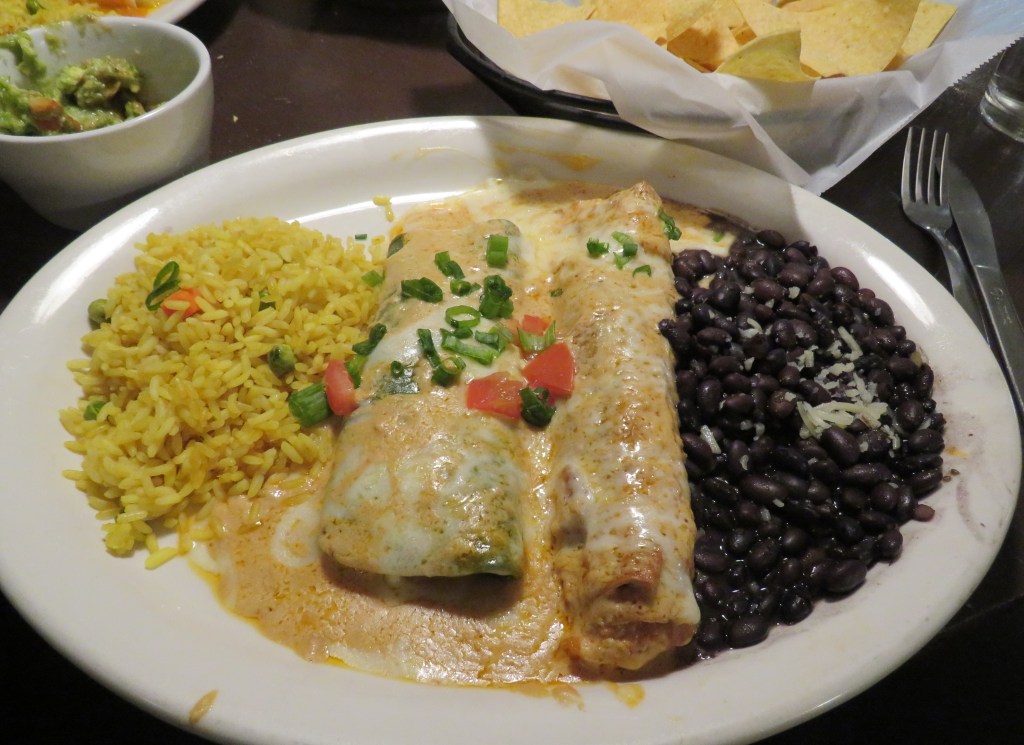
We both ordered enchiladas as the main dish. Mine were seafood enchiladas with a lobster sauce. I couldn’t finish everything, so I took the rest home to enjoy again later.
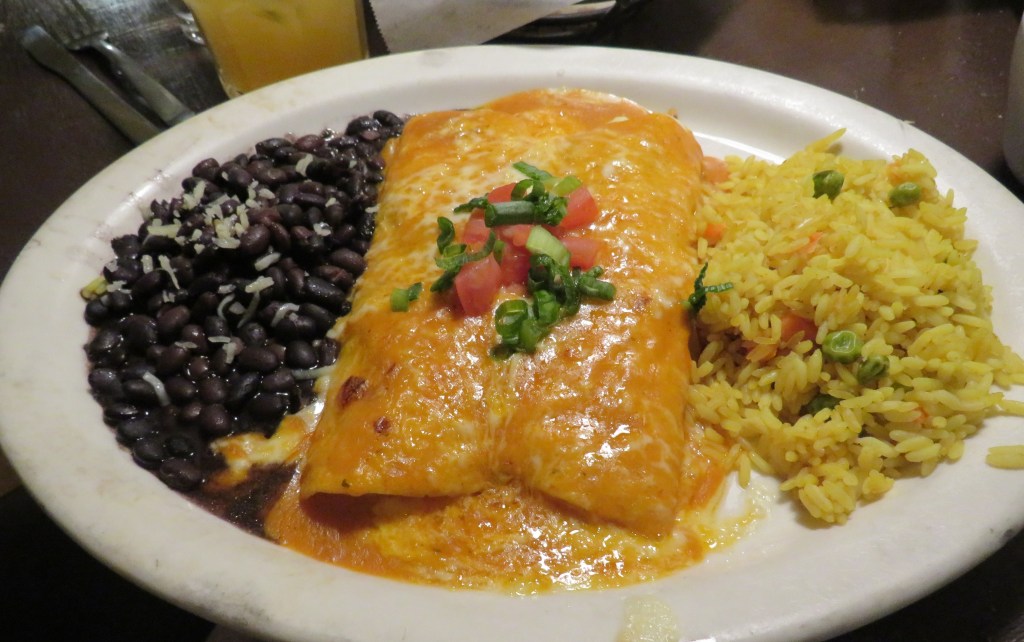
Larry ordered an enchilada and chili relleno combo plate. He ate it all.
The food was delicioso and the staff was very friendly and attentive. I thought we had been there before at first, but once we entered the restaurant, I realized we had not. But we will definitely be going back again.
Happy 21st to us, and counting.
Have a great day and make everyday great. Stay safe and stay well. ‘Til next time.