Garam Masala is a mixture of hot Indian spices used in 1000’s of recipes and 100’s of cultures around the world. It originated in Northern India, where the climate is much cooler than in Southern India. Because this spice is used by such a wide variety of people, from many different cultures and countries, there are many, many different variants and variations, although no matter where it comes from, it almost always is made from these basic ingredients: cloves, cinnamon, cardamon, black and white pepper, mace, bay leaves and cumin. Because this mixture of spices is so pungent, a little bit goes a long way, so don’t over do it. Garam masala was created as a way to help warm people up due to the cooler climates found in Northern India. It helps keep you warm by raising the metabolic rate, which raises your core body temperature. The words garam masala literally translate to mean a mixture of hot (garam) spice blend (masala) that is made into either a dry rub or a paste. Garam masala is an ingredient found in almost all curry recipes from around the world, and it is very heavily used as a staple in all Desi foods. Desi represents the people, cultures and products from the Indian subcontinent, and their diaspora, which derived from the Ancient Sanskrit, meaning land or country. The Desi people are represented by the people of India, Pakistan, Bangladesh, Nepal and Sri Lanka. There is a large Desi population and culture in the British Isles as well, since there was a massive influx of Desi immigrants from 1800-1950. Some form of Indian food can be found in most places around the world, since like Chinese food, it is a very popular type of food everywhere.
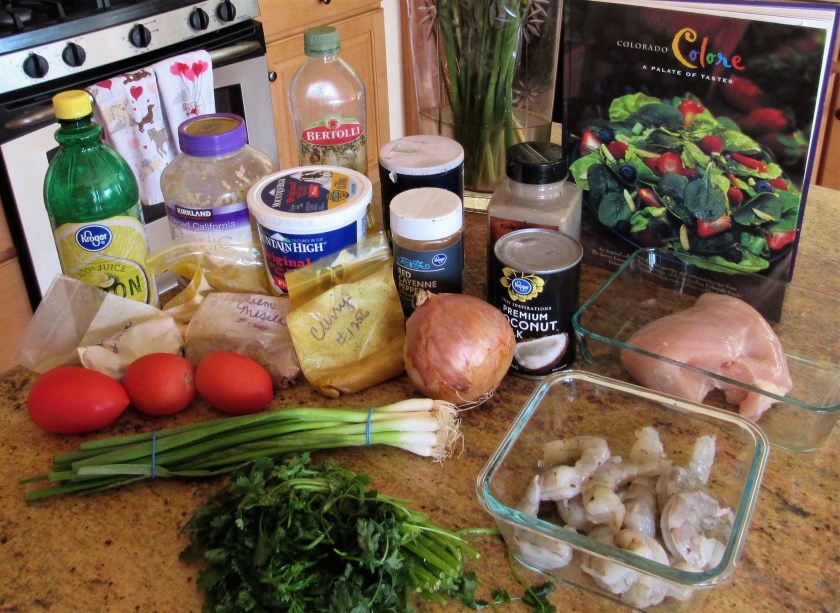
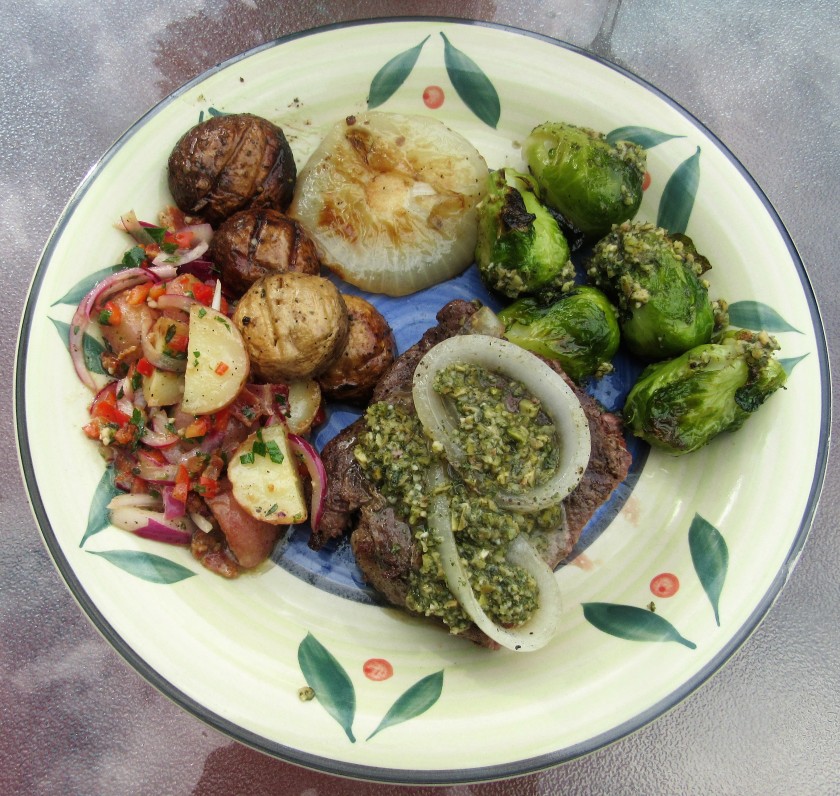
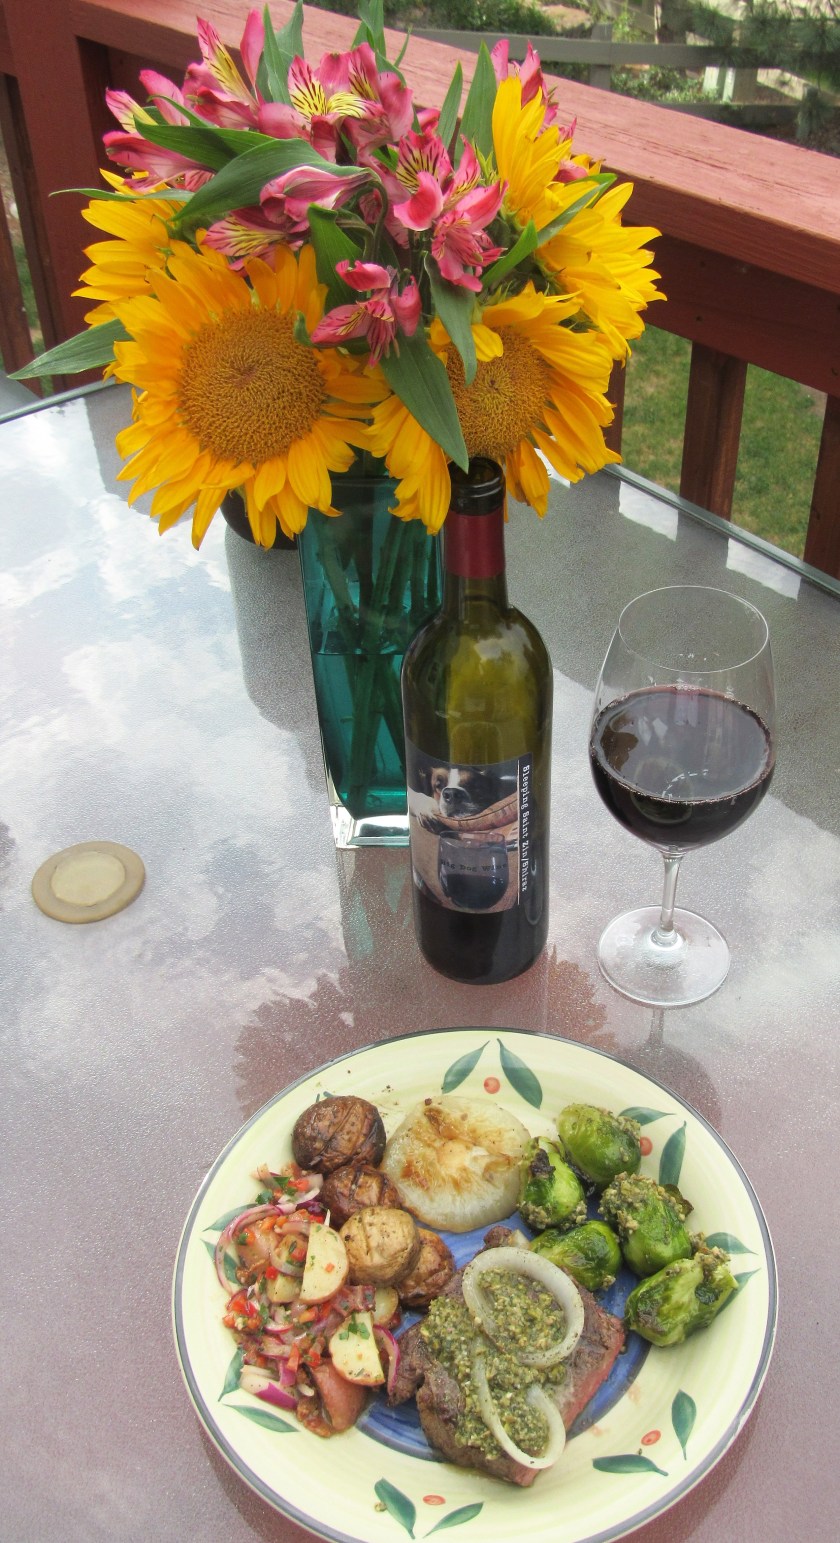
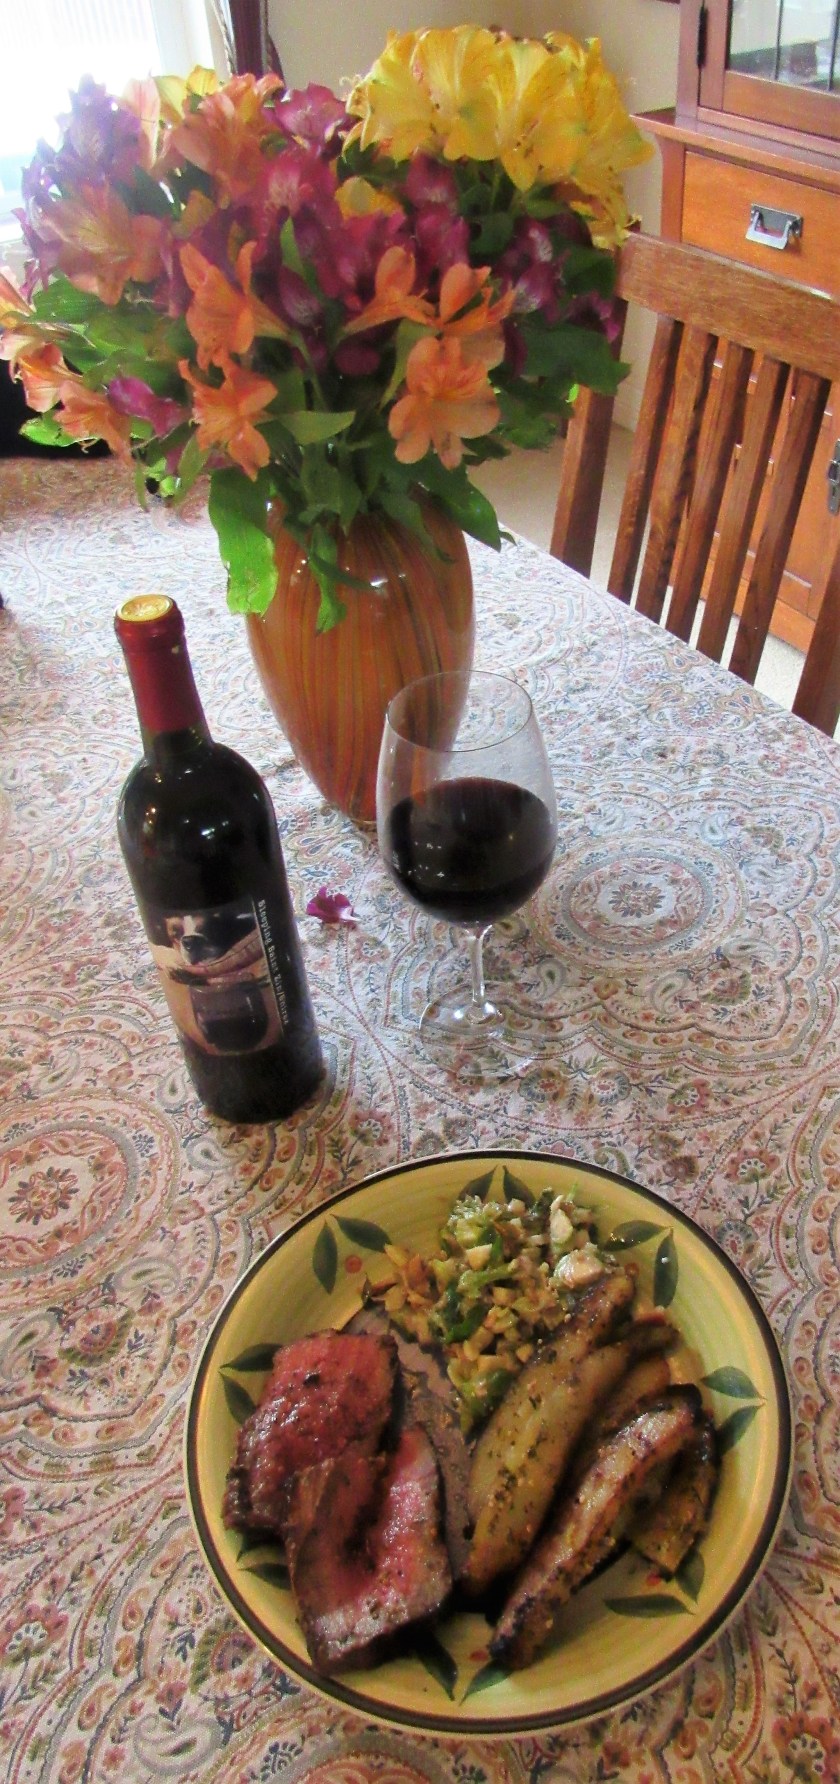
You can make masala dishes however you like, whether they be vegetarian or vegan, or with chicken or shrimp, or any combination thereof. I made my masala with both chicken and shrimp and I served it over rice, with some Asian dumplings on the side. A dry white wine is best to go along with this dish, since it will help ease some of the spiciness and acidity of the food. I chose a rich, fruity chardonnay, always my favorite choice of wine no matter what dish I am preparing.
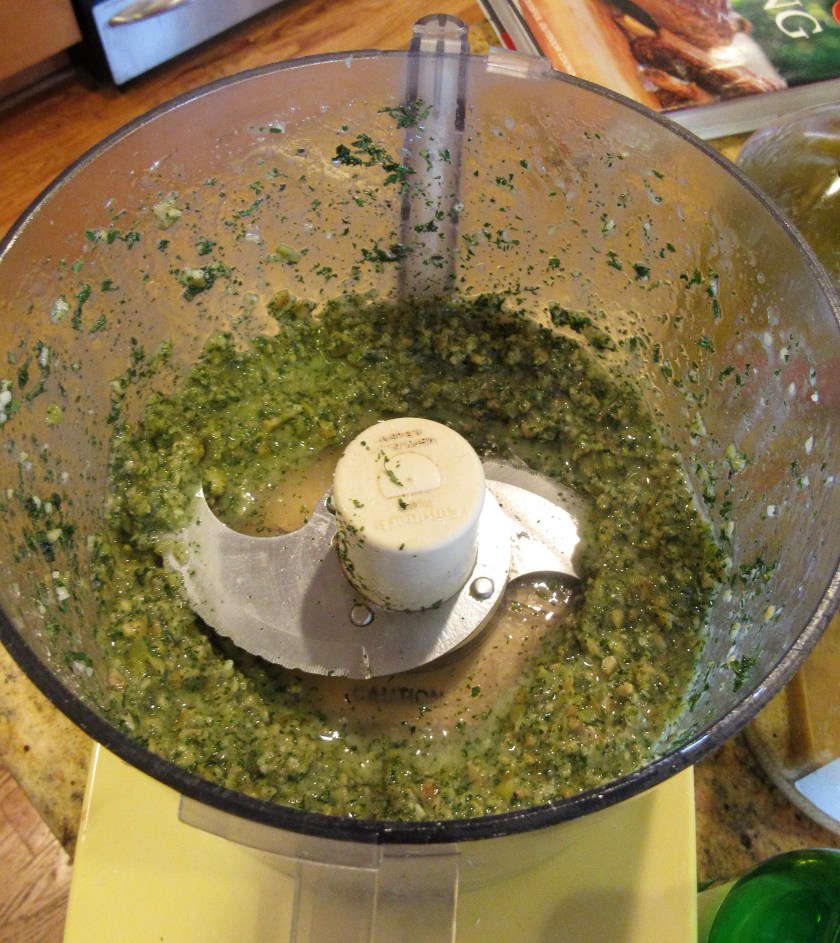
The Masala Sauce
2-3 TBSP olive oil, for cooking
1 onion, diced fine
4 TBSP garlic
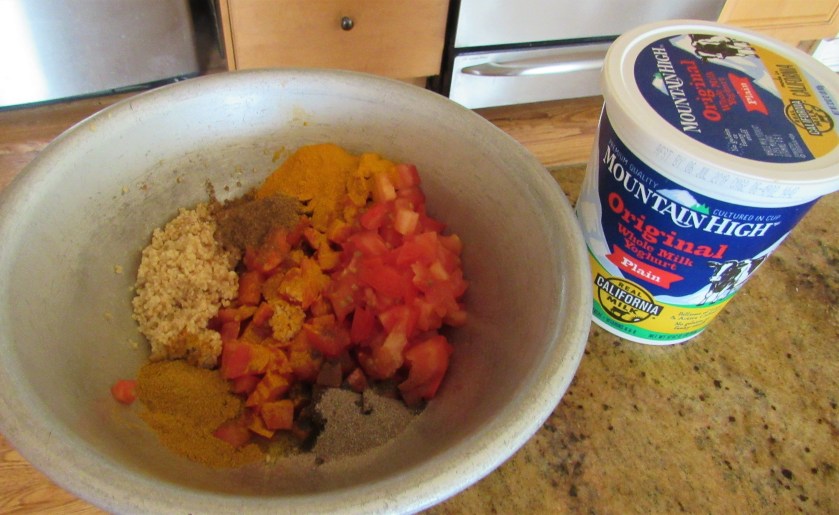
1 1/2 tsp garam masala
1 1/2 tsp curry
1 1/2 tsp coriander
1 1 1/2 tsp cardamon
1 tsp tumeric
3 Roma tomatoes, diced fine
1 1/2 cups plain yogurt
salt & pepper to taste
Add the onions and olive oil to a hot skillet and saute for about 20 minutes, or just until the onions start to brown. Mix together the herbs, tomatoes, and yogurt, then add to the browned onions.


The Shrimp and Chicken
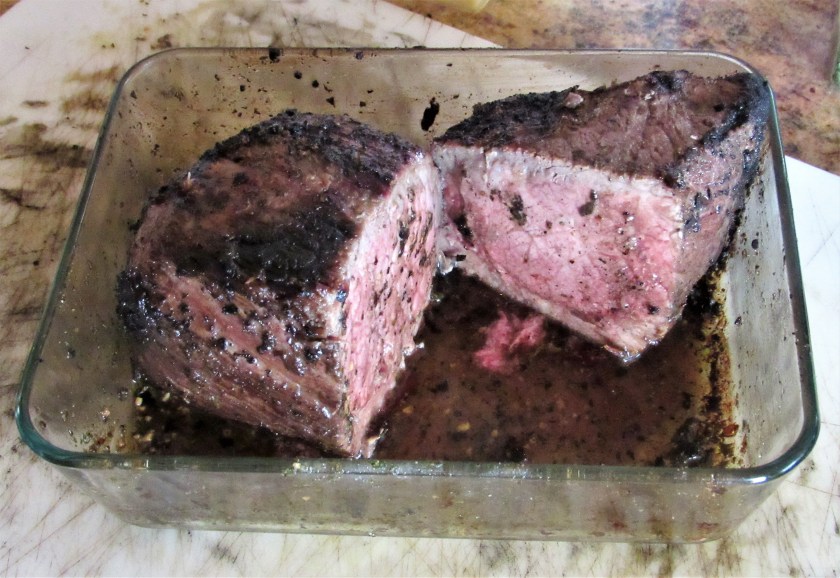
1 large chicken breast, cut into strips
1 lb large shrimp or prawns, peeled and deveined
3 TBSP olive oil for cooking
1 can coconut milk
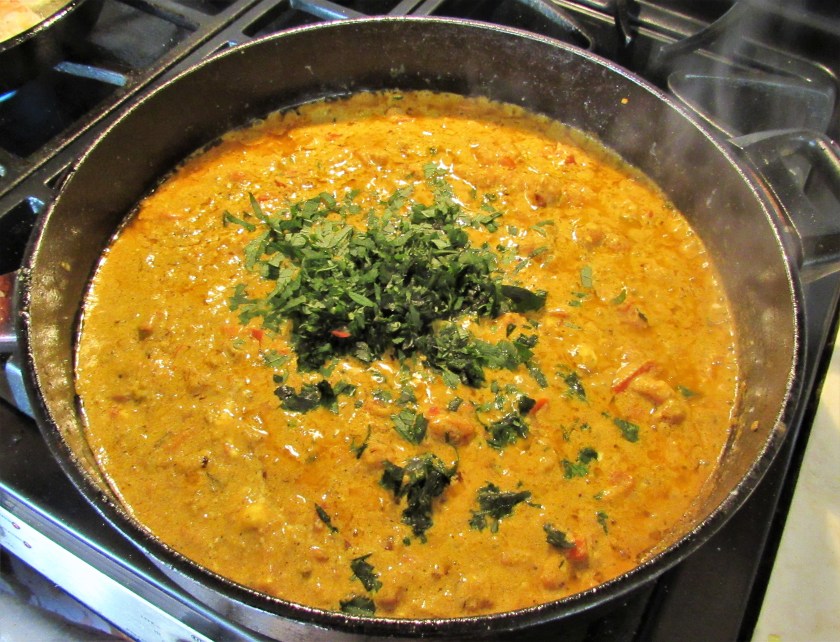
1/2 cup fresh cilantro, chopped fine
1/4 cup fresh lemon vebena, chopped fine, optional
1/4 cup green onions, sliced fine
1 1/2 TBSP lemon juice
salt & pepper to taste
cooked rice
While the onions are browning for the masala sauce, cook the chicken and the shrimp, separately, in olive oil. Then add the coconut milk and combine thoroughly.
 Once everything is combined, add the chicken, shrimp, coconut milk and herbs to the masala mixture and combine well. Bring to a boil, then reduce the heat to a simmer and let cook for about 10 minutes, stirring occasionally.
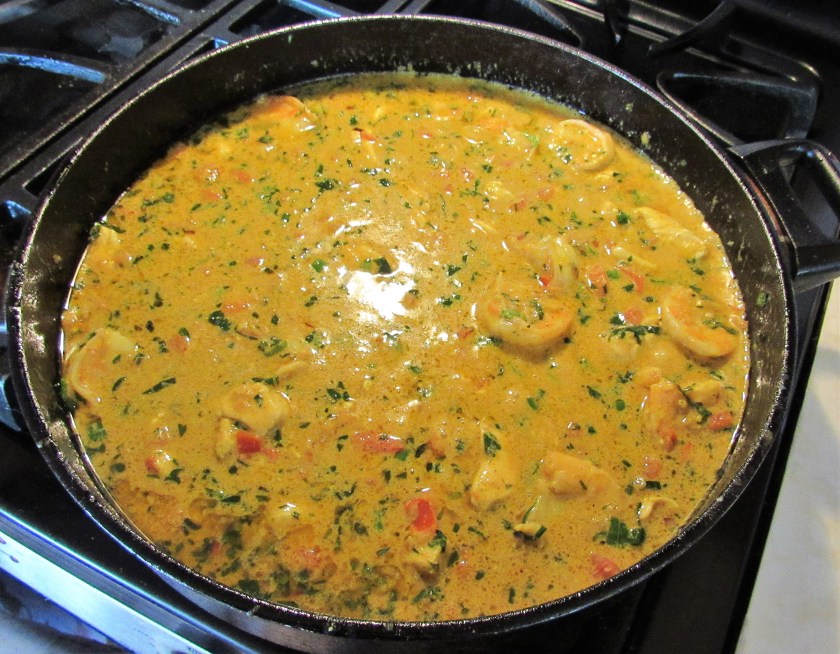
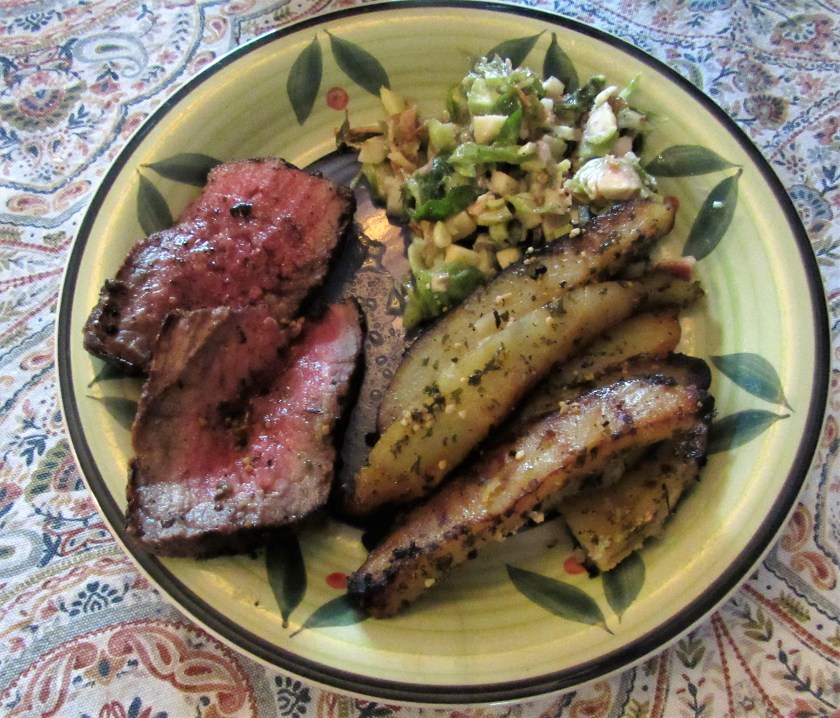
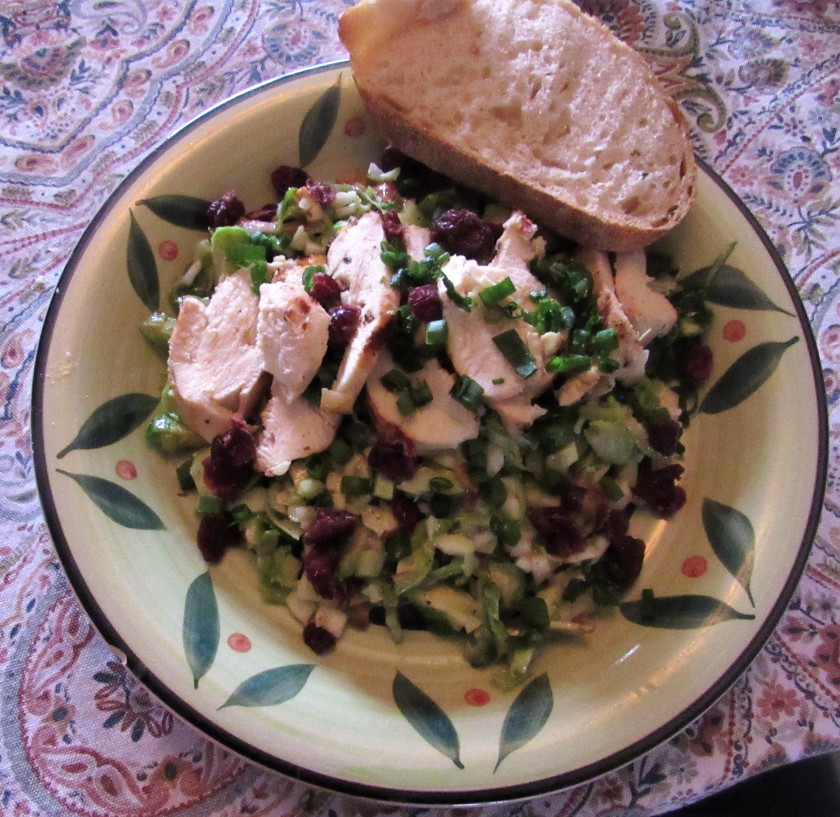
When everything is cooked, serve over rice and enjoy with a nice glass of chardonnay or your favorite dry white wine.


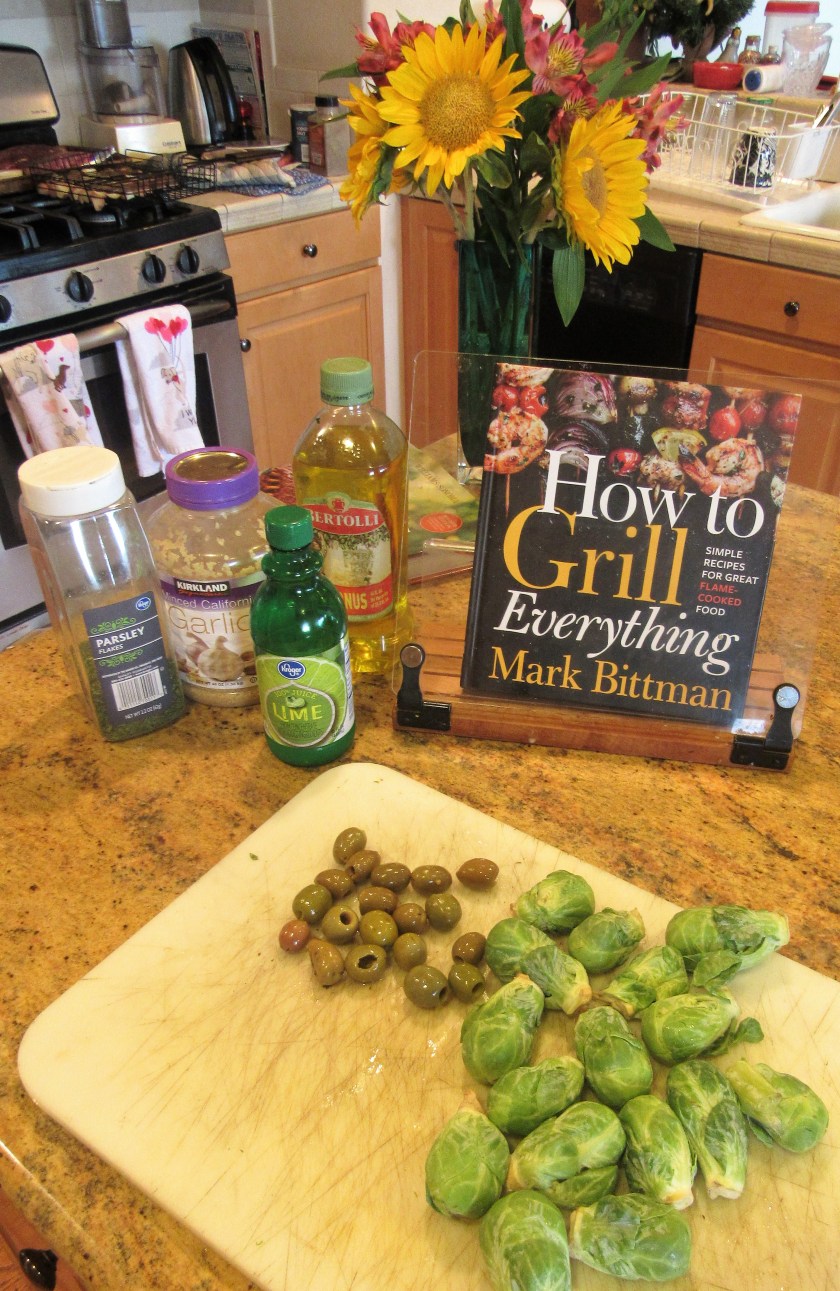


 1 lb Brussels sprouts, ends removed and sliced very thin
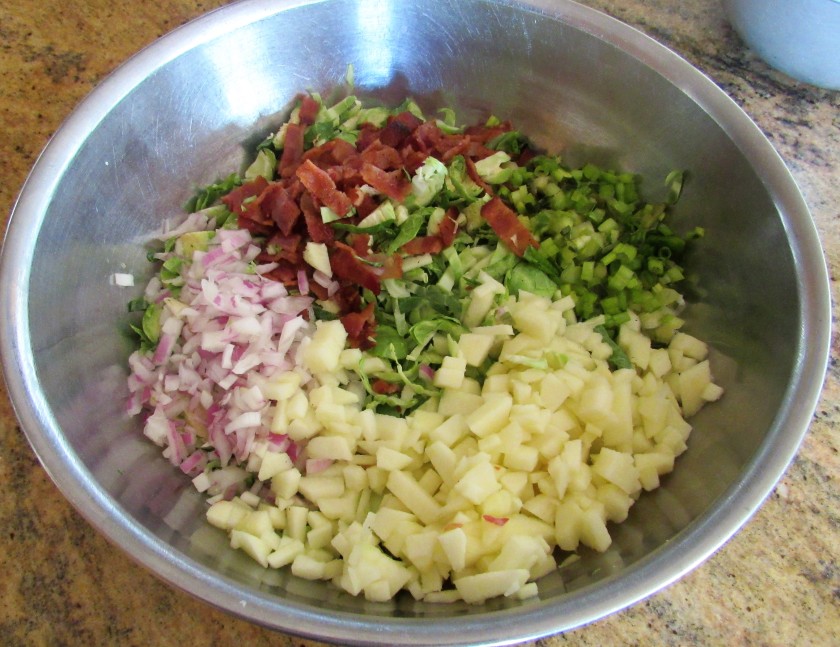


Angela Sterchele Best Indian Food Blog breakfast recipe Deeba Rajpal Farrukh Aziz Ansari Shaheen Ali Food Bloggers Council India Gourmet Hub Jayasri Ravi Pooja Khanna JEANNE JONES