Nature Walks – Our Cormorants Were Back

I just love walking around our lakes.  You never know who is going to stop by to us pay a visit.  Everyday is different and everyday has different guests.  Our walks are always  interesting and entertaining, no matter who comes out to play.

Our red-eared slider was back in the same spot, sunning himself on the same log as before.  I guess he is working on his tan.

IMG_2615

Our cormorants were the stars of the day though.  They were just out having so much fun sunning themselves and swimming around.  I saw two today, one on lake 3 and one on lake 2.  They tend to be loners.  Though we see them quite often, I can’t remember ever seeing more than one at a time, or at least not more than one per lake.  Today was no different.

On lake 3.


IMG_2626

IMG_2628

IMG_2629

On lake 2.

IMG_2634

IMG_2636

IMG_2635

Stay safe and stay well Everyone.  ‘Til next time.


A Little Jambalaya

One of the best ways to use up leftovers is to put them in the soup, or the chili, or in this case, the jambalaya, especially when you only have little bits of this and little bits of that.  Way back in the day, when I was operating corporate kitchens, we did that all the time.  My sous chef and I were very creative when it came to recreating our leftovers; a gift I’ve always been blessed with.  🙂  Jambalaya is a food that is deeply rooted in its humble beginnings, and it was the poor man’s food for the very reason that everything leftover was thrown into the pot.  If you had a little bit of shrimp, or a little bit of sausage, or a little bit of chicken or pork, it all got thrown in together.  All you needed to do was add some rice, peppers, garlic, onions, and spices, and voila; you now have a pot full of delicious jambalaya.  But don’t be fooled by all these little bits.  All these little bits add up to A LOT, so you better have a bit pot.  Every time I make a pot of jambalaya, it is always just a little bit different, depending on the little bits I have leftover at the time.  The point is, don’t fret about not having certain items.  Just use up what you have and enjoy.  The next time you make it, it will probably be different anyway, so feel free to let those creative juices flow.

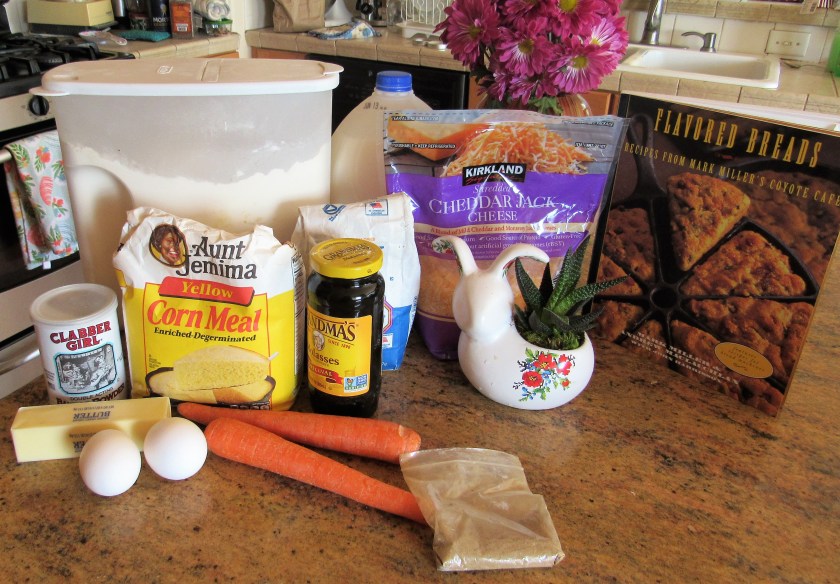
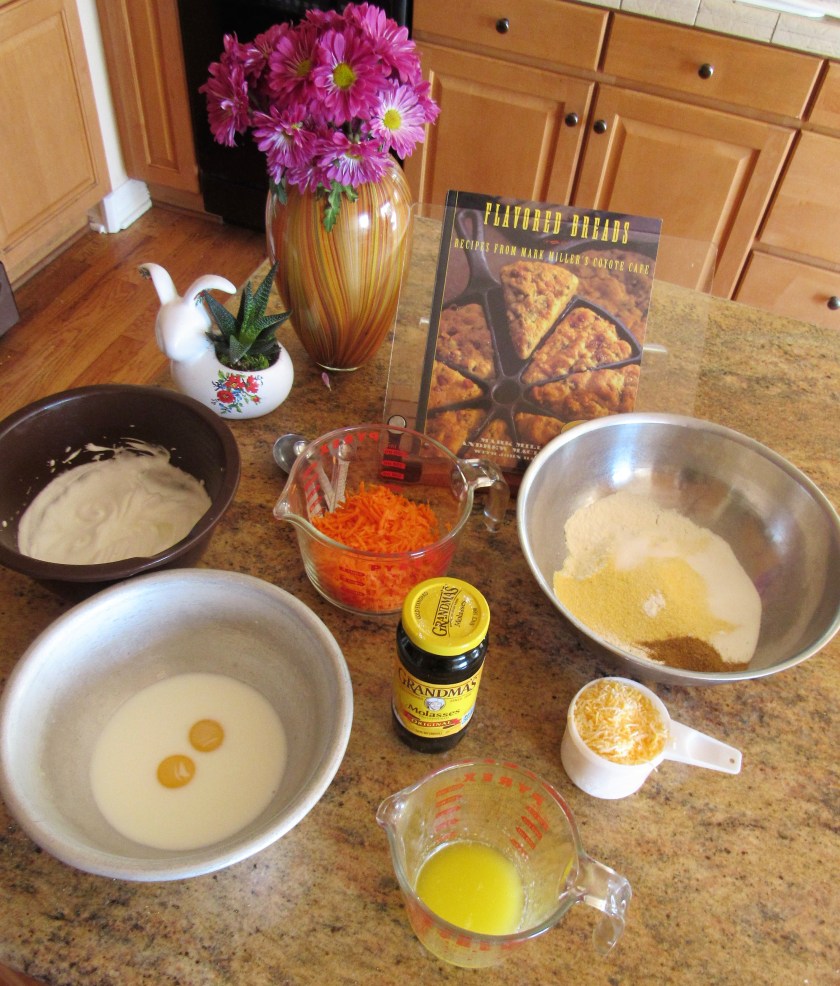
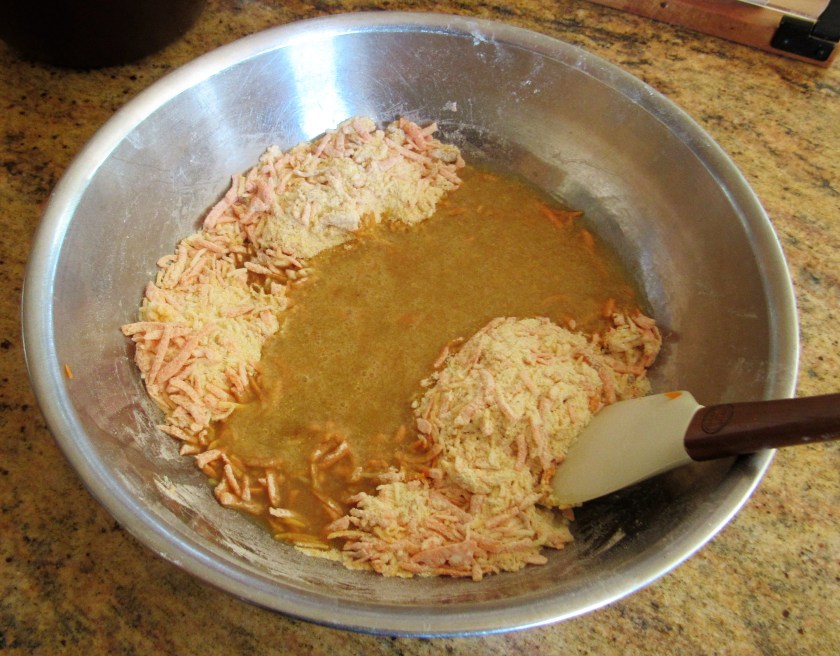
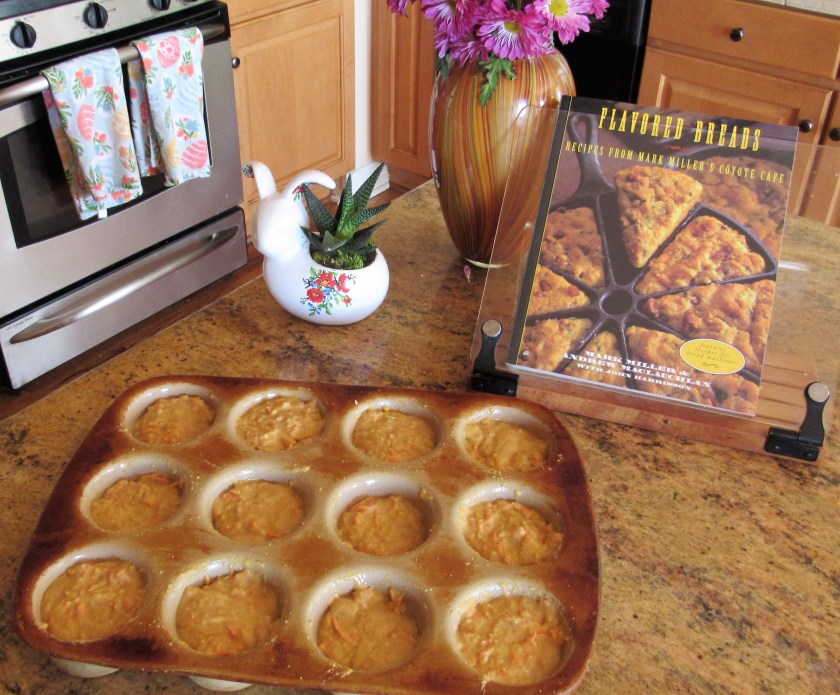
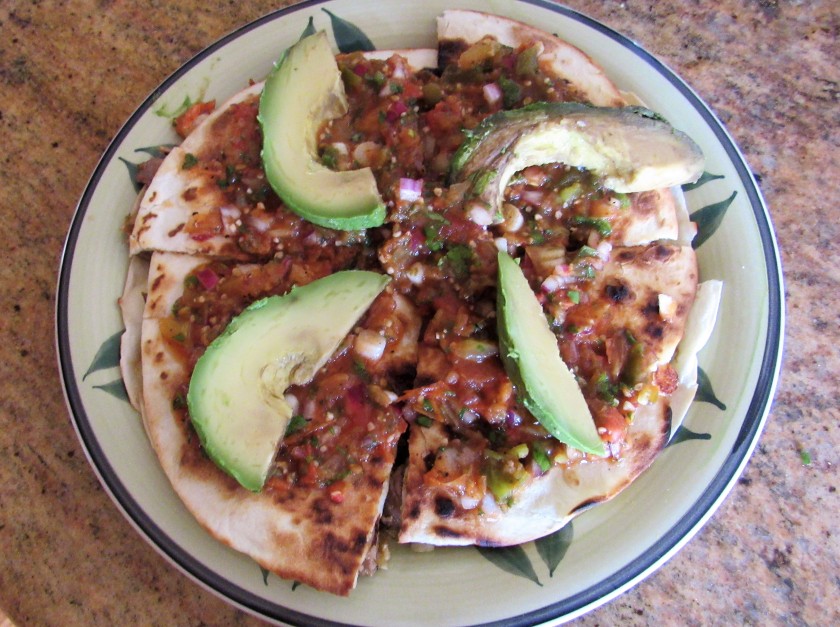
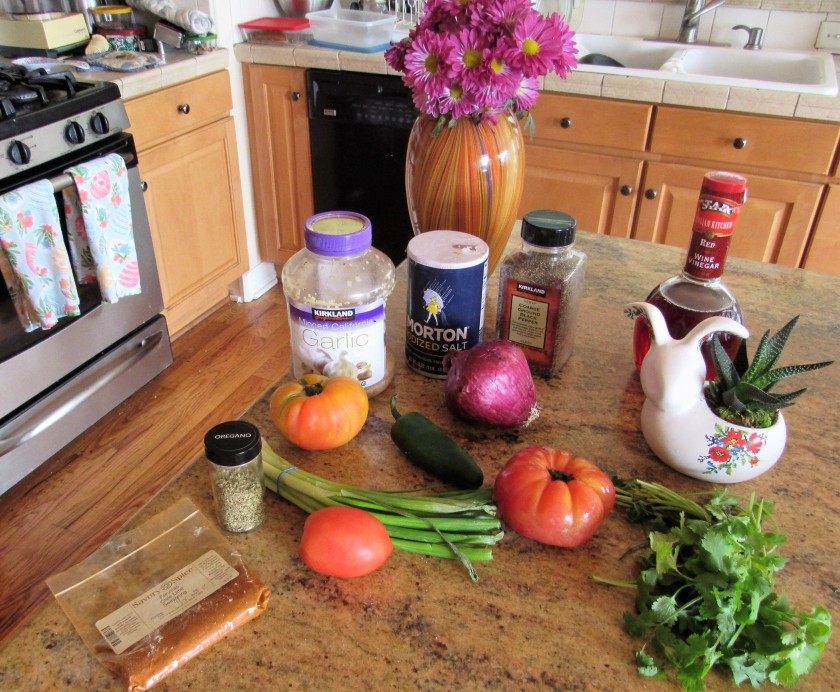
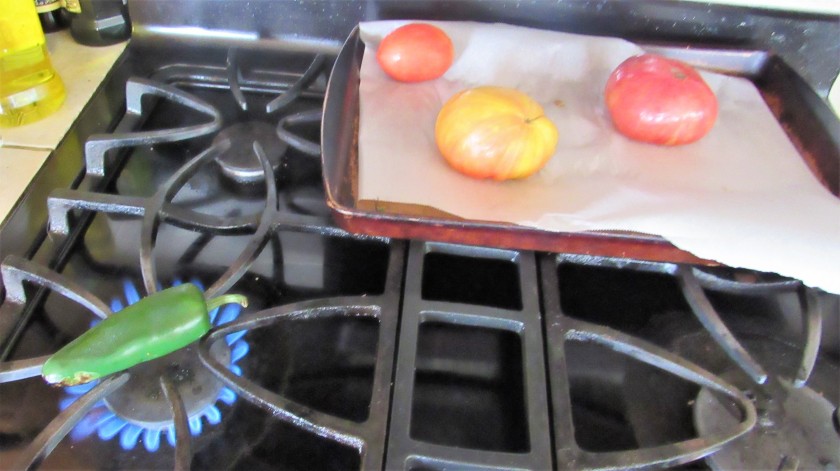
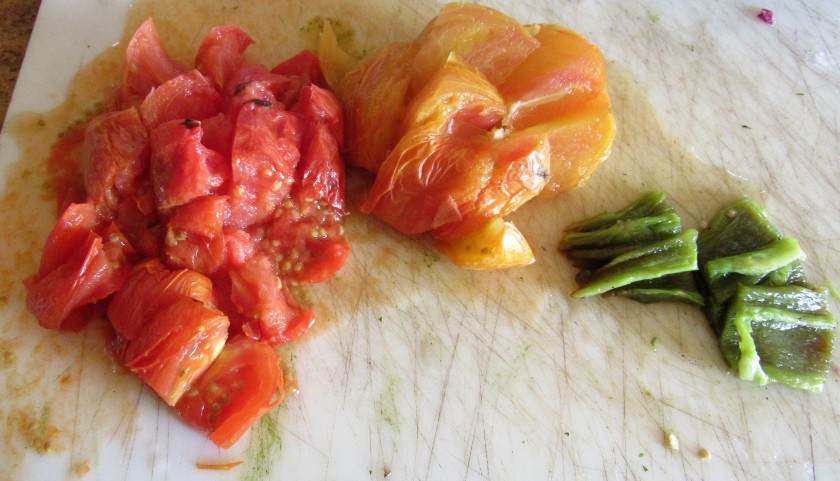
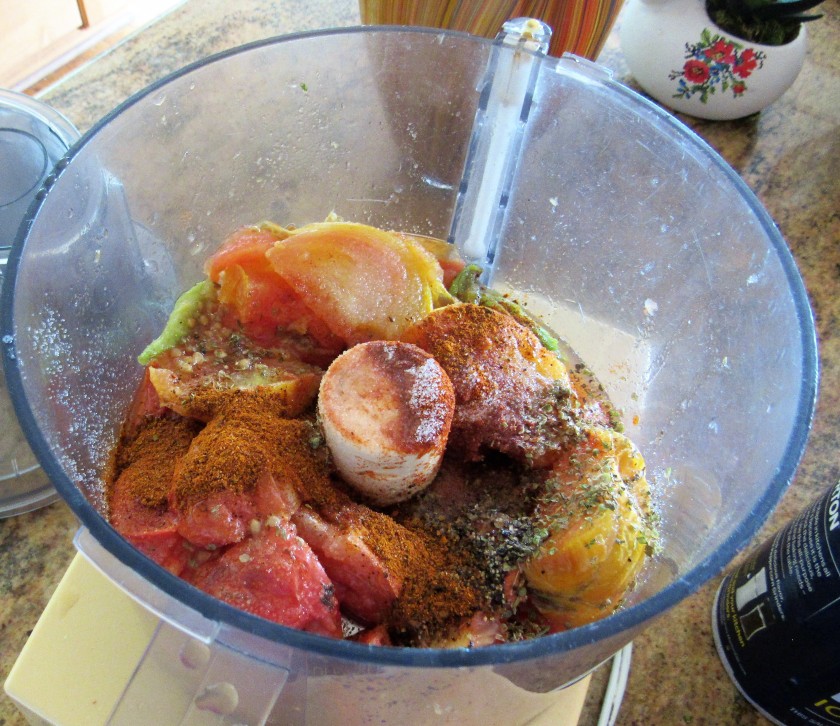
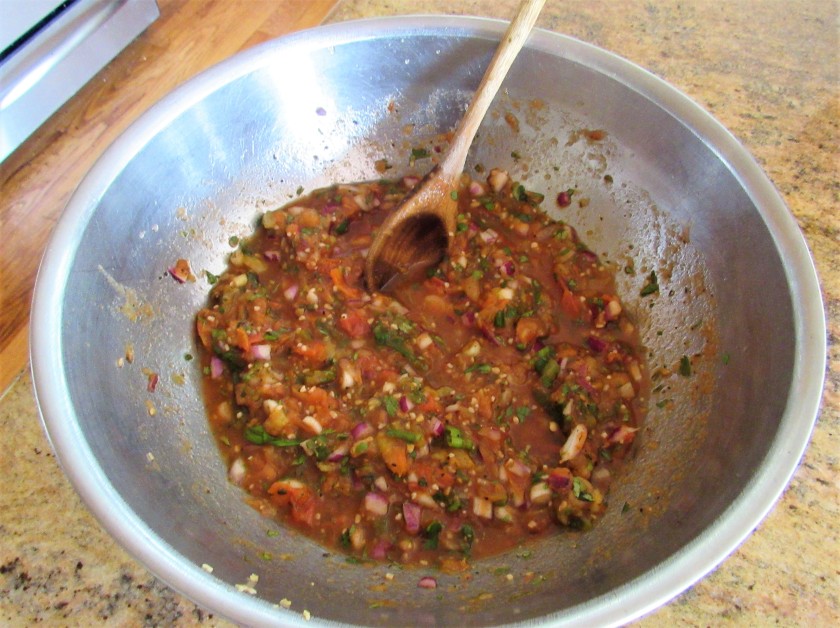
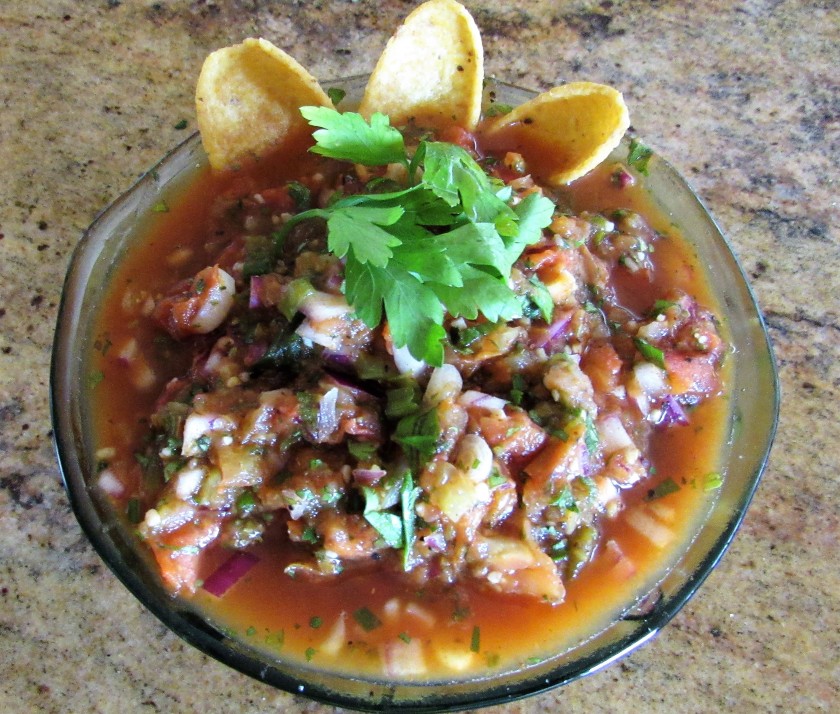
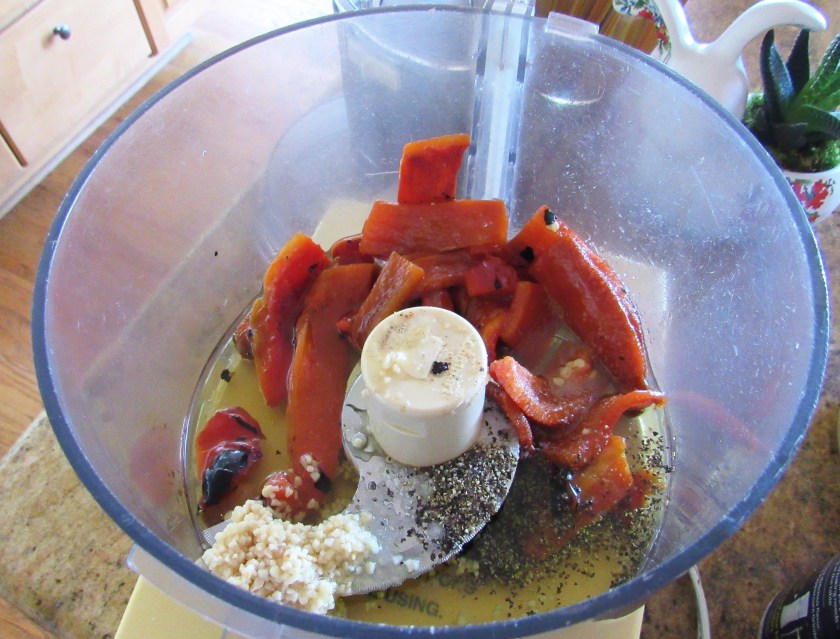
We had friends over for dinner, and Larry had been hungry for jambalaya for quite some time, so it was the perfect opportunity to make a big pot of it.  Our friend Shannon is gluten free, and coming up with Southern appetizers was a bit of a challenge, because everything I came across, though they all sounded fantastic to me, all contained gluten.  The safest choice for an appetizer was chips, salsa and guacamole, which are always winners, not matter what you are serving.  I already had my roasted tomato and jalapeno salsa, so I just needed to whip up some guacamole to go with it.  Roasted Tomato and Jalapeno Salsa  The carrot-cheddar muffins were not gluten free, Carrot-Cheddar Corn Muffins but at least everything else was.  Shannon, like the rest of us, was able to eat to her heart’s content and enjoy the meal too.

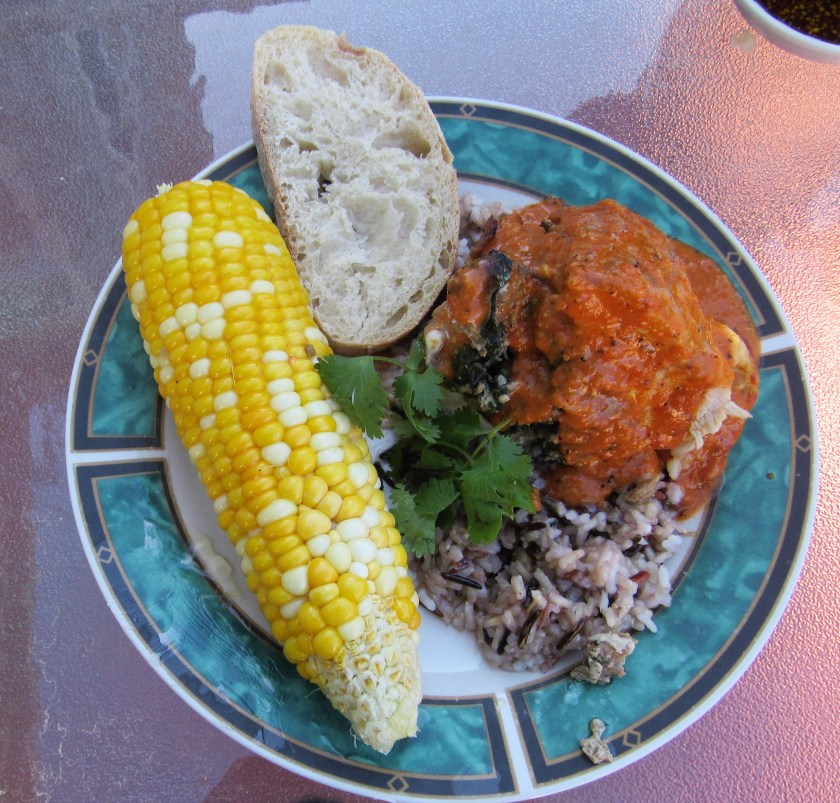
Today’s Version of Jambalaya

IMG_2639

1 chicken breast, cubed in medium sized pieces

2 Andouille sausage links

1/2 lb-1 lb large shrimp, peeled and deveined

1 red bell pepper, diced medium

1 green bell pepper, diced medium

1 onion, diced medium

2 jalapenos, diced fine

2 TBSP garlic

2 cans chicken broth

2 large tomatoes, diced medium or 2 cans, with the juice

1 1/2 cups rice

1 tsp thyme

1 tsp oregano

1 tsp sage

1 tsp marjoram

salt & pepper to taste

1 TBSP Tabasco sauce, or to taste

cayenne pepper to taste

olive oil


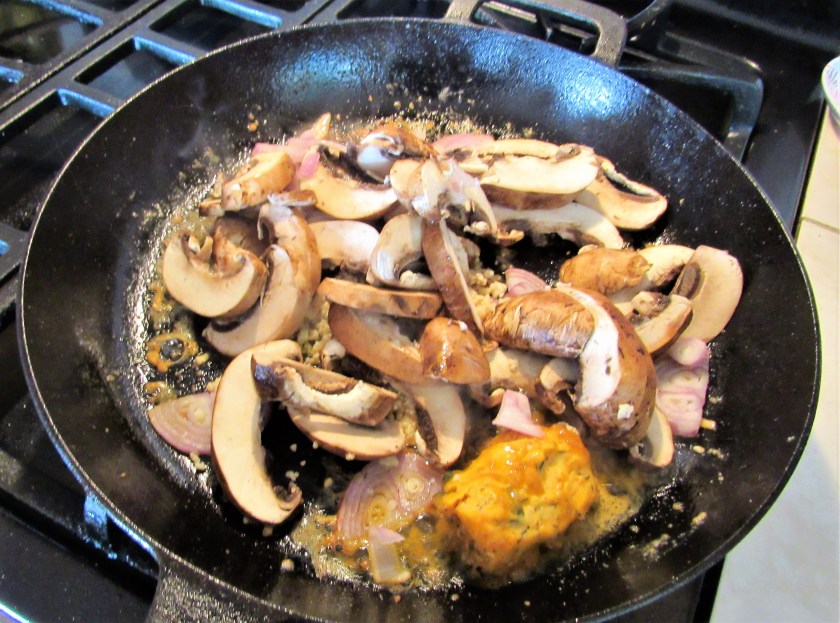
Par cook the sausage enough so you can slice it.  Remove it from the heat and let cool.  Cook the chicken, then remove it and cool.  Cook the shrimp, then remove it and cool.

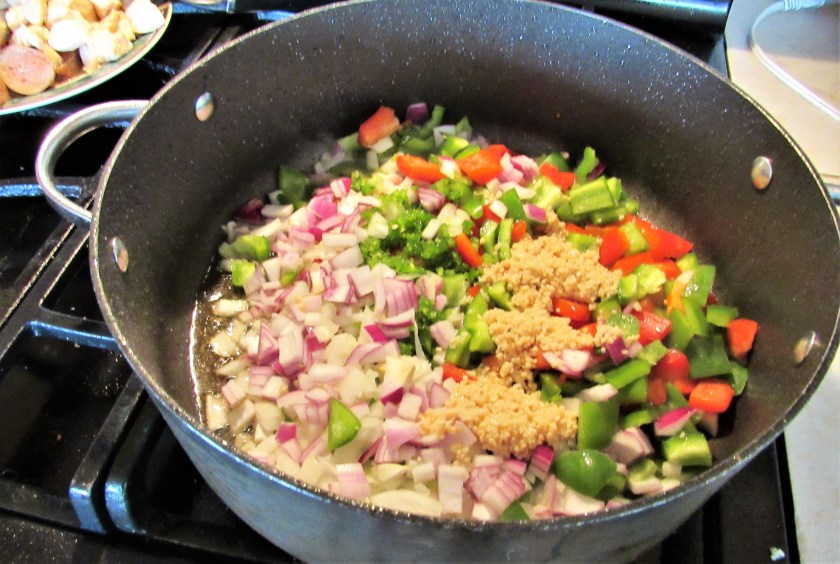
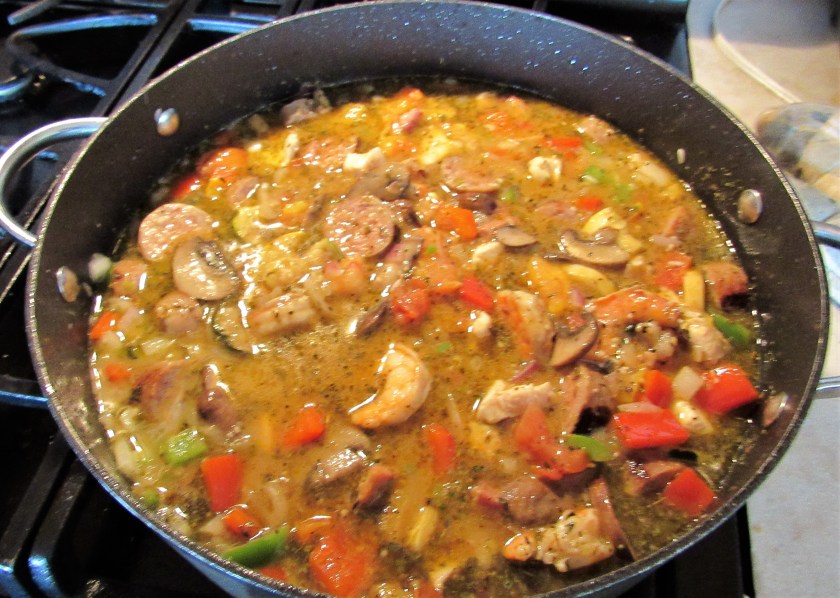
Saute the peppers, onion, jalapenos and garlic in olive oil for about 5-7 minutes.

IMG_2642

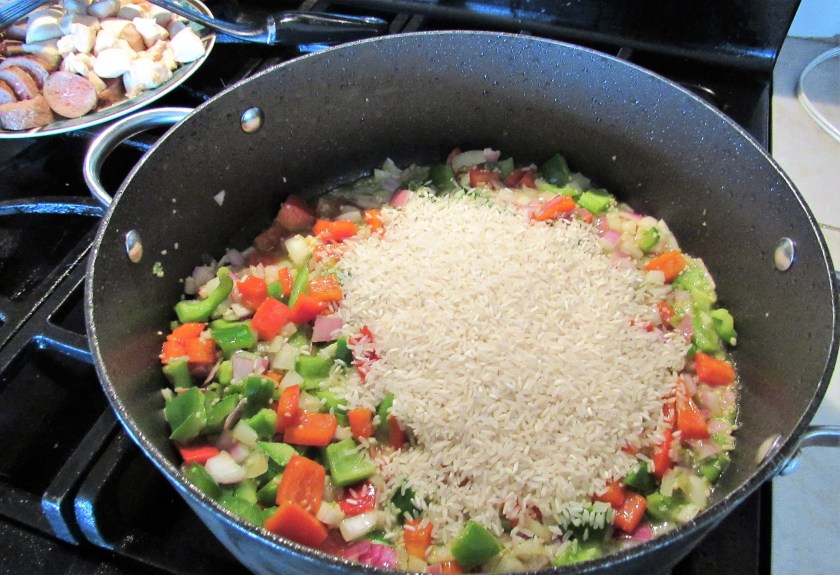
Add the rice and saute it for about 1-2 minutes.

IMG_2643

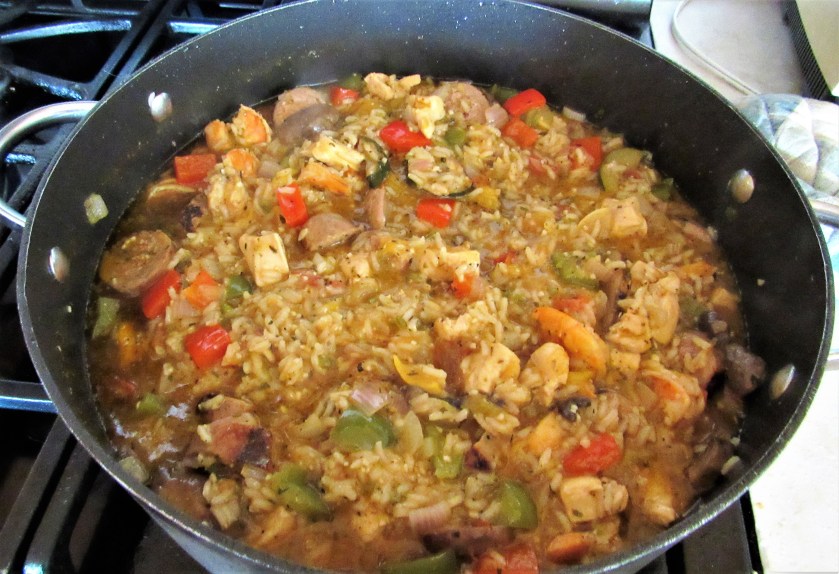
Add all the rest of the ingredients, including the meats and combine well.  Cover the dish and bring to a boil, then reduce the heat to a simmer and continue to cook for about 40-45 minutes or until most of the liquid is gone and the rice is cooked.

IMG_2644

Laissez le bontems roulez!  Just like how they make it out on the bayous.  I GAR-UN-TEE, you’re going to love it.

IMG_2649

Stay safe and stay well Everyone.  ‘Til next time.


Nature Walks – Everyone Was Out

Summer is quickly coming and the temperatures are rising, so we have been doing our walk-abouts in the cool of the evening rather than when the temperatures are soaring.  Apparently all our animal neighbors are liking the cooler weather too.  Everyone was out.

We saw both types of our turtle friends, the snapping turtle and the red-eared slider out sunning himself on a log.

IMG_2572

IMG_2580

IMG_2581

The duck families were out and about.

IMG_2584

IMG_2585

IMG_2598

The goose families were out.

IMG_2541

IMG_2601

But my favorite visitor of the day was our elusive blue heron.  We haven’t seen to many this year at all, but they are always very welcomed visitors, anytime they want to show up.

IMG_2579

Stay safe and stay well Everyone.  ‘Til next time.

Carrot-Cheddar Corn Muffins

We are having some friends over for dinner later on, and I wanted to get my baking done before it gets too hot.  We are having jambalaya for dinner but I wanted something a little different than corn bread to go with it.  All it took was a little trip to my library and in just one book, and one try, I found exactly what I wanted to make – carrot-cheddar corn muffins.  I’ll make some honey butter to go with them too.  YUM!

IMG_2613

Carrot-Cheddar Corn Muffins

IMG_2606

1/4 cup melted butter

3/4 cup milk

2 eggs, separated

2 TBSP dark molasses


Dry Ingredients

1 cup flour

1/2 cup + 2 TBSP cornmeal

1 1/2 tsp baking powder

2 tsp salt

1 tsp ground corinader

2 TBSP sugar

1 cup grated carrots

1 cup grated cheddar cheese, or other soft, good melting cheese


Preheat the oven to 375* F or about 190* C.

Spray a muffin pan or a corn-stick pan with cooking spray


Mix all the dry ingredients together and set aside.

Mix the melted butter, milk, molasses. and egg yolks together.

Beat the egg whites until they form stiff peaks.

IMG_2607

Add the carrots and cheese to the dry ingredients and mix together well.  Then add the milk and molasses mixture, and mix well again.

IMG_2608

Once everything is combined, gently fold in the egg whites until everything is fully incorporated.  Then fill your muffin pan with the mixture and bake for about 15-20 minutes, or until the muffins are set and are lightly golden brown.

IMG_2610

IMG_2611

Let the muffins cool before removing them from the pan.  You can eat these as is or slather them up with some honey butter.  They are good for breakfast, lunch or dinner, or anything in between.  Enjoy!

IMG_2614

Stay safe and stay well Everyone!  ‘Til next time.


Nature Walks – The Colors of the Iris

Irises were my mother’s favorite flowers.  She had tons of irises, in every color and size imaginable.  When she died, I ordered irises for everyone to lay on her casket, so her beloved flowers would always be with her.  I have always loved irises too, but after my mother passed away, my love for them grew even more.  Now, every time I see irises, I know my mother is close by.  It always makes me smile.

When people think of irises, they think of only the medium purple and yellow irises that are the most common variety, but they actually come in every color and in many sizes.  I have seen them white and “black”, pink to purple, small, medium and large, and even striped or dotted.  They come in all colors, shapes and varieties.  Right now, they are all in bloom too.  They are so colorful and just brighten up the day and every garden.  My mom would be so proud.  I know my mom must be watching over me right now because I am seeing irises, of all colors, all over the place.

Just a handful of all the beautiful colors and varieties of irises.  Some are from my own garden, and others are just from walk-abouts.

The purples.

IMG_2351

IMG_1888

IMG_2324

IMG_2564

IMG_2033

Other colors, other varieties.

IMG_1700

IMG_2031

IMG_2327

IMG_2381

IMG_2399

IMG_2558

IMG_2560

IMG_2561

And the “black” iris.

IMG_2563

Stay safe and stay well Everyone.  ‘Til next time.


Roasted Tomato and Jalapeno Salsa

Larry said he wanted quesadillas with the smoked pork for dinner.  Cool beans!  We love quesadillas and eat them quite often.  There is no right or wrong way to make them.  Queso is cheese, so obviously queso and tortillas are the main ingredients.  Anything else is up to your imagination.  Just like with anything though, when I make quesadillas, I load them up with plenty of stuff.  I added onions, jalapeno, corn and garlic to my pork for the filling.  It is hard for me to order quesadillas at most restaurants though because I know they do not make them nearly as good as I do.  I needed a good salsa to really bring out the smoky flavors of the pork, so I made a roasted tomato and jalapeno salsa.  The roasted flavors of the tomatoes and jalapeno went really well with the smoky pork.

IMG_2570

This salsa is super easy to make and only requires a few basic ingredients.  You can use any kind of tomatoes you like, but I used a couple of heirlooms and a Roma.  It’s fun to play around and mix and match the tomatoes.  Tomatoes are in abundance and are super fresh and flavorful at this time of year too, so there are all kinds of tomatoes available.

Roasted Tomato and Jalapeno Salsa

Preheat the oven to 375* F or 190* C.

IMG_2551

2-3 large tomatoes – your choice, stems removed

1-2 jalapenos

1/2 red onion, diced fine

1/4 cup cilantro, chopped fine

1/4 cup green onions, sliced very thin

1 TBSP garlic

1 tsp chili powder, or chili lime powder

1 tsp oregano

salt & pepper to taste

1 TBSP paprika

1 TBSP red wine vinegar


Line a baking sheet with parchment paper and place the tomatoes on the parchment paper.  You can also roast the jalapeno with the tomatoes too, or you can do it over an open flame.

IMG_2552

Roast the tomatoes for about 30 minutes, or until they are nice and soft.

When the tomatoes and jalapeno have cooled (and peeled and seeded for the jalapeno), cut them into large chunks and place them in a food processor with all the spices and vinegar.

IMG_2553

You can put all the ingredients in the food processor if you like, but I like a chunky salsa, so I only put the tomatoes, jalapeno and spices in the food processor.  The rest of my ingredients I diced fine, then mixed with my tomato mixture after.  Because the tomatoes are soft, this only requires a few pulses and a few seconds to become a liquid.

IMG_2554

IMG_2555

Your salsa esta listo!  Chill in the refrigerator for at least an hour before using. !La salsa esta muy bueno y muy delicioso! !Desfruitas!

IMG_2557

Stay safe and stay well Everyone.  ‘Til next time.


Nature Walks – The Snake

It was a two-walk kind of day.  I did one walk by myself, earlier in the day, then Larry and I took Vinnie out for a walk when he came home from work.  On my first walk, the lakes were pretty quiet at first.  And then …… There was more than a little excitement when on the 4th lake I saw a big bull snake out sunning himself, right on the sidewalk.    Not only do I HATE snakes, but I am very phobic of them as well.  Nothing else bothers me.  But SNAKES – YIKES!!!!!!!!  Needless to say, my heart rate definitely rose a few beats and I quickly turned around and high tailed it in the other direction.  Bull snakes are relatively harmless, but I DON’T CARE!  I am NOT ever going to stop and make friends with ANY snake.  EVER!!!!!!

Bull snake | reptile | Britannica

The only good thing I can say about bull snakes, is that at least they kill the rattlesnakes, so for that I guess I am grateful.  And we do have a ton of rattlesnakes out in our fields Other than that, I have NO need for them at all.

Fortunately, I did see other things that helped make my walk better.  I still saw the goslings and the ducklings, and i got some good pictures of both, but I was a bit more wary of stopping for too long to take more pictures.

IMG_2520

IMG_2521

The goslings are becoming teenagers and growing up so fast.  They were starting to learn how to use their wings too.  Soon they will be flying high with the rest of the family.

IMG_2515

IMG_2516

IMG_2517

Stay safe and stay well Everyone.  And AVOID the snakes!!!!!!!  ‘Til next time.


Cool Tomato-Cucumber Salad

Cucumbers and tomatoes are staples in the summer.  On those dogs days of summer, when the mercury keeps rising, a combination of cucumbers and tomatoes will help you keep your cool.  Plus, they just taste so darn good together too.  We are not yet into those dog days of summer, but the temperature is rising, and we had a cucumber and I just bought a ton of tomatoes.  So I combined them to make this delicious, easy-peasy summer salad.  All it takes is a few minutes of your time and a few simple ingredients and this salad is made and ready to enjoy.

IMG_2538

Tomato-Cucumber Salad

IMG_2535

1 1/2 cups small yellow tomatoes, cut in 1/2

1 1/2 cups small orange tomatoes, cut in 1/2

1 1/2 cups grape tomatoes, cut in 1/2

1 English cucumber, scored and sliced

2 TBSP green onions, sliced thin

1/3 cup olive oil

1 TBSP white wine vinegar

1 TBSP lemon juice

1 TBSP ginger

2 tsp sugar

1 tsp black pepper and/or lemon pepper

2 TBSP lemon verbena, chiffonade, optional


Combine the tomatoes, cucumbers, onions, and lemon verbena (if using).  Whisk together all the ingredients for the dressing.  Toss the vegetables in the amount of dressing you need, reserving the excess for another salad.  Let the salad chill in the refrigerator for awhile, then sit back and enjoy.

IMG_2537

You can use either a regular cucumber or an English cucumber, but an English cucumber will be slightly sweeter, with a thinner peel and no seeds.  In the summer, lemon verbena completely takes over my back yard, so I use it as much as I can, and there is still absolutely NO WAY I can ever use it all up.  It is a great addition to all kinds of salads and dressings.  I also had some leftover rosemary vinaigrette that I combined with the other ingredients for the dressing.  Roasted Pepper and Mushroom Salad with Rosemary Vinaigrette

IMG_2539

I served my tomato cucumber salad along side some grilled London broil that I topped with mushrooms, garlic and shallots that I sauteed in the leftover of my buerre Parisienne Boeuf Avec Buerre a la Parisienne and some leftover scalloped potatoes, for a quick and easy summer meal.  The buerre Parisienne made both the mushrooms and the steak just come to life.

IMG_2547

IMG_2548

IMG_2550

Stay safe and stay well Everyone.  ‘Til next time.


Nature Walks – Pups on the Loose

All of our spring babies are already beginning to grow up.  Soon, they will be out of their nests and on their own.  Ah!  They grow up so fast.  So I thought I would share some more our prairie pups before they are all grown up.  Typical of kids, they are in every direction at once, running wild, and creating chaos and confusion for Mom and Dad.

Making plans.

IMG_2182

They’re on the run.

IMG_2184

IMG_2183

Mom, desperately trying to round them up.

IMG_2179

Counting heads.  I think we got them all.

IMG_2174

Dad is double checking, just to make sure.

IMG_2186

Planning their next escape.

IMG_2185

Stay safe and stay well Everyone.  ‘Til next time.


Chicken Stuffed with Sausage and Spinach

Cooking with chicken is always a pleasure, because it is so versatile.  Everything goes with chicken.  You can poach it, broil it, roast it, grill it, stuff it, make it in to a salad, and on and on and on.  The possibilities are endless.  Maybe that’s why chicken is one of the most universal foods.  There is nothing you can’t do with chicken.

We had some Andouille sausage down.  I had already used some of it for my sausage and shrimp skewers, Spicy Shrimp and Andouille Sausage Skewers and I am hoping to use more of it for some jambalaya later this week, but Larry was hungry for more sausage again.  So I used some of it to stuff my chicken.  I package of 6 links cooked in 3 totally different ways.  I LOVE it!

IMG_2509

Chicken Stuffed with Sausage and Spinach

2 lbs chicken breasts

salt & pepper to taste

olive oil

1 lb ground sausage – any kind is fine

1 shallot, minced fine

1 TBSP garlic

3 cups fresh spinach, stems removed

1 TBSP roasted chilies, minced fine

2-3 oz, jalapeno jack or jack cheese


Slice the chicken in the middle to make a pocket.  This will be easier to do when the chicken is still raw rather than when it is par cooked.  Coat both sides of the chicken with salt, pepper and olive oil.  In a hot skillet, add some more oil with a little butter and brown the chicken for about 4-6 minutes per side, depending on the thickness of the chicken breasts.  You are only par cooking the chicken since you will be baking it to fully cook once it is stuffed.

IMG_2502

IMG_2503

Remove the chicken from the skillet and set aside.  In the same pan, cook the sausage, shallot, garlic and peppers for about five or so minutes.  If you have link sausage, just remove the inside from the casing or cut into very small chunks.  Then add the spinach and continue to cook until everything is completely cooked.

IMG_2501

Preheat the oven to 350* F or 180* C.

Carefully fill the chicken with the sausage and spinach mixture and place the chicken breasts in a baking dish sprayed with cooking spray.

IMG_2504

I poured the rest of my oil and toppings over my chicken before baking it too.  This is optional, but it will help coat the chicken and keep it moist, and will also crisp it up a bit too.  Bake uncovered for about 40-45 minutes.  Baste with the juices occasionally.

Add the cheese on top of the chicken and continue to cook for about 15 additional minutes, or until the cheese is completely melted.

IMG_2507

Anyone who knows me knows I am a “saucy” kind of girl, probably in more ways than one too.  But for cooking purposes, I love adding sauces to my dishes.  Sauces help make the meal.  One of my go to sauces is a simple red pepper coulis (any color is fine).  It is super simple, easy to make and full of flavor.

Red Pepper Coulis

2 red bell peppers (yellow and/or orange is fine too), roasted, skinned and seeded

1 TBSP garlic

salt & pepper to taste

1/3 cup olive oil


Once the peppers are roasted, remove the skins and the seeds.  Place everything in a food processor and process until you have a creamy liquid sauce.  That’s it.  Easy-peasy.

IMG_2506

Once everything was prepared, I served my chicken over wild rice and topped it with the red pepper coulis, with some corn on the cob and warmed ciabiatta and an olive oil dipping sauce on the side.  My wine choice was a cool, crisp white blend that was perfect with the meal.

IMG_2510

Stay safe and stay well Everyone.  ‘Til next time.