I have created this site to help people have fun in the kitchen. I write about enjoying life both in and out of my kitchen. Life is short! Make the most of it and enjoy!
Author: ajeanneinthekitchen
I have worked in the restaurant and catering industry for over 35 years. I attended 2 culinary schools in Southern California, and have a degree in culinary arts from the Southern California School of Culinary Arts, as well as a few other degrees in other areas. I love to cook and I love to feed people.
I LOVE collecting cookbooks. They are my prized possessions. I have well over 650 cookbooks and the number is always growing. And all of you are beginning to recognize how much I love cookbooks too. A lot of you have realized my house is the house where cookbooks end up when needing a new home. People are always giving me either new books or books that they no longer need or have room for. SWEET! You can NEVER have enough cookbooks.
For those of you who follow Julia at https://retirementrvdream.com/ you know she and her husband Bruce are doing some serious downsizing, getting ready for their new life on the road. The other day, Julia brought over a whole bunch of cookbooks that she will no longer have room for in the RV. I have gladly accepted them and rehomed them. They will take a place of honor on the library shelves. Anyone that finds themselves in need of “rehoming” their cookbooks, please know that I will always lovingly adopt them and take good care of them. They will become part of the family. 🙂
Usually when I get new cookbooks, I just have to make something from them IMMEDIATELY. This time, however, I will have to wait a bit. Larry is out of town at the moment, so I am not cooking anything. He comes home tomorrow night. But then I am taking off for a few days on Thursday and Larry will be home, with the “kids”. I was supposed to be with Larry in Las Vegas right now, but we had a last minute conflict of time from our pet sitter, so I stayed home. I will be heading up to Idaho to visit with some friends, leaving Thursday. I promise you though, it will be pleasure mixed with “work”. There will be some fun things coming your way from my time in Idaho once I return home. You’ll just have to wait and see what I come up with and bring back. 🙂
Stay safe and stay well Everyone, and stay tuned. ‘Til next time.
Most of our birds are seasonal. They come and stay with us a for awhile then off they go again, moving to their next destination, only to return once more when the time is right. So many of our birds have been gone since the early fall but are now returning to us for the spring and summer. Even our turtles are beginning to come back, but so far, they have been very elusive and will not pose for the camera.
Yesterday was the first time our egrets made their appearance. I only saw two, but soon, there will be many more. They were only up in the trees, and not on the shore or in the reeds as they usually are, but that’s OK. At least they are starting to come back. I love the egrets.
The egrets are not the only ones returning to us. We have one lone double crested cormorant who has found his way back home to us for the season. He has been busy enjoying himself on the 3rd lake. Again, he is the first of many yet to come. They are always welcome too.
This summer block party is just getting started. Soon it will really be hoppin’ and the gang will all be here.
Today, wine is made all over the world, and many of those wines are very, very good. This wasn’t always the case, however. When the Colonists first came to America, back in 1607, they attempted to make some wine in Jamestown, Virginia from some old musty vines they found growing in the region. The wine was atrocious. They sent back for help from the wine masters in Europe and several French winemakers came to their aid. It took quite a while for the vines to start producing good wines, but obviously, they were able to help out considerably, since Thomas Jefferson went on to become one of the first successful wine producers (about 167 years later) from his Monticello Estate in 1774.
Today, the winemaking tradition continues at Monticello, as well as various other places throughout the State of Virginia.
Wine making traditions have evolved considerably over time, and so have the ways of labeling and identifying these wines. Back in the days of Ancient Greece, wine was shipped from place to place in large clay vessels known as amphoras. The handles of the amphoras noted where the wine was produced and by whom. Wine was sold in wooden casks from the days of the Roman Empire, and those casks were marked with identifying stencils or branding irons. By the end of the 18th century, bottles were being made and became the way of containing and shipping wines from place to place. The names and vintages of the wine producers were etched into the glass. Paper labels were introduced in the 19th century and are similar to the wine labels still used around the world today.
The amphoras of Ancient Greece.
The wine casks of old.
Early wine bottles.
Cognac is a type of wine that has been made with the addition of brandy. Originally it was known as a brandewijn or a burnt wine by the Dutch who produced it. The English called this burnt wine brandy. Cognac has been around, in some form or another, since around the 3rd century. Cognac is made from white grapes from the Charante region of France and is named after the town of Cognac. Cognac as we know it today, was started in the 16th century. The Dutch are responsible for this very fine, much beloved adult libation. When wines were being transported from place to place, often times the wines would spoil during the process. So the Dutch started to process the wines in the Netherlands to preserve the flavors and the qualities of the wine. Part of this processing was to add brandy to the wines as a way of preserving them. Cognac and brandies today are considered the creme de la creme of wines and are sought by wine lovers everywhere.
There is much more to wine than just pouring it into a glass for enjoyment. The world of wine has a long, rich tradition and is full of history and intrigue. Today, I have hopefully opened your world to a bit more knowledge and fun facts about our much beloved libation known as the “nectar of the Gods”. Salud! A votre sante! Slainte!
My friend and fellow blogger, Julia Sculthorpe, from https://retirementrvdream.com/ is a FABULOUS chef! She loves to cook all kinds of delicious, exotic food from around the world. Last time she had us over for dinner, she prepared an Ethiopian Feast. An Ethiopian Dinner This time, she took us to India and the surrounding areas with her foods. She had prepared a whole host of mouth-watering delicacies for the main meal. I know she told me what everything was, but there was no way I could recite them all. So rather than try to rack my brain for names I will never remember, I will show you all she prepared for yet another fantastic feast and a delightful evening shared with friends both old and new. A picture is worth 1000 words anyway, so I will let the pictures will tell the story.
Julia had been busy prepping and cooking all day. When we arrived she had the appetizers ready and waiting for us while the main meal was roasting to perfection.
She is busy grilling the tandoori lamb. It was cooked to absolute perfection. It was so tender and full of flavor.
These were fried potato cakes make with herbs, peas and onions.
There were three dipping sauces to go with the fried potato cakes. One was a spinach and mint dip, another was a yogurt raita, and the third was a cilantro dip. Again, all three were so good and went perfectly with the potato cakes. We also used them for the main meal as well.
She also made some fried paneer and some pineapple coated with sesame seeds with a bowl of veggie chips. These are all still just the appetizers too and we were already getting full.
The table was beautifully set and filled with so many wonderful, exotic dishes. And we enjoyed them all.
As with so many Indian dishes, there were a lot of vegetables, potatoes and spices of various kinds.
Julia even made her own Naan bread too. We used the Naan bread to dip into our foods.
But we weren’t done here. No, no, no. There was still the lamb too. We ate as much as we could, and between the 8 of us, we made a good dent in all the food, but there was NO WAY we could eat it all.
I brought my Bakewell slices for dessert too. Bakewell Slices Made At Home Needless to say, we were all VERY full and very satisfied at the end of the evening.
In between courses, Larry was making friends with Nox. She likes to be included too.
Bruce and Julia, thank you ever so much for yet another fabulous evening and all the fantastic food. You are very gracious and generous hosts. Life is all about sharing it and enjoying it with good friends and good food, and we certainly did both. A Votre Sante!
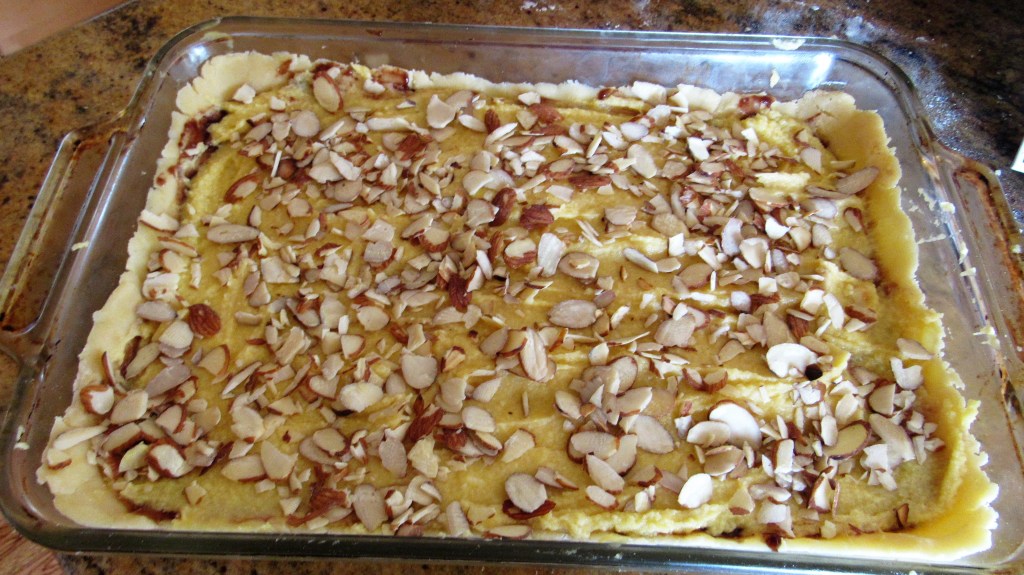
Bakewell slices or Bakewell tarts are very popular all throughout the UK. They were named after the Derbyshire town of Bakewell. The tart is a variation of the Bakewell pudding. They consist of a shortcrust pastry case, also known as a pate sablee, and are filled with a layer of jam, and frangipane, and are usually topped with flaked almonds or glacé icing. The ones topped with the glace icing are known as Cherry Bakewells, since they are also topped with candied cherries. Today, it is made with an almond custard rather than frangipane or an Italian filling made with ground almonds, eggs, butter, and sugar. Bakewells are usually small, designed as individual portions. Bakewell tarts, on the other hand, are generally 8-9 inches across and designed to be shared in slices. Bakewell tarts are traditionally served at High Tea in Britain and throughout the UK. Most people do not make their own, but purchase the ones that are commercially made. Of course I did not know this until AFTER I made it, but where is the fun in buying it when I can easily make it myself?! 🙂 They are not difficult to make, just a little time consuming. They are definitely worth all the time and effort put into it making them though. I sure got a great hand and arm workout while making them, that’s for sure. 🙂
The recipe calls for raspberry jam, but I had blackberry jam and used that instead. You can use any kind of jam you like. If my dad were still around, he would be asking for them with strawberry jam. These only require a few simple ingredients too. The recipe is simple, but they are labor intensive.
The story goes that Mrs Greaves, the landlord of the White Horse Inn, left instructions to her cook to make a jam tart. Instead of stirring the almond paste and eggs into the pastry as instructed, the cook spread the mixture on top of the tart. When cooked, it set like an egg custard, and the resulting pudding proved very popular with visitors to the inn. No one knows exactly when it was created, but it was created somewhere between 1820 and 1845, when it first appeared in a cookbook called Eliza Acton’s Modern Cookery for Private Families.
Bakewell Slices
Make the almond crust first, then let it set in the refrigerator for at least 30 minutes to set before pressing the dough into the baking pan.
The Pate Sablee
1 1/2 cups + 2 TBSP flour
1/3 cup either ground almonds or almond flour
1/3 cup sugar
1 stick + 3 TBPS room temperature butter, cubed
1 egg yolk
Mix the flour and either ground almonds or almond flour and sugar together with the cubed butter by mashing everything together with your fingertips, until it resembles fine sand.
Then add the egg yolk, again with your finger tips, until it forms into a dough ball. It takes a while, and it seems like it is not all going to mesh together, but have patience and keep working with it. It will eventually come together. Once it does, wrap it in plastic wrap and let it set in the refrigerator for at least 30 minutes.
When ready to complete the slices, preheat the oven to 325* F or 170* C. Remove the dough from the refrigerator and let rest for about 15 minutes. Then start pressing it into a 13×9 baking pan. It takes time, and again, it seems like it will not cover the whole pan, but again, have patience. It will. Make sure you get the dough to go up the sides of the pan too.
You can do this one of two ways at this point. You can bake it with some baking beans for about 15 minutes, then remove it from the oven and let it set or you can bake it all at once when it is finished. I prefer to bake it all at once. I find the results are the same, plus I find the custard usually takes longer to cook and if you keep the tart in for too long to allow the custard to cook thoroughly, the dough tends to burn. But I leave you the option to do it however you like.
The next step is to spread a light layer of the jam evenly over the dough. If you prebake the dough, let it rest and cool for about 15 minutes before adding the jam.
The Filling
1 stick + 1 TBSP butter at room temperature
3/4 cup sugar
4 eggs + egg white from above
1 3/4 cup either ground almonds or almond flour
Beat the butter and sugar together until creamy, then add the eggs, 1 at a time and beat in between each addition. Then add the almonds and continue to mix until everything is mixed together thoroughly. Spoon it on top of the jam and spread out evenly.
Sprinkle almond slivers evenly across the top of the tart and place in the oven to bake f0r about 30 minutes if you pre-baked the dough or for about 45 minutes if baking it all at once.
Allow the tart to cool completely before adding a dusting of powdered sugar and slicing into it.
All that is left to do is to invite some friends over and and enjoy it together, since this is definitely a dessert that is made to be shared.
It was yet another beautiful, sunny day around the lakes. Everyday, more and more buds are beginning to open up. Everything is blooming nicely and the colors are starting to really come out too.
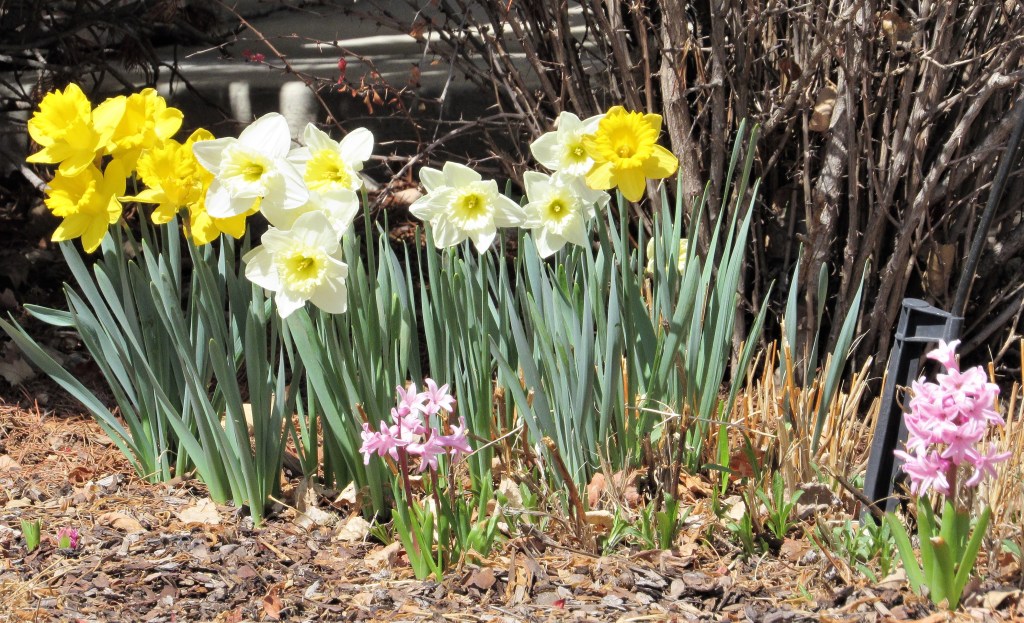
The daffodils and hyacinths are looking bright and colorful.
So are the muscari armeniacum.
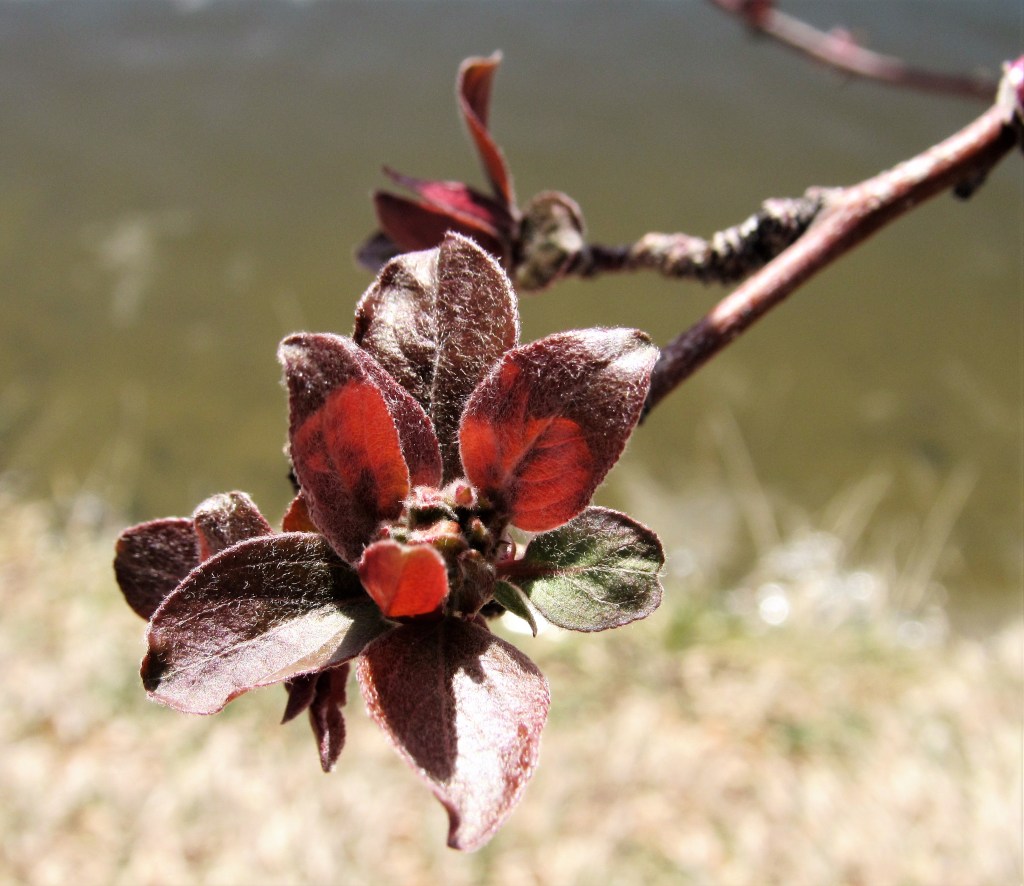
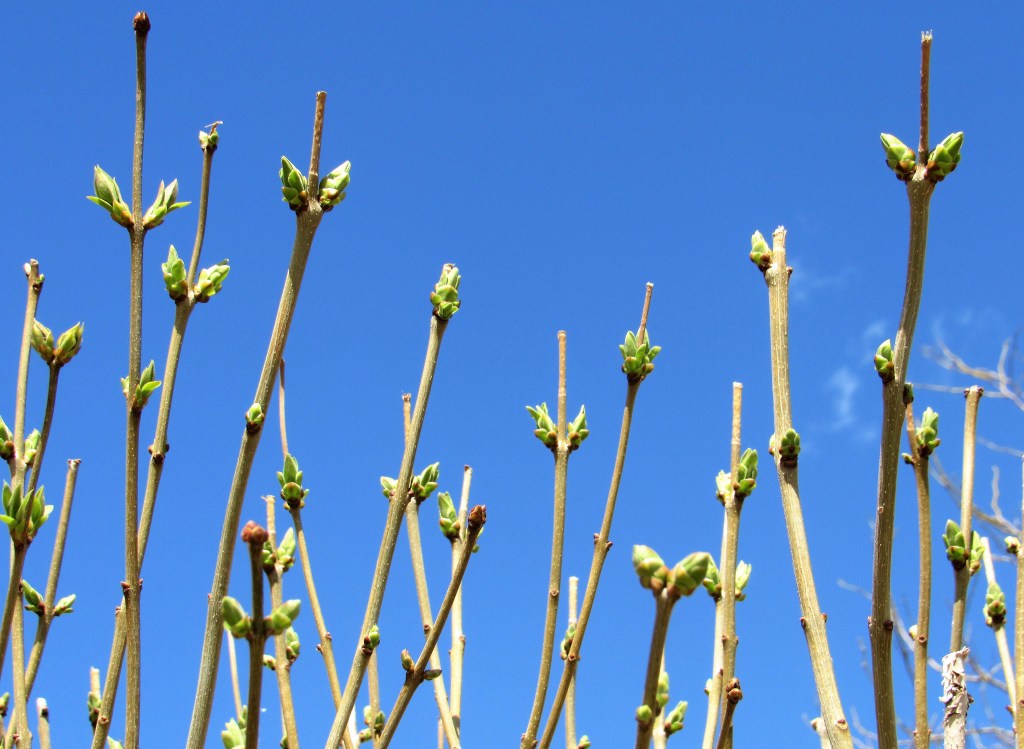
Even the trees and bushes are starting to show their true colors.
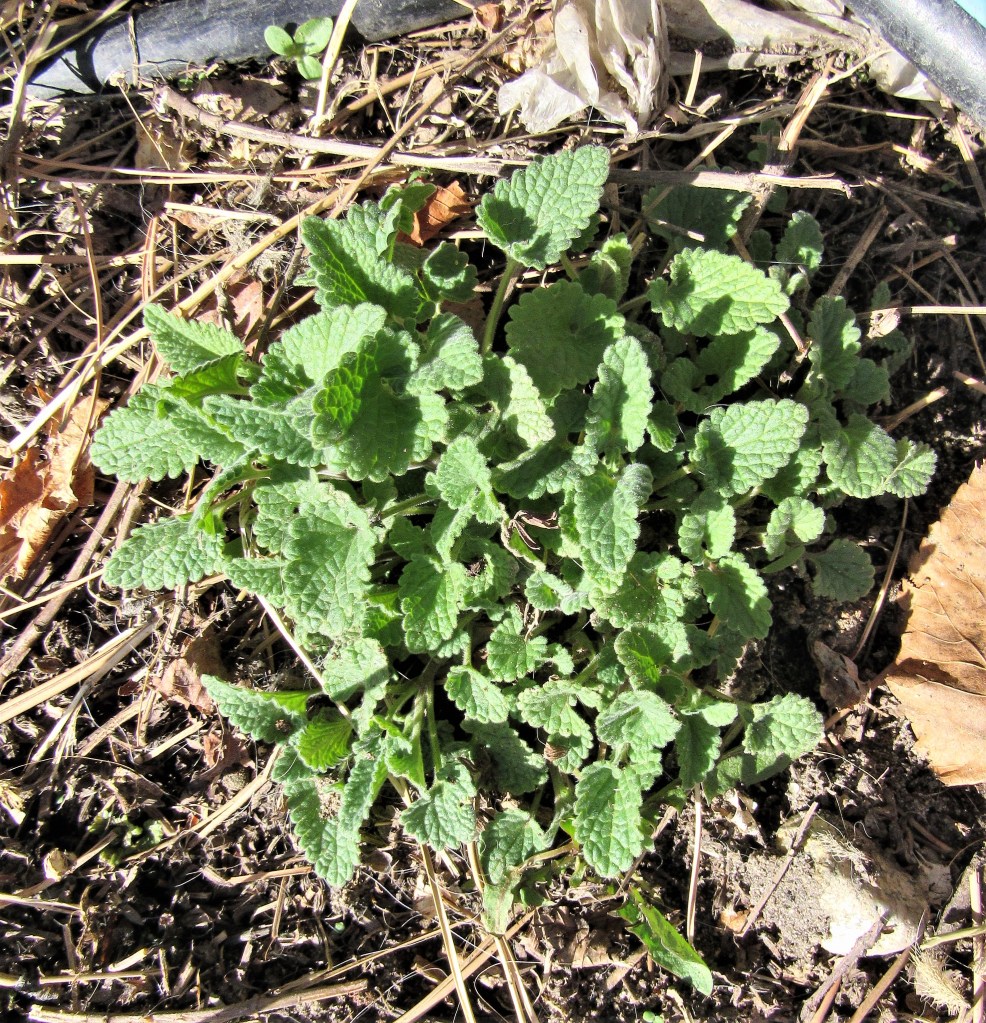
My lemon verbena is starting to grow too. This is what it looks like now. Give it a few weeks and my whole backyard will be over run with it. I love it though. It always smells so good. And when it is in full bloom, I use it as much as I can in as many recipes as I can too. I love the fresh lemon flavor it adds to every dish I use it for.
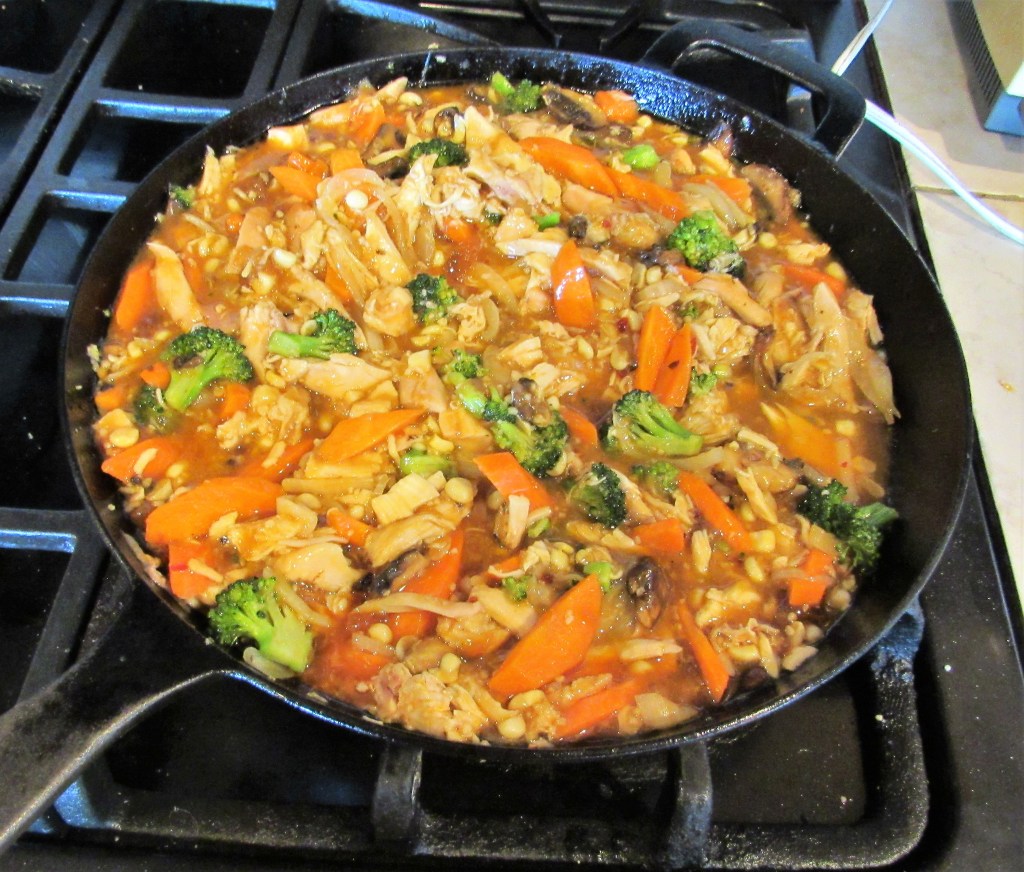
I still had some of my rotisserie chicken that needed to be used so into the skillet it went and came out as an easy-peasy, delicious chicken and vegetable stir-fry. Stir-fries are endless in possibilities. All you need is some imagination and creativity and then mix it all together to see what comes out.
Because there are endless possibilities for stir-fries, and this was just using up what I had, I am not going to give you an actual recipe. I will just show you what steps I took to make it.
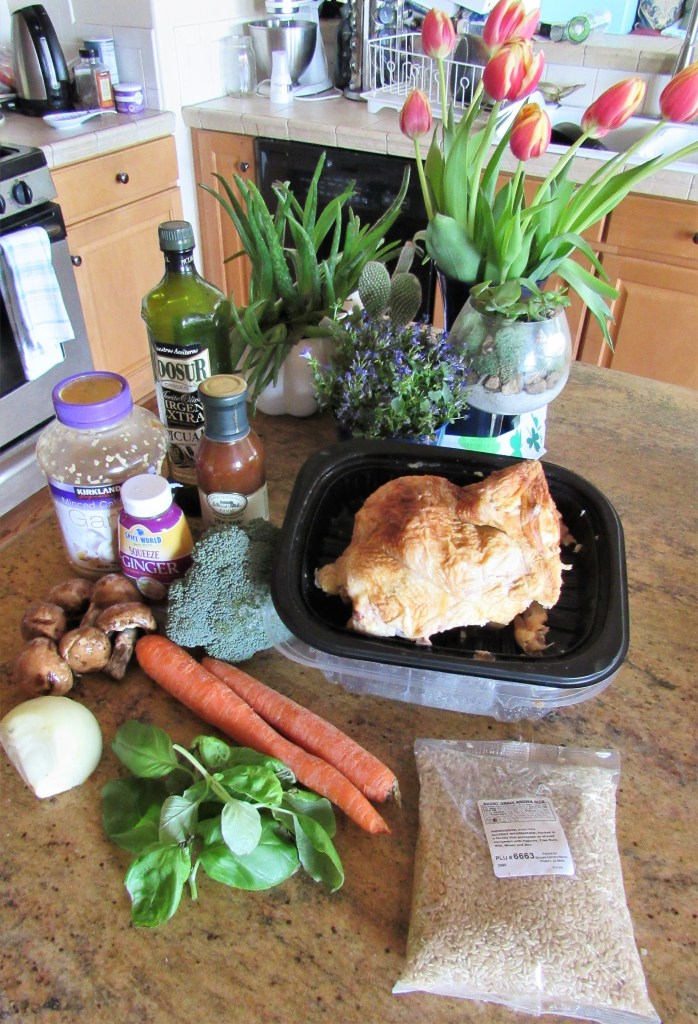
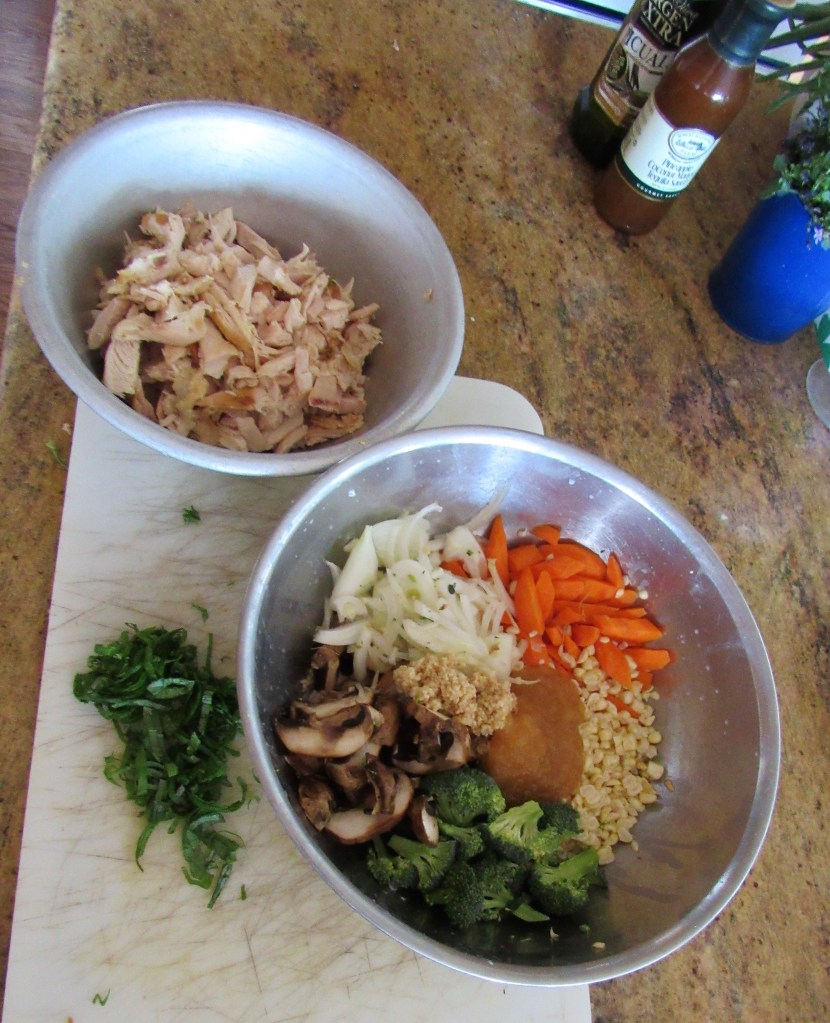
I started off with the rest of my Costco rotisserie chicken. Once I removed the meat from the bones, I shredded it. Then I added a bunch of fresh vegetables, like carrots, onions, broccoli, mushrooms and corn, and of course garlic and ginger. Once I cooked everything up, I served it all over some brown rice with potstickers on the side. And you KNOW there was wine as well. I served it with a crisp, citrusy chardonnay that went perfectly with the meal.
As the rice was cooking, the vegetables were the first to go into the skillet, since the chicken was already cooked and just needed to be heated up. In a hot skillet or wok (I find there is not much difference between a wok and a skillet when cooking. I think it is all a matter of preference), add some oil and get it nice and hot, then add the vegetables. Cook your hardy vegetables first. Mine were all hardy, so I just cooked everything together. I used hot chili oil this time to add a little extra zip.
When the vegetables were cooked, next came the chicken.
As you all know, I usually make my own sauces, but this time I cheated. I had a fun sauce in my pantry that had my curiosity peaked, so I used that instead of making my own. It was really tasty and full of zesty flavor.
Once the sauce was added, I let everything come to a boil, then reduced the heat to a simmer and let cook for about ten minutes before serving it all up. I topped it all with some fresh basil and dinner was served – al fresco, on our beloved deck since the weather was so nice and beautiful.
Things don’t always have to be complicated or fancy to be good. Often times, the simple things are the best things.
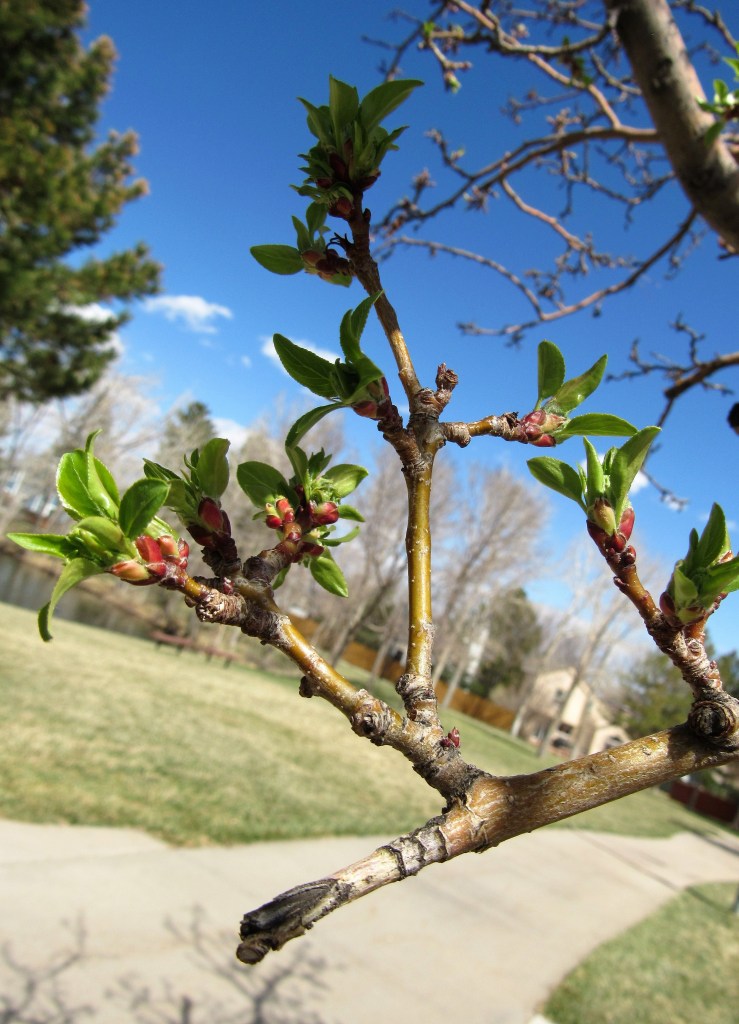
I am seeing more and more signs of Spring all about. More buds are popping up. More birds chirping and singing, though they are still a bit shy. And there are more squirrels all around too, mostly playing around in the trees. I love Spring. But then, I really do love all the seasons. Every season has its own charm and beauty.
A sapling tree.
My friend Laura gave me this really cute bird seed ornament for the tree. I hung it up outside in the front yard so I could see the birds enjoying their new treat. I don’t think they have seen it yet though, but I am ready and waiting for them. As soon as they see it and start enjoying it, hopefully I can get some good pictures of them.
Come on over Mr. Robin, I have a new treat for you.
We love seafood, though we don’t eat nearly as much as we would like. We live in cattle and beef country, so we eat a lot of meat. Fresh seafood isn’t something we get a lot of here, though there are a lot of frozen seafood options, which are very good too. Americans in general, do not eat nearly as much seafood as they do other meats, even though they are eating more seafood than ever before. The average American eats only about 15 pounds of seafood per person per year, compared to about 46 pounds of chicken and 63 pounds of beef. This is the opposite of many other places around the world, especially in places where meat is at a premium.
I love all kinds of seafood, but my favorite seafoods are the big, thick whitefish varieties, such as cod, halibut (my absolute favorite) and haddock, as well as all the crustaceans and mollusks. The white fish, though not great sources of Omega-3 fatty acids, are very good sources of protein and are very low in fat. When cooking with white fish, most recipes are pretty flexible and accommodating to a variety of different types of fish, so the whitefish varieties are interchangeable and up to your personal preferences.
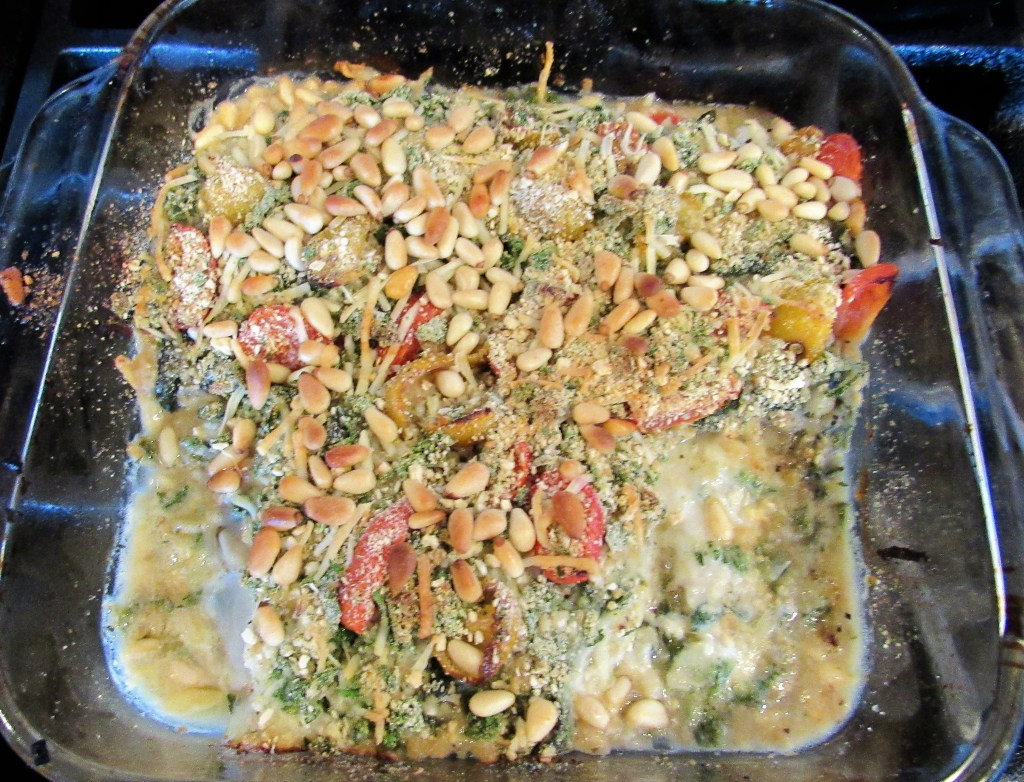
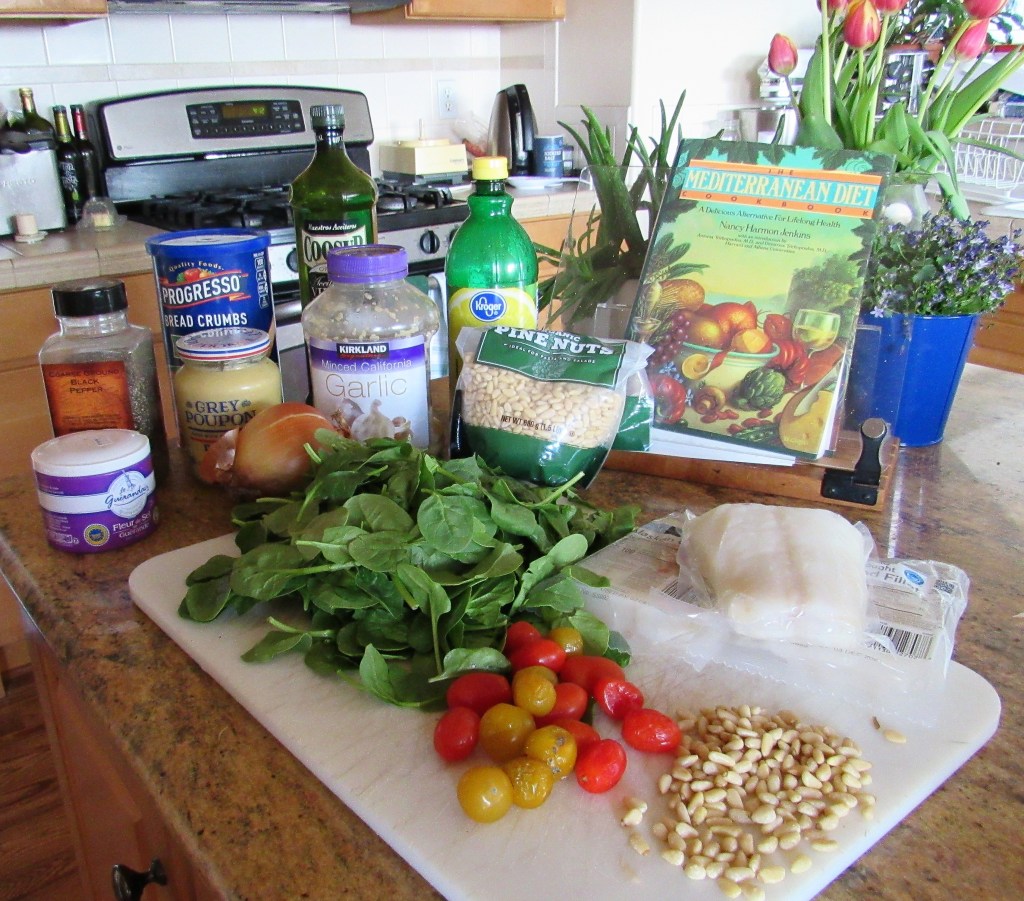
Not only do I love seafood, but I love all foods cooked Mediterranean style. Seafood cooked Mediterranean style is a natural combination, since much of the food from the Mediterranean comes from the sea. We hadn’t had fish in a while and I had some cod down, so it was a fishy kind of night. I prepared it with spinach and tomatoes and topped it au gratin style, then baked it to perfection. Au gratin means foods sprinkled with breadcrumbs and/or grated cheese and browned.
Mediterranean Cod and Spinach Au Gratin
1 1/2-2 lbs fresh thick white fish, the thicker the better – I used cod this time
4 cups fresh spinach, stems removed
1 onion, diced fine
1 TBSP garlic
1 TBSP Dijon mustard
1-2 TBSP lemon juice
salt & pepper to taste
1 cup grape tomatoes, cut in half – I used both yellow and red
3/4 cup breadcrumbs
fresh parsley, chopped fine
1/3-1/2 cup grated Parmagiano cheese
1/3 cup pine nuts – optional
olive oil
Preheat the oven to 450* F or about 280* C.
Spray a baking dish with cooking spray.
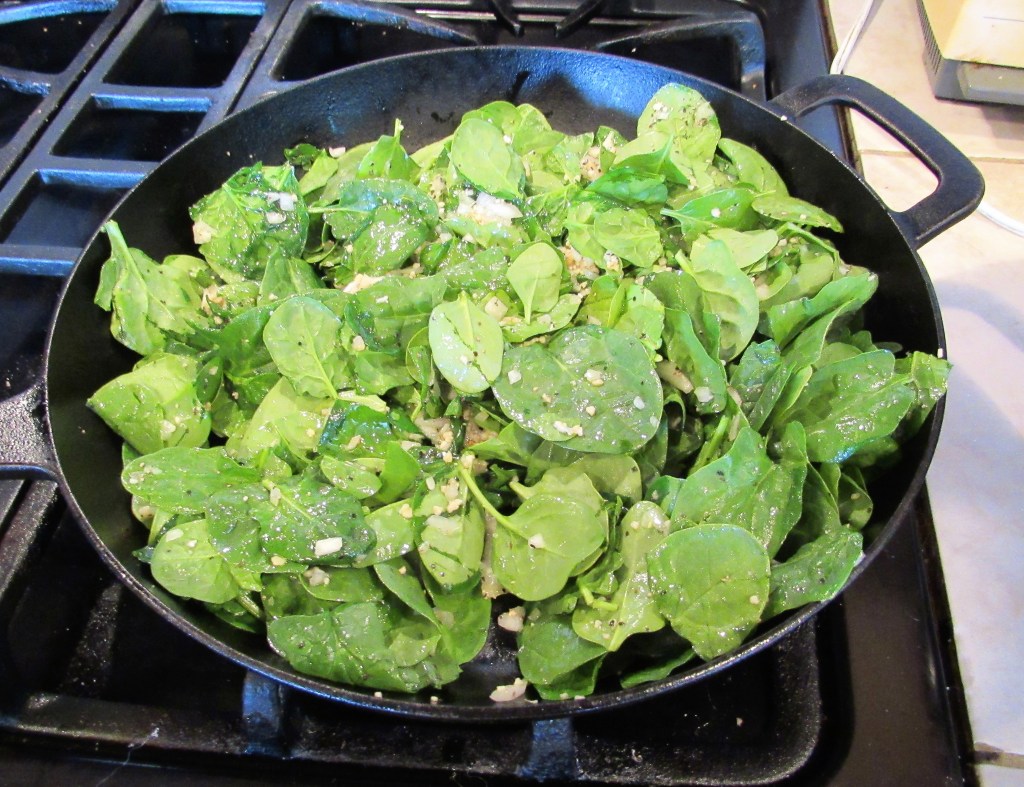
Saute the onions, garlic, spinach and salt & pepper in a hot skillet with olive oil just until the spinach is wilted and the onions are translucent.
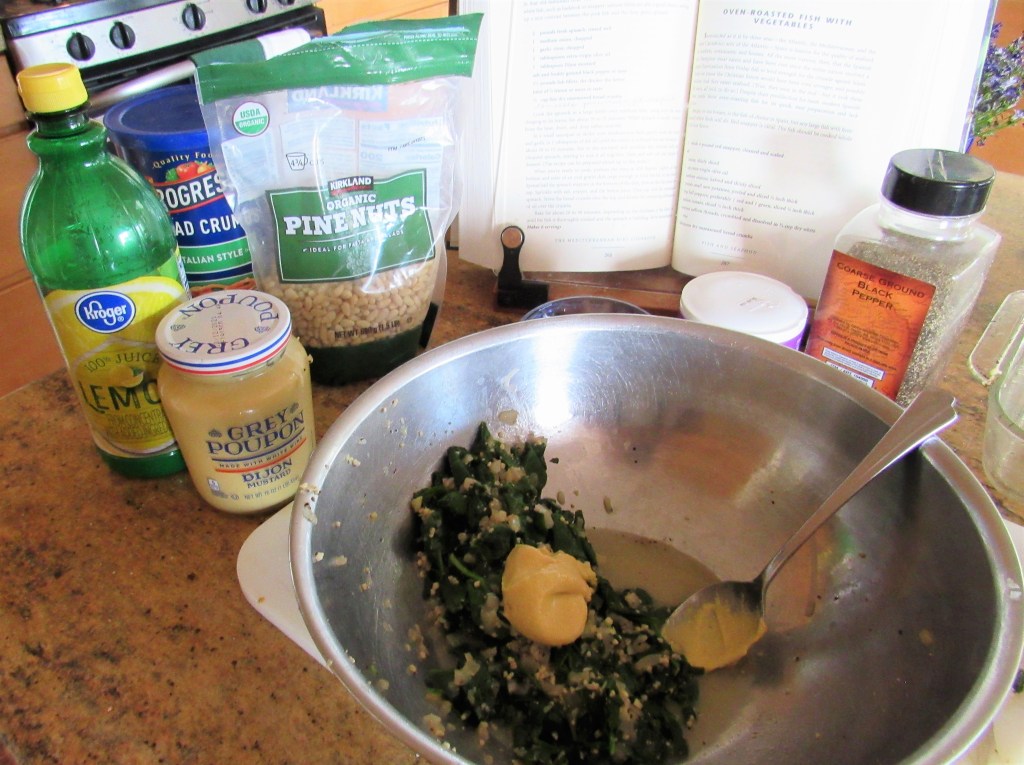
When the spinach and onion mixture is done, mix in the mustard and lemon juice.
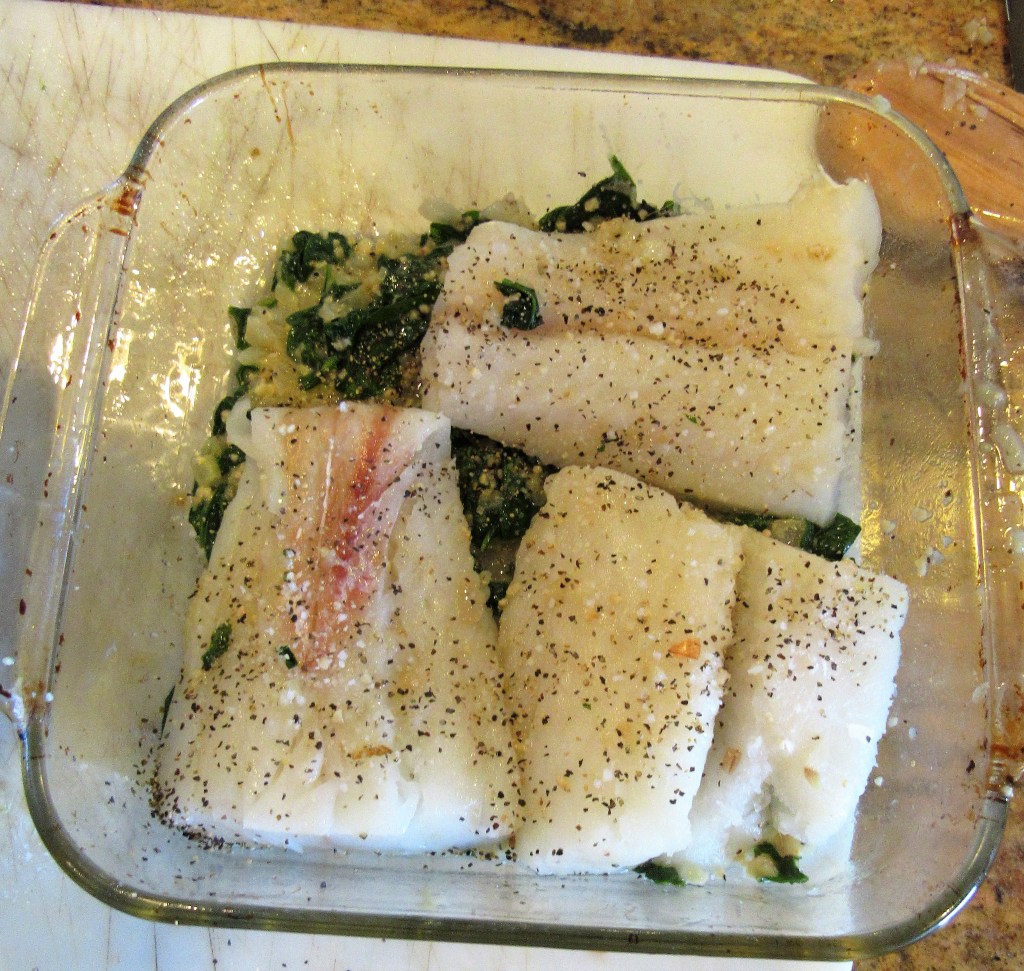
Evenly spread half the spinach mixture on the bottom of the prepared baking dish. Then add the fish and sprinkle a bit more salt and pepper on top of the fish.
Add the rest of the spinach mixture on top of the fish and then add the tomatoes.
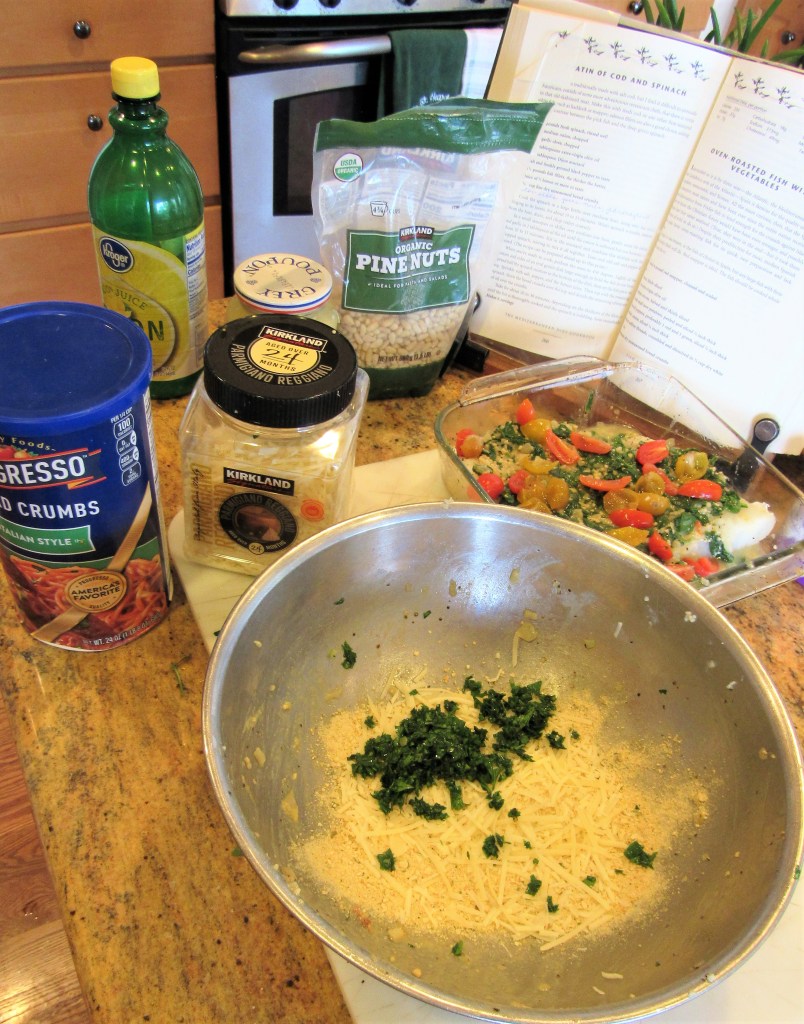
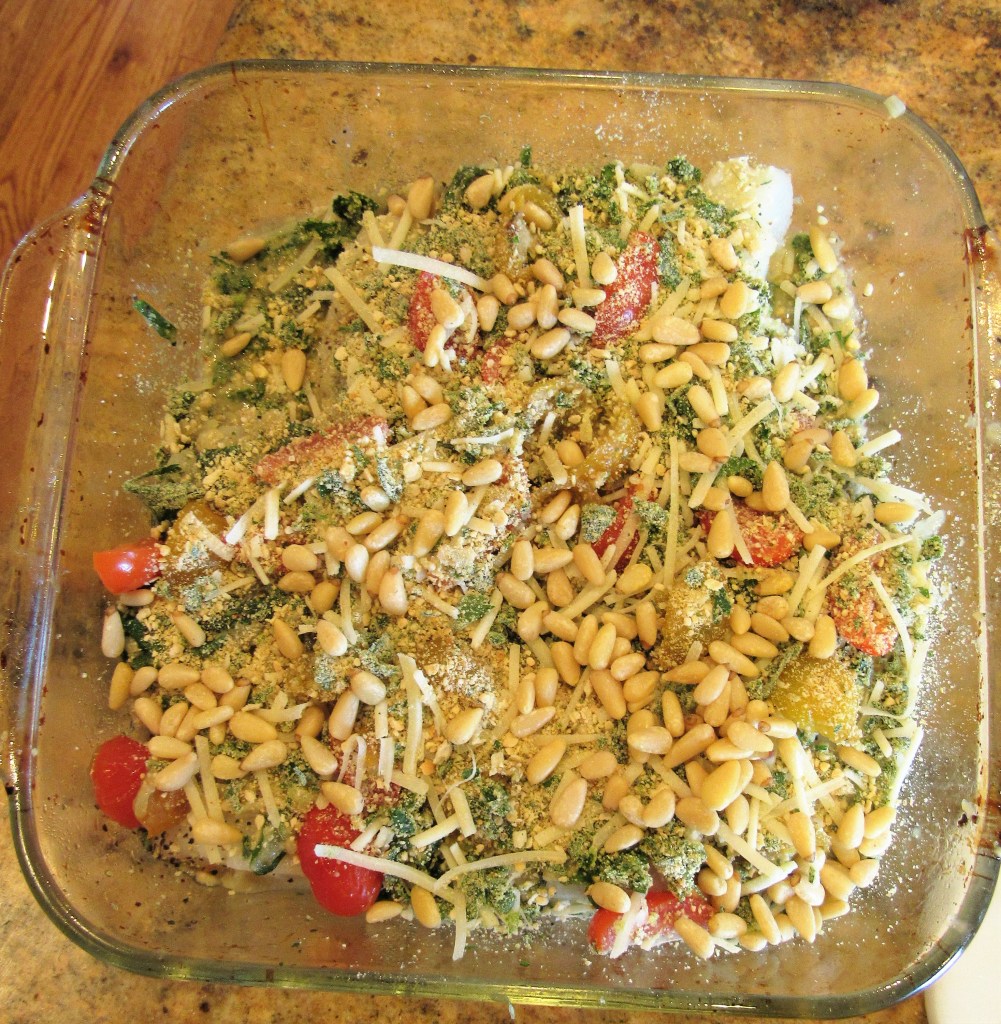
Mix the breadcrumbs, Parmagiano cheese and parsley and cover the tomatoes. Sprinkle the pine nuts evenly over the breadcrumbs and drizzle a little olive oil over the top.
Bake uncovered for about 30 minutes or until the top is lightly browned, the spinach is bubbling and the juices from the fish are clear.
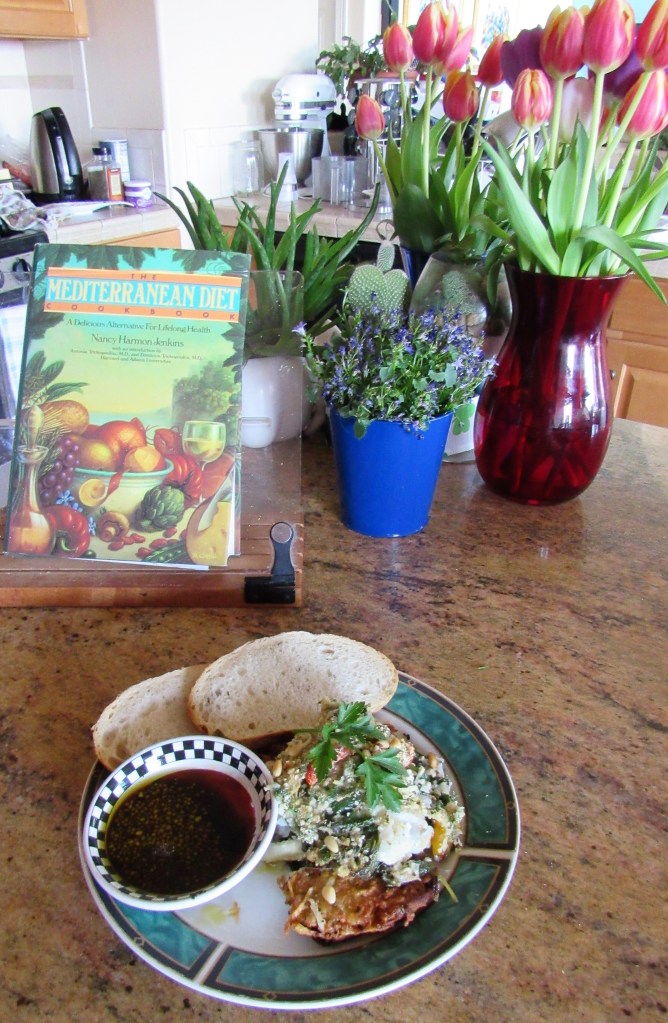
I served my cod and spinach au gratin on top of some potato cakes with some warmed rosemary bread and an olive oil dip on the side, finished with a cool crisp, barrel aged chenin blanc. It was a perfect Mediterranean evening right here in Denver.
You all know how much I love to sauce things up, so when I find new and interesting sauces I just get so excited. Sauces are what give foods their personalities and pizzazz. For instance, last night, it was another Costco chicken night. We LOVE Costco’s rotisserie chicken, but why eat it the same way again and again when just by changing the sauce it changes the whole meal. Changing things around and mixing them up is what makes life exciting. 🙂
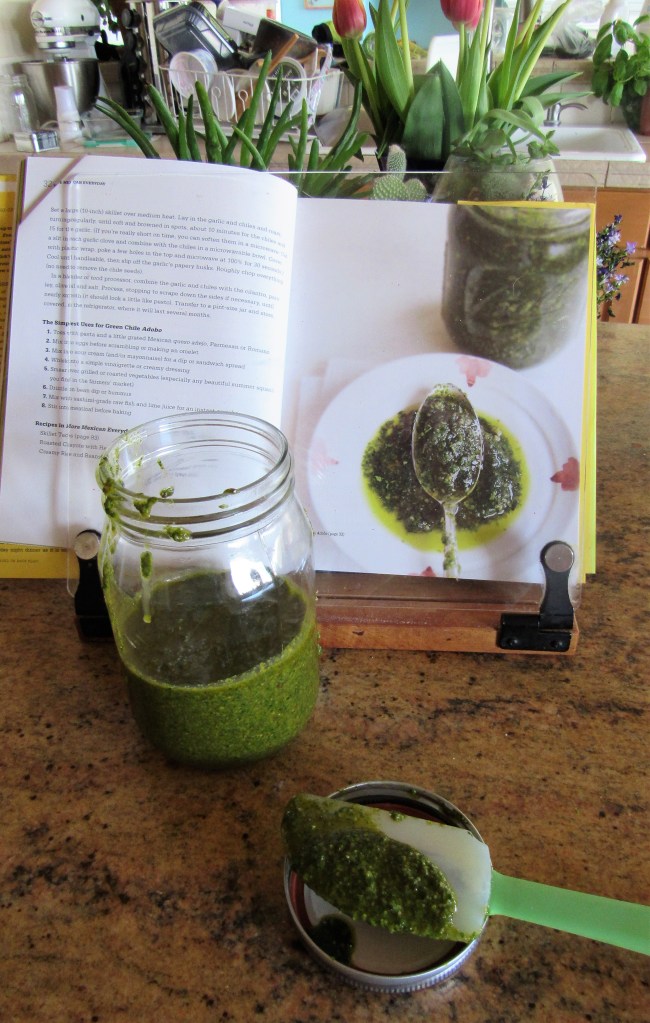
My newly discovered sauce was a modern day twist to not one, but two favored classics. My new sauce for the day was a Green Chili Adobo, also known as Adobo de Chili Verde. Some even call it a Mexican pesto. It is a little like a pesto and a little like a chimichurri sauce, yet has its own unique character and qualities too. It preserves the freshness of the herbs with the additions of both spicy chilies and garlic. You can use this sauce on anything, just like you would with either an Italian pesto or an Argentine chimichurri sauce. If you like things with a little kick, you will definitely like this sauce as well.
Green Chili Adobo Sauce
1 1/2 TBSP garlic
3-4 large jalapeno peppers, roasted and seeded
1 large bunch of cilantro
1 large bunch parsley
4-5 sprigs of fresh thyme and/or oregano
1 cup olive oil
salt & pepper to taste
1 tsp cumin
1/2 tsp cayenne pepper or to taste.
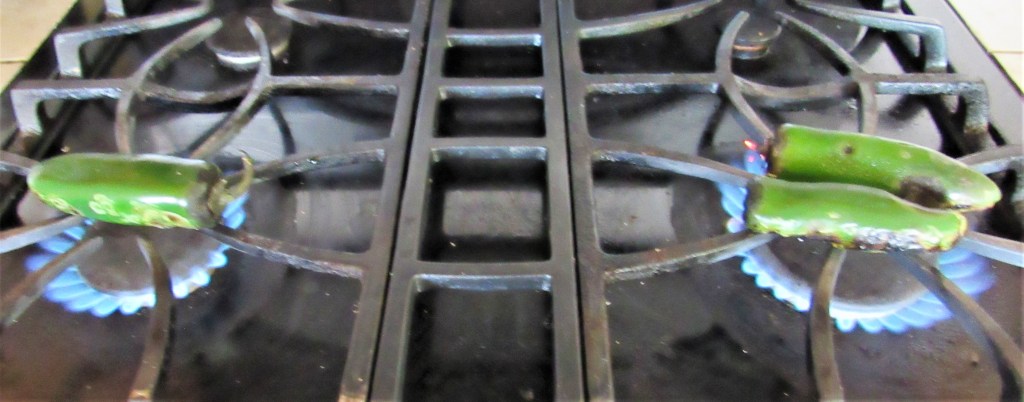
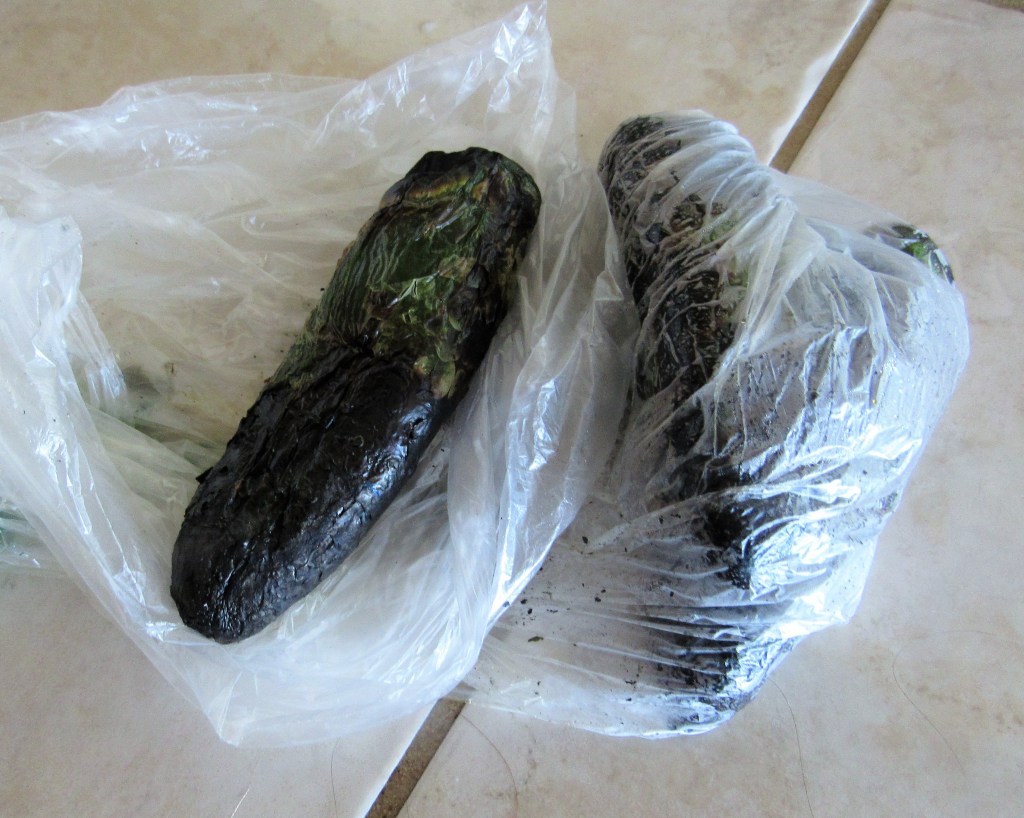
Start by roasting the chilies until they are completely blackened. I put mine directly on an open flame, but you can also roast them in the oven as well.
Once the chilies are completely blackened, let them sweat in a plastic bag for about 30 minutes and then remove all the charred skin and the seeds with your finger tips and rinse thoroughly.
When the chilies are ready, place everything in a food processor and process until you have a liquidy sauce. This sauce will go over anything and everything. I topped my chicken with it last night (served with my leftover rice and beans – Traditional Foods and Flavors of the Southwest). Who knows what I will use it with next?! 🙂
When you decide to make this tasty, zesty sauce, I would love to see and hear about how you used it too. It’s always fun to see you recipes and ideas too. Like I always say. “play with your food”. 🙂