It is here. It’s Christmas Day. I hope everyone has a very safe and festive holiday filled with good friends and family and lots of good cheer.

It is here. It’s Christmas Day. I hope everyone has a very safe and festive holiday filled with good friends and family and lots of good cheer.
I have completed all my Christmas cookies for this season. Well, maybe. I LOVE cookies, and I am always finding new recipes I want to make, Holiday or otherwise. But officially, I am am done with the specific “holiday” cookies. This last batch was a batch of pistachio and vanilla cookies dipped in white chocolate. YUM!!!! I have them plated with my raspberry fudge bites. Chocolate Raspberry Fudge Bites
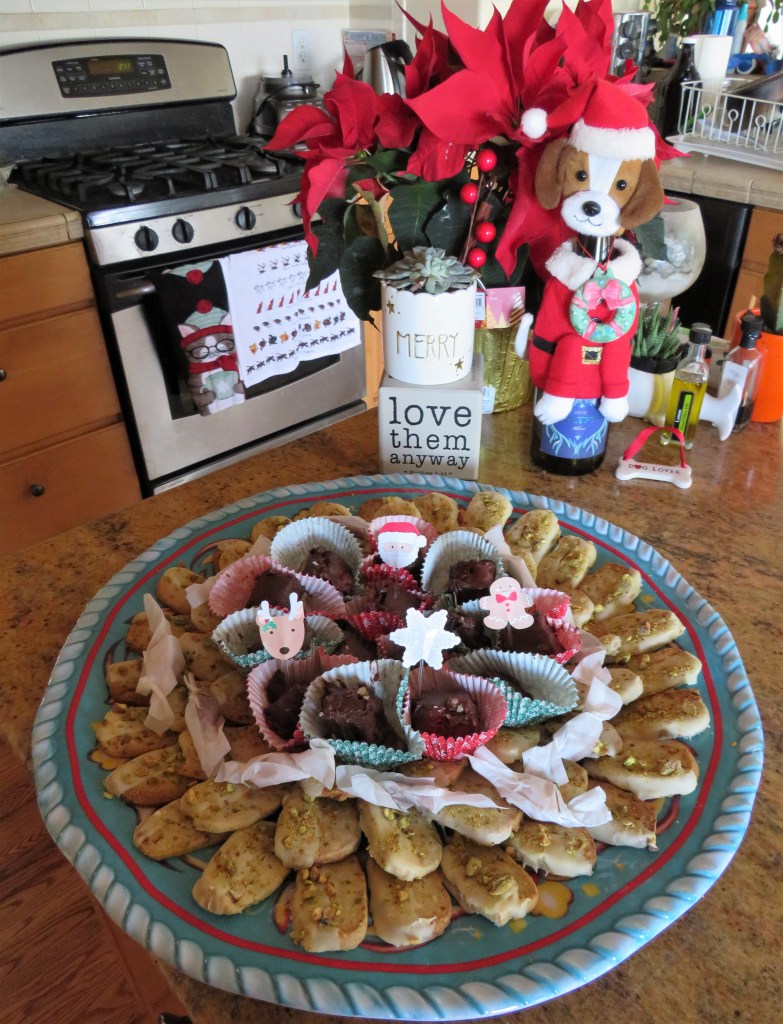
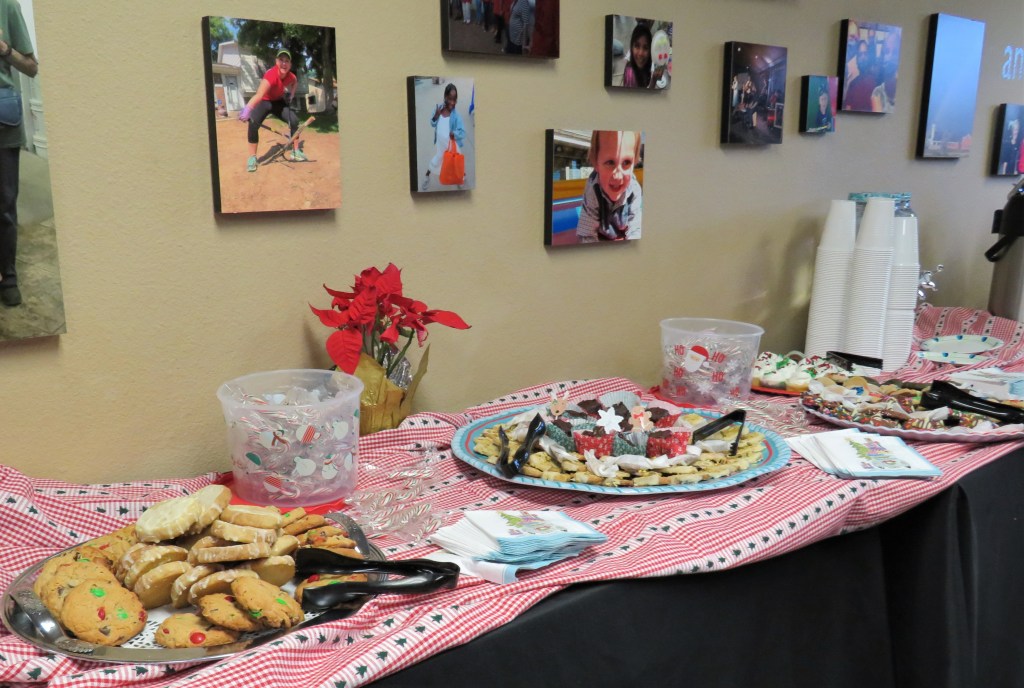
All these cookies I made went to the church for our Christmas celebrations and services. I have to find a home for all the cookies and sweets and treats I make otherwise I will eat them all, and I am already way to fat as it is. But I love to bake. Making them and then giving them away is the best option. We went through a lot of cookies last night, but not nearly enough, considering I made so many. I think I made about 400-500+ cookies, and then Priscilla made some as well. I still have about 5 dozen or 60 left, which means I either have to eat them, or re-home them once again. What a terrible dilemma, I know. 🙂
Vanilla Pistachio Cookies
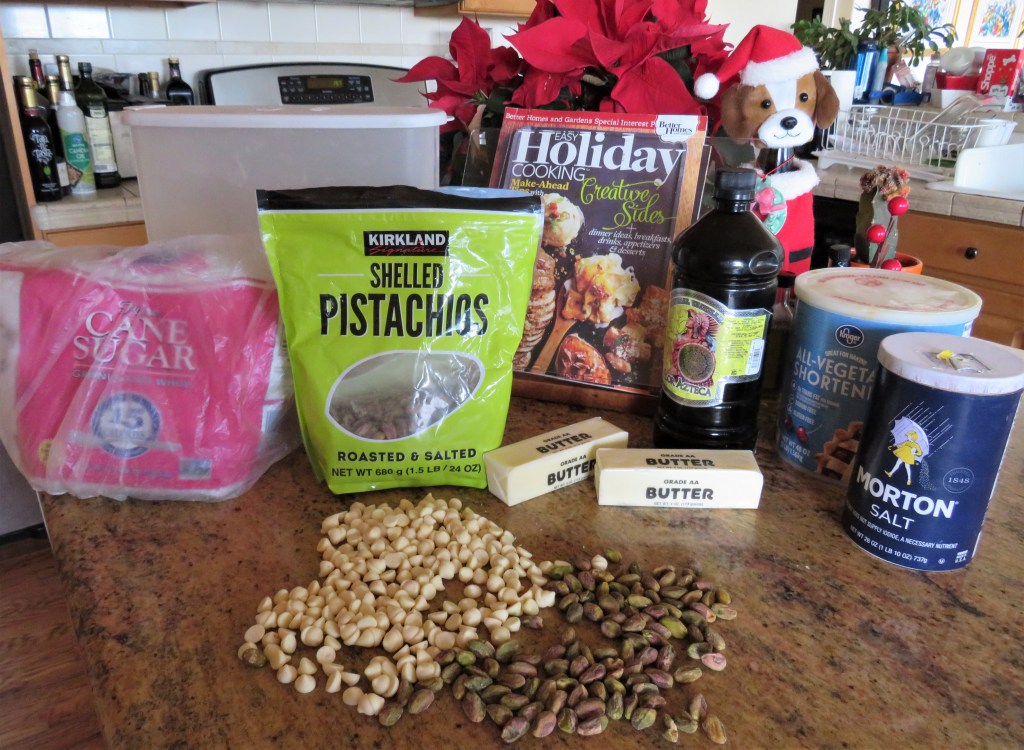
1 cup or 2 sticks softened butter
3/4 cup sugar
1 tsp vanilla
2 cups flour
1 1/2 cups pistachio nuts, chopped
6 oz white chocolate
2 tsp shortening
1-2 TBSP milk
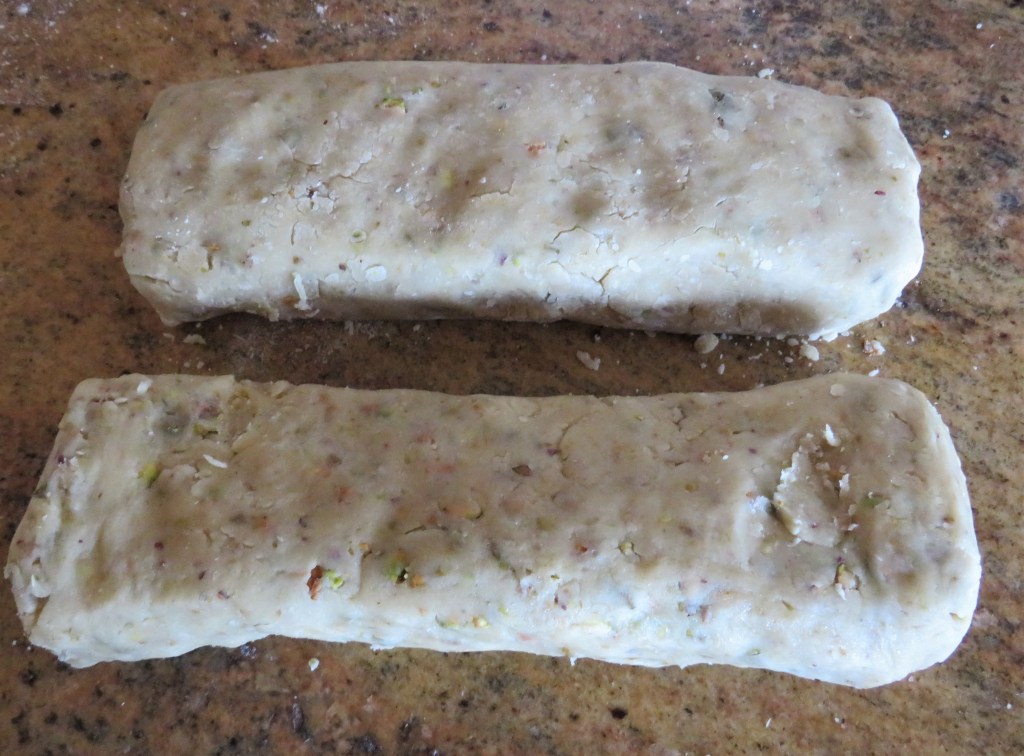
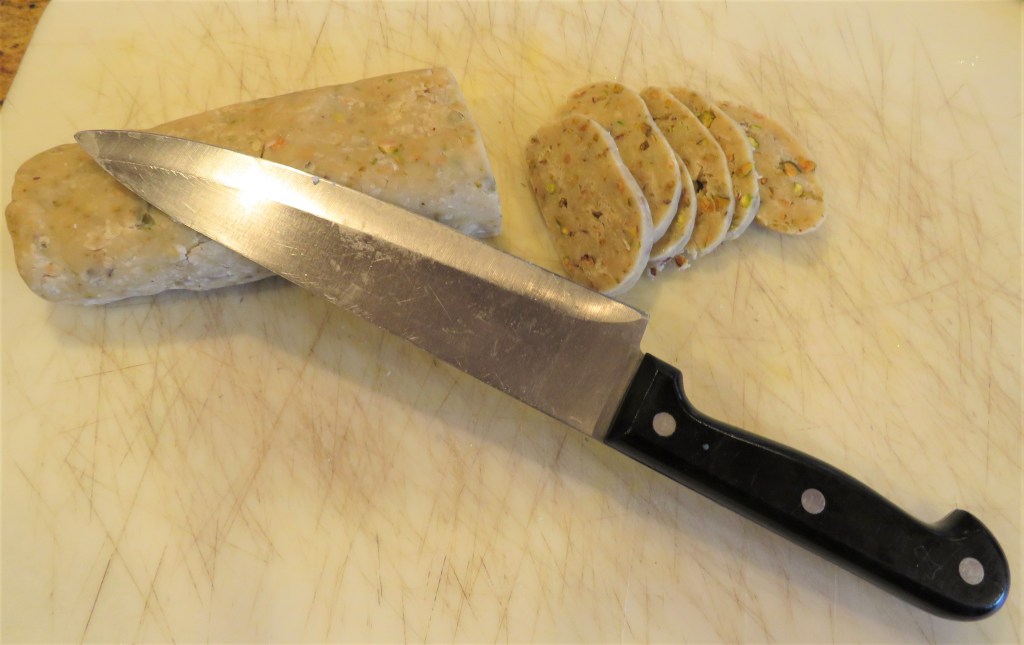
Mix the butter, sugar and vanilla together in the mixer, then add the flour 1/2 at a time. Add about 1 cup of the chopped pistachios and mix together. Divide the dough into two and form it into logs about 7 inches long. Wrap in plastic wrap and refrigerate for at least two hours.
Once the dough is ready, preheat the oven to 375*F or about 190* C. Then slice the dough into slices about 1/4 inch thick and place them on an ungreased cookie sheet about 2 inches apart. Bake them for 12-16 minutes or until lightly golden.
Allow the cookies to cool completely before dipping them in the white chocolate.
Melt the white chocolate with the shortening and add 1-2 TBSP milk as well. Stir constantly and heat at a medium high temperature until all the chocolate is melted and the mixture is creamy.
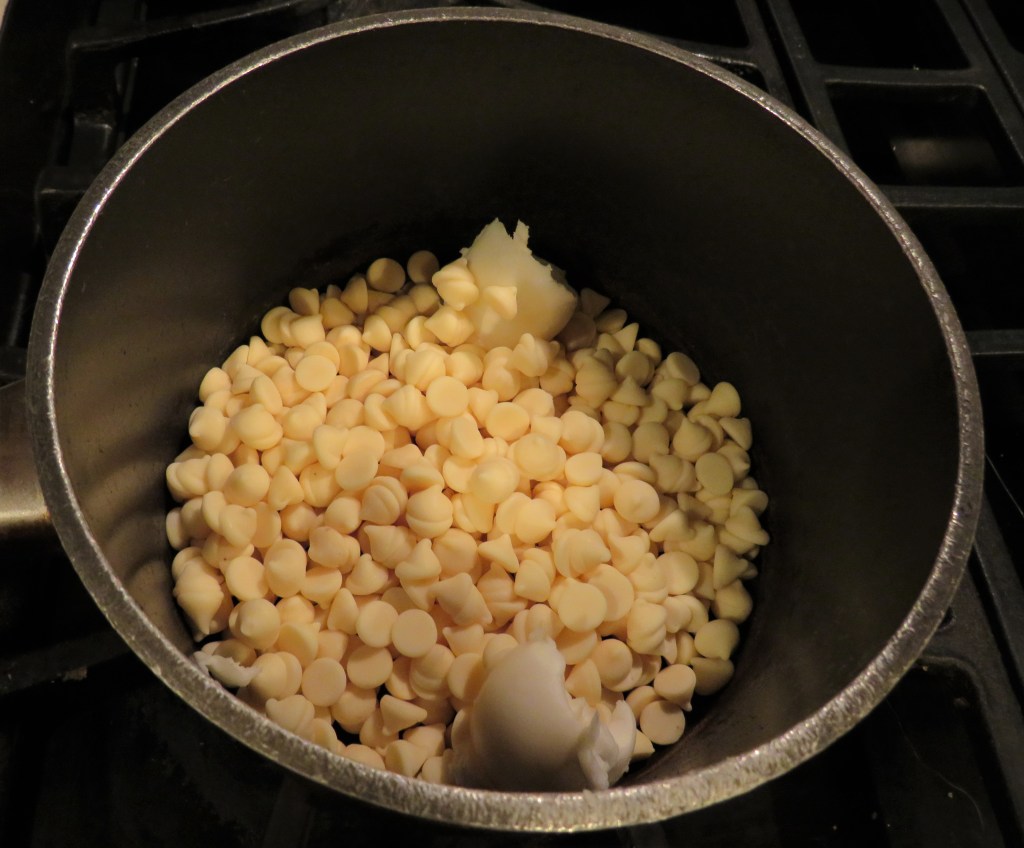
Dip about 1/3-1/2 of each cookie into the white chocolate and shake off all the excess chocolate. Sprinkle the top with chopped pistachios. I found it is best to do this in small batches at a time so the chocolate does not set before adding the pistachios.
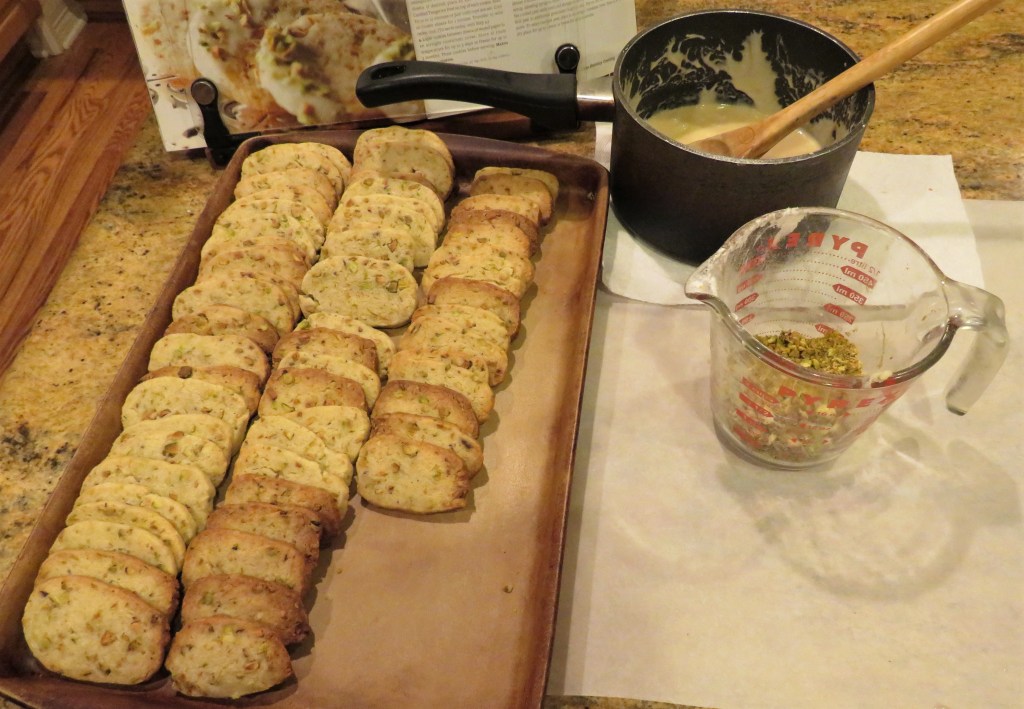
Allow the cookies to set for a bit and then they are ready to enjoy.
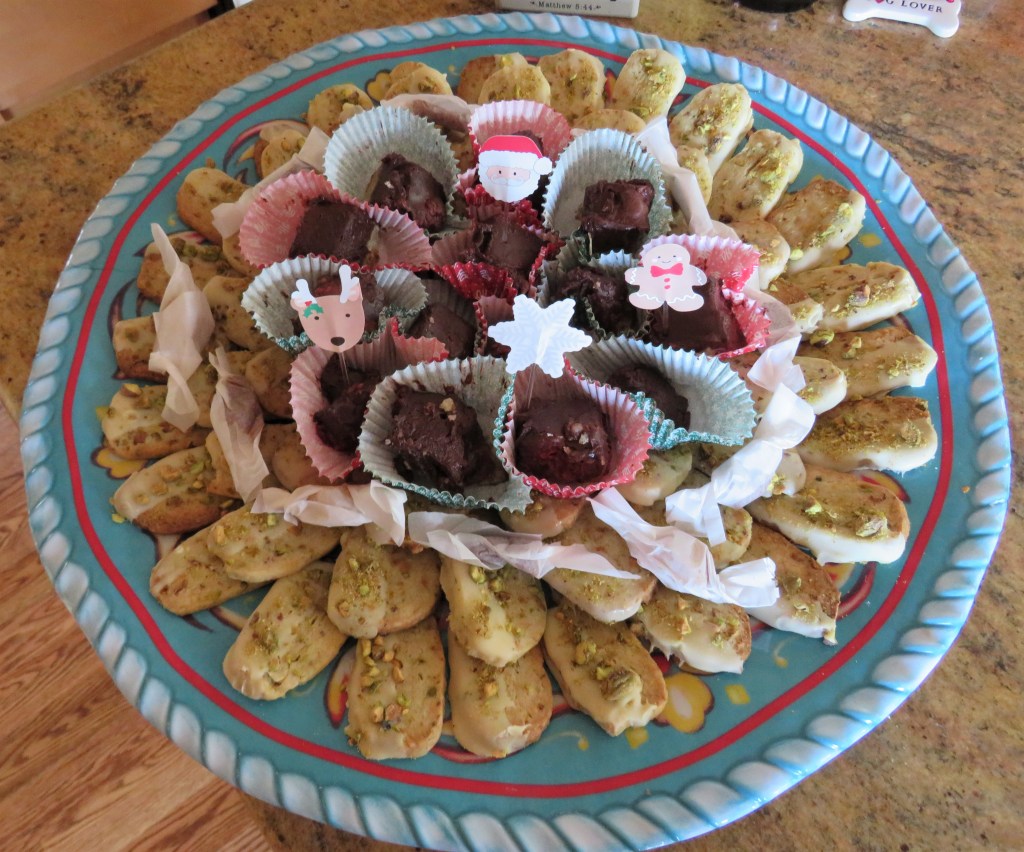
All of my Christmas cookies were a big hit, as I hoped they would be.
Merry Christmas to Everyone. Stay safe and stay well. ‘Til next time.
Christmas is here. Today, in the United States, it is Christmas Eve. In other parts of the world, it is Christmas Day. Merry Christmas to all.

‘Tis the season for cookies. Lots and lots of cookies. I have finally finished all my holiday cookies for this season. They will all be on display and ready to be eaten and enjoyed tonight at our church’s Christmas Eve’s Eve celebrations. In total, I made 5 different types of cookies and sweet treats for tonight’s festivities, including my raspberry fudge bites Chocolate Raspberry Fudge Bites, my colorful thumbprint cookies The First of the Christmas Cookies, these sprinkled and kissed cookies I am about to tell you about right now, and then another batch of cookies I will tell you about tomorrow. Of course I had to sample a little from each batch, for quality control purposes naturally, and I can attest they are all delicious! 🙂

I made two batches of these chocolate sprinkled and kissed cookies, with slight variations for each batch. They were the same recipe. For the first batch, I used chocolate extract instead of vanilla, and then placed a “hugs” chocolate kiss on top. The “hugs” kisses are a combination of both white and milk chocolate swirled together. For the second batch, I used peppermint extract instead of vanilla and then topped them with a mint cream kiss to make them chocolate mint cookies. I will give you the basic recipe. The extracts and the kisses were the only differences.
Sprinkled and Kissed Cookies
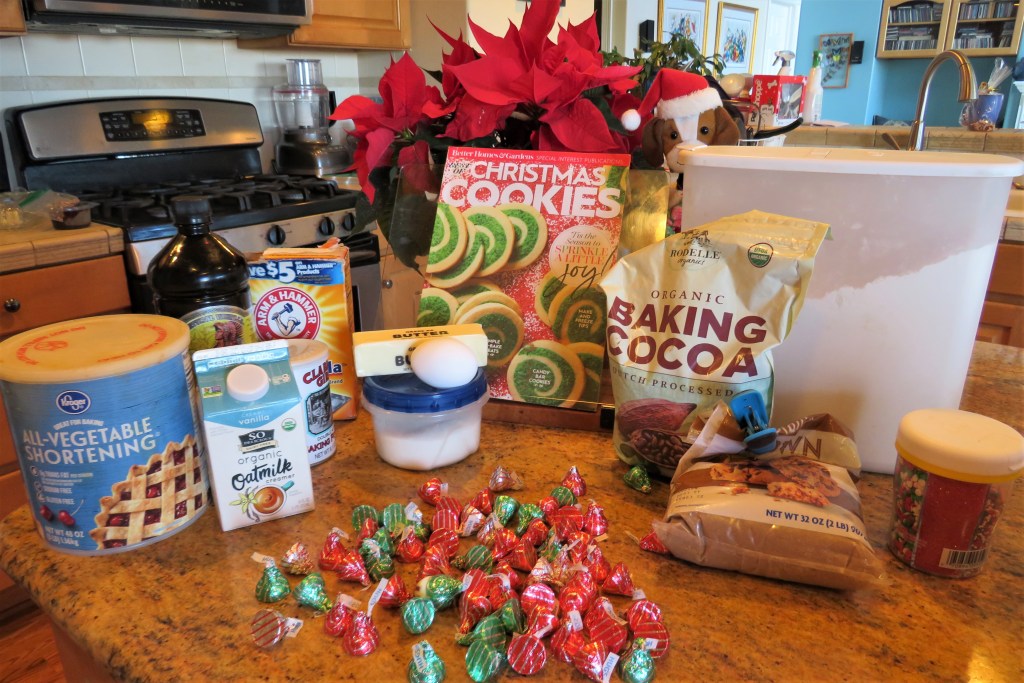
1/2 cup vegetable shortening
1/2 cup softened butter (1 stick)
1/2 cup sugar
1/2 cup brown sugar, firmly packed
1 tsp baking powder
1/4 tsp baking soda
1 egg
2 TBSP milk
1 tsp vanilla or flavored extract
1/4 cup cocoa powder
2 cups flour
1 cup colored nonpareil or colored sprinkles
60 chocolate kisses, or 1 for each cookie
Preheat the oven to 350* F or 175* C.
Combine the flour, cocoa powder, baking powder and baking soda together and set aside.
Mix the shortening, butter and sugars together until well combined and soft and creamy.
Add the egg, milk, and vanilla or extract and mix together again, then add the flour mixture 1/2 at a time, mixing in between each addition. Mix just until everything is well combined. Do not over mix.
Roll the dough into 1 inch balls then roll in the sprinkles.
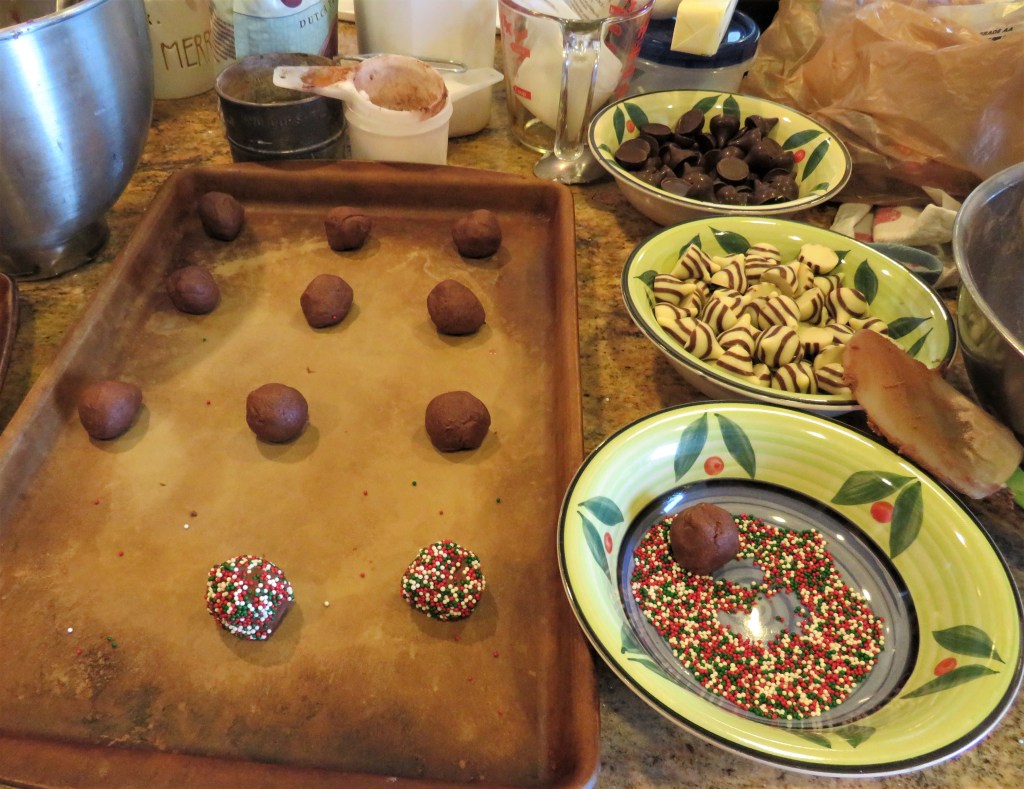
Place them on an ungreased cookie sheet about 2 inches apart. Make a well in the center of each cookie and bake for about 10-12 minutes.

Immediately after removing them from the oven, add a chocolate kiss in the center of each cookie.
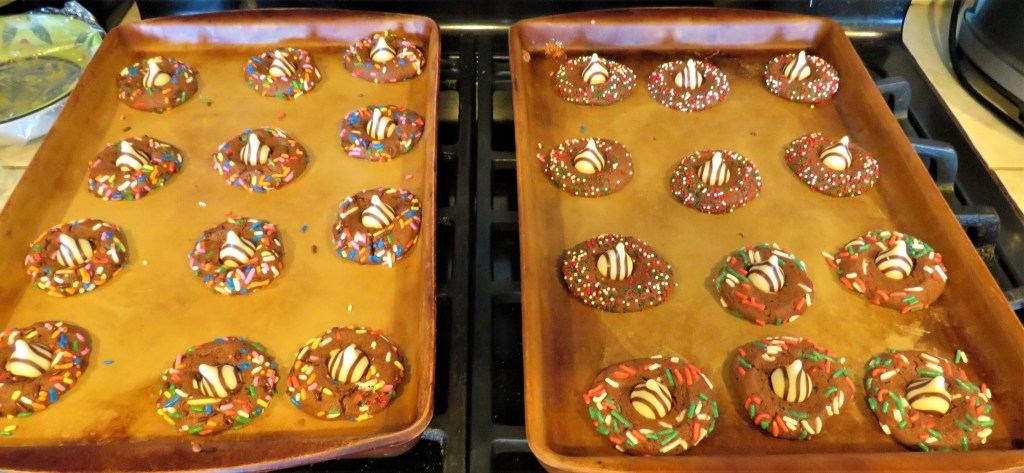
Cool for a bit, then remove the cookies and allow to cool completely on a cookie rack. Once they are cooled enough to eat, it is time to set them out on a plate with some milk on the side for Santa and all his helpers to enjoy.

Merry Christmas to all and to all a safe and Happy Holiday season. ‘Til next time.
It is because of them and they sacrifices they made that we are free and are allowed to celebrate. Thank you for all you have done. You will never be forgotten. I will forever be in your debt.


After my short little fun experimentation with the wine gummies, These Gummy Bears Are For Adults Only I decided it was to get back to backing cookies and goodies for our church festivities that are coming up tomorrow night. This round of baking was some chocolate raspberry fudge bars. I LOVE the chocolate-raspberry combination. It is one of my favorites, especially with dark or bittersweet chocolate. YUM! These raspberry fudge bites are very messy, but they are rich and decadently delicious too. Maybe it is BECAUSE they are so messy that makes them so good. I’ve always said things taste better when they are messy, and these are most definitely messy. 🙂 I made them much smaller than what they are in the cookbook picture. A little goes a long way because they are so rich.
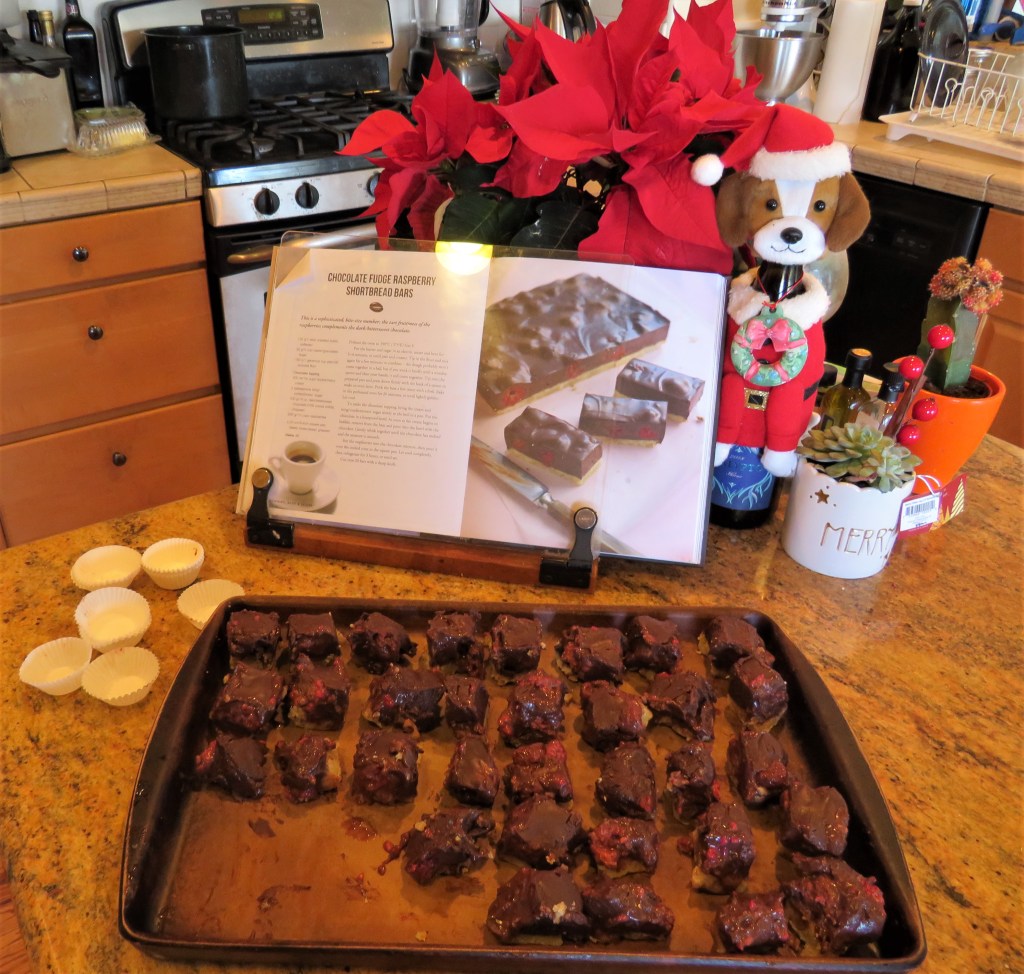
Chocolate Raspberry Fudge Bites
1 stick or 1/2 cup softened butter
1/4 cup sugar
1-1 1/4 cups flour
Combine together in a food processor or mixer until it forms into a ball then refrigerate for at least 30 minutes to 1 hour before using.
When ready to use, preheat the oven to 375* F or 190* C and grease an 8″ square pan. Press the dough mixture firmly into the pan with your fingers and bake for about 20 minutes or until it is lightly golden. Let it cool completely before adding the fudge mixture.

The Raspberry Fudge
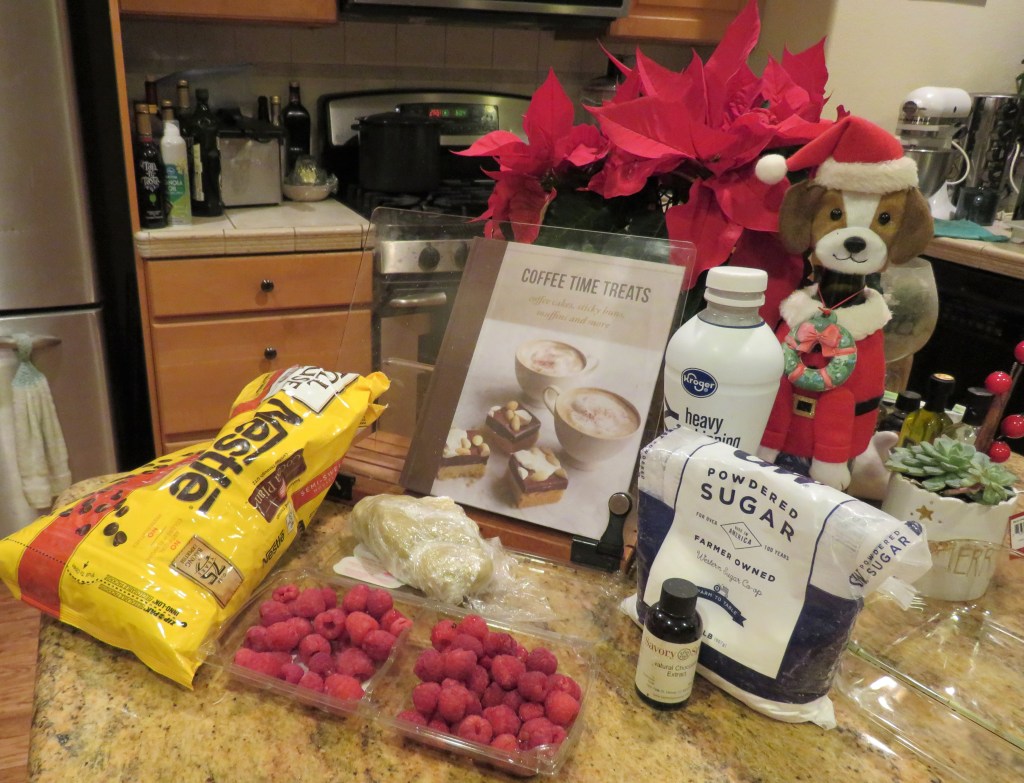
1 3/4 cup heavy whipping cream
2 TBSP powdered sugar
1 1/2 cups fresh raspberries
1 1/2 cups dark or bittersweet chocolate chips or chocolate pieces
1 tsp chocolate extract, optional
Combine the cream and the powdered sugar together in a heavy sauce pan and bring to a boil. Immediately pour it over the chocolate chips and add the chocolate extract if using. Mix everything together to make your fudge ganache.
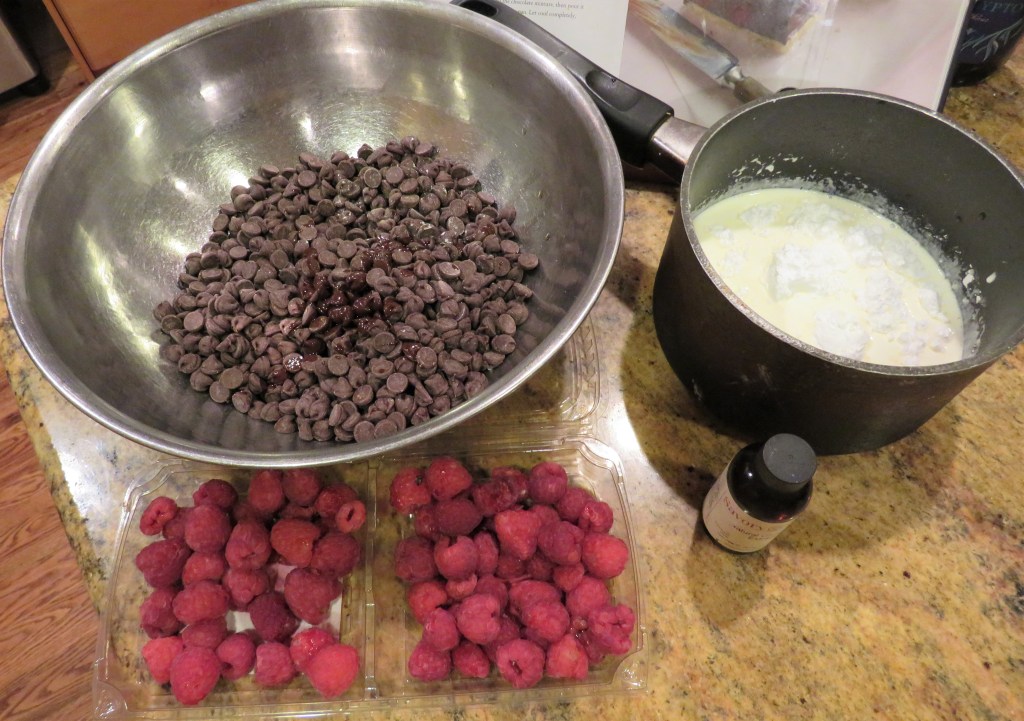

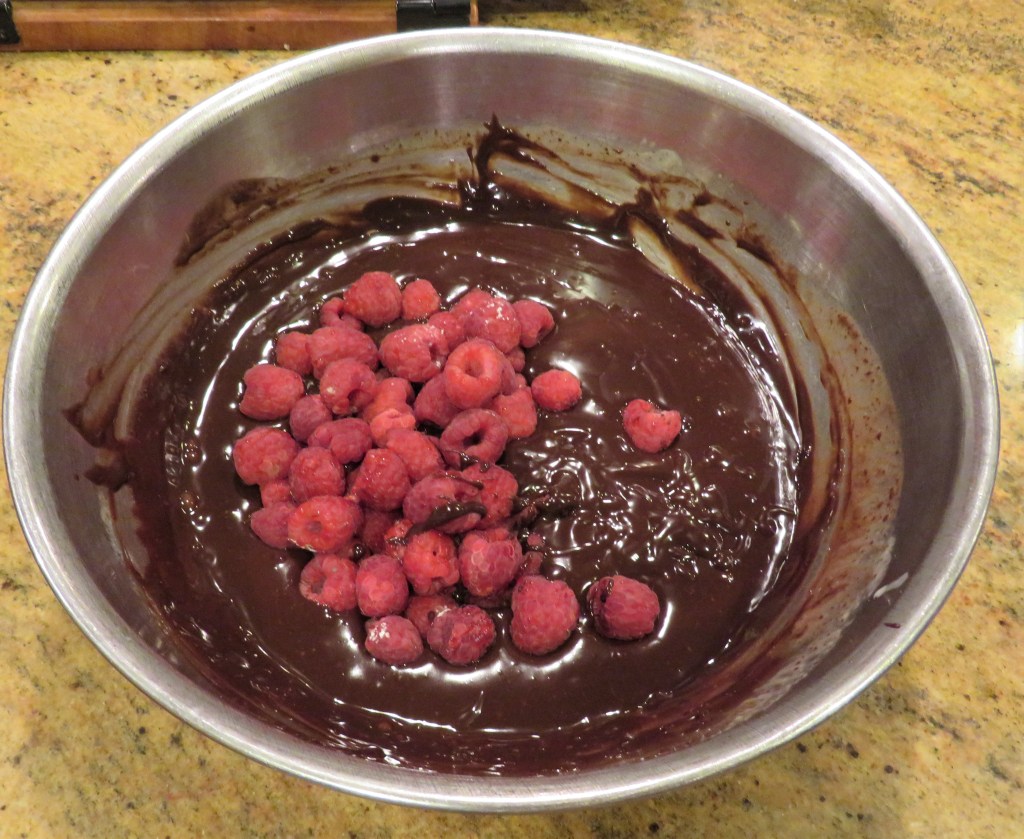
Once everything is well blended, carefully fold in the raspberries.
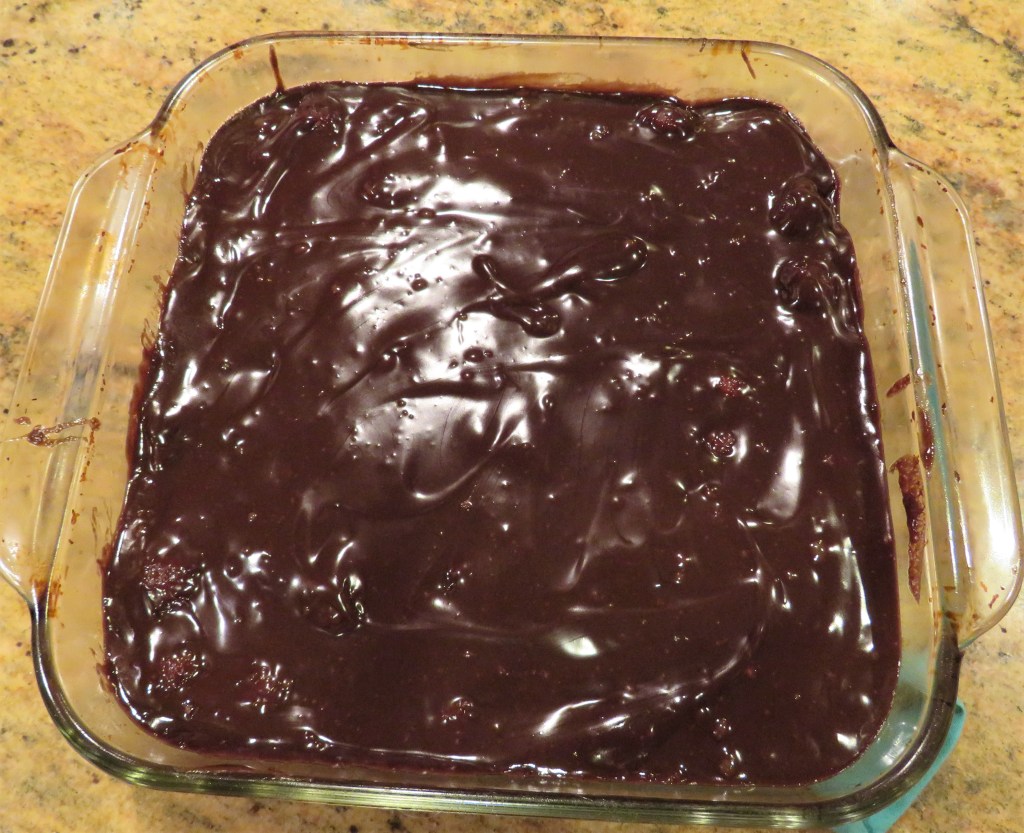
Carefully pour the chocolate-raspberry ganache over the prepared dough and refrigerate for at least 3 hours or until completely set. Then cut into squares and enjoy.
Merry Christmas to all and to all a safe and Happy Holiday season. ‘Til next time.
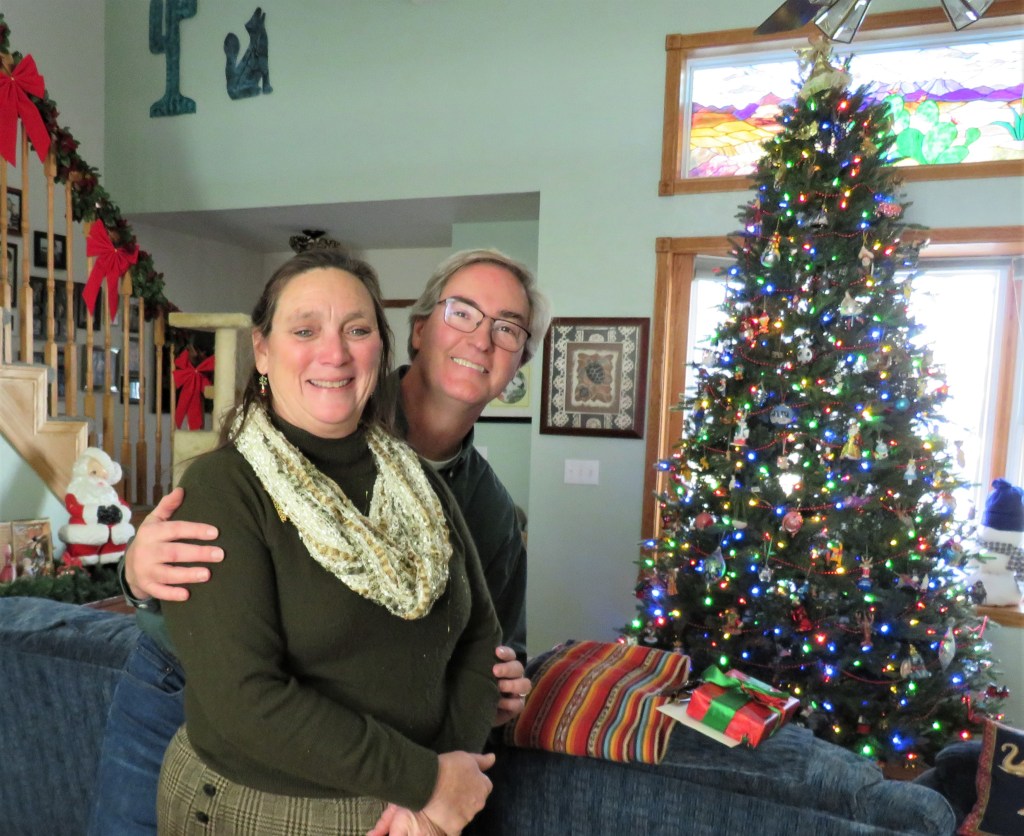
So far, this is the only actual Christmas picture we have taken of us this season. From our house to yours (even though this was at Janet and Bob’s house). Merry Christmas and a Happy, Healthy New Year to all.
Tis the season for all kinds of fun things. I should be making cookies, and I have been, and I will be baking more, but I took a break from the cookies to make something else fun. I got some new “toys” that I had to play with. I ordered some gummy bear molds and I could not wait to play with them. I made some wine gummy bears, or gummy bears for adults only.

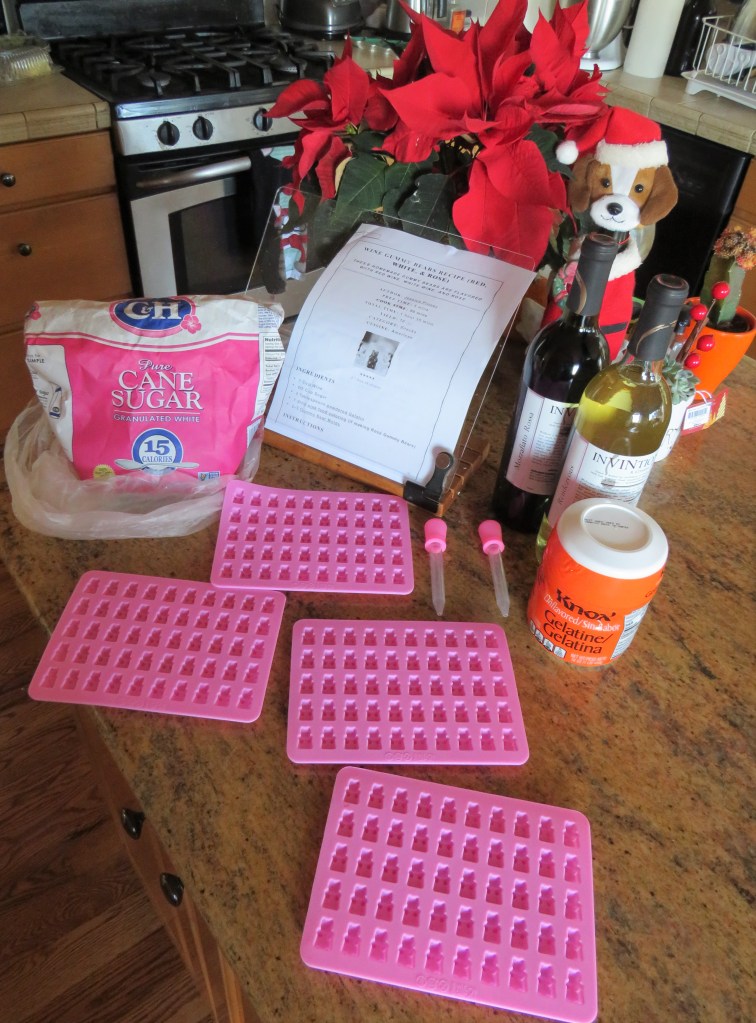
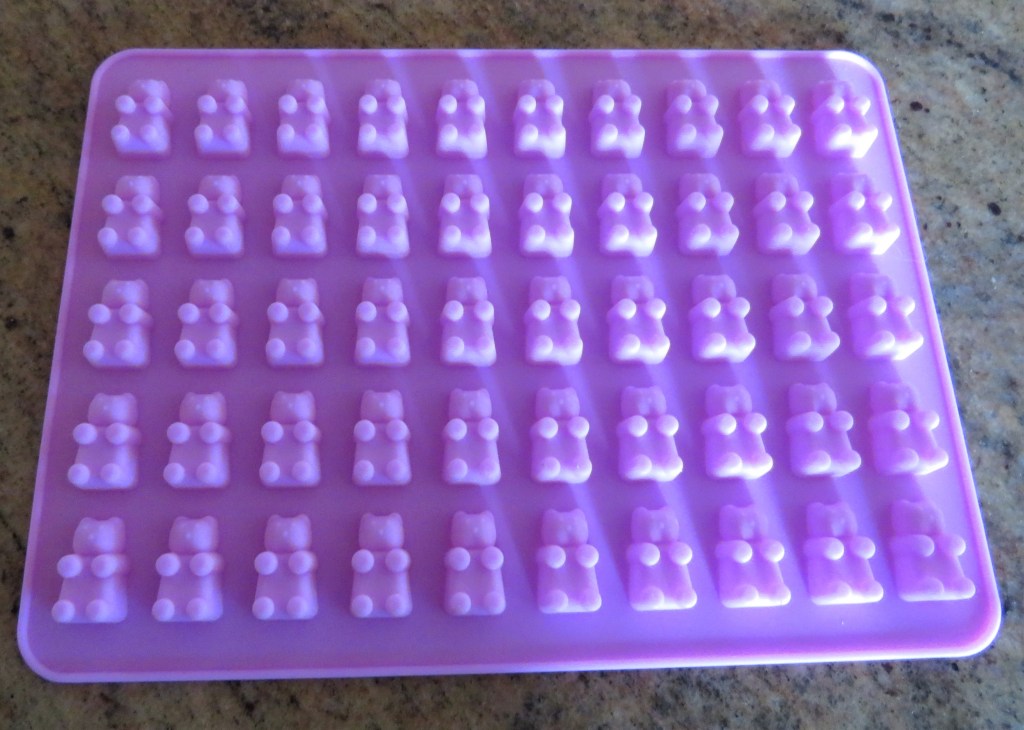
These adult gummy bears are so easy to make. These same molds can make any kind of gummy bears, but I decided to initiate them with the adult only version first. The main ingredient is one of my favorite things – WINE!!!!!! Hmmmmm I wonder why I chose to make these? I’ll have to think on that for a bit. I can’t imagine why I chose to make these? 🙂
Wine Gummy Bears
I cup of wine of your choice
1/2 cup sugar
3 TBSP Knox gelatin
Mix everything together in a saucepan and cook until the temperature gets to 160* F, whisking constantly. If the temperature goes above 160* F you will loose the wine content to evaporation and where’s the fun in that? Once the wine mixture is ready, take an eye dropper and fill it with the liquid then carefully fill the molds.
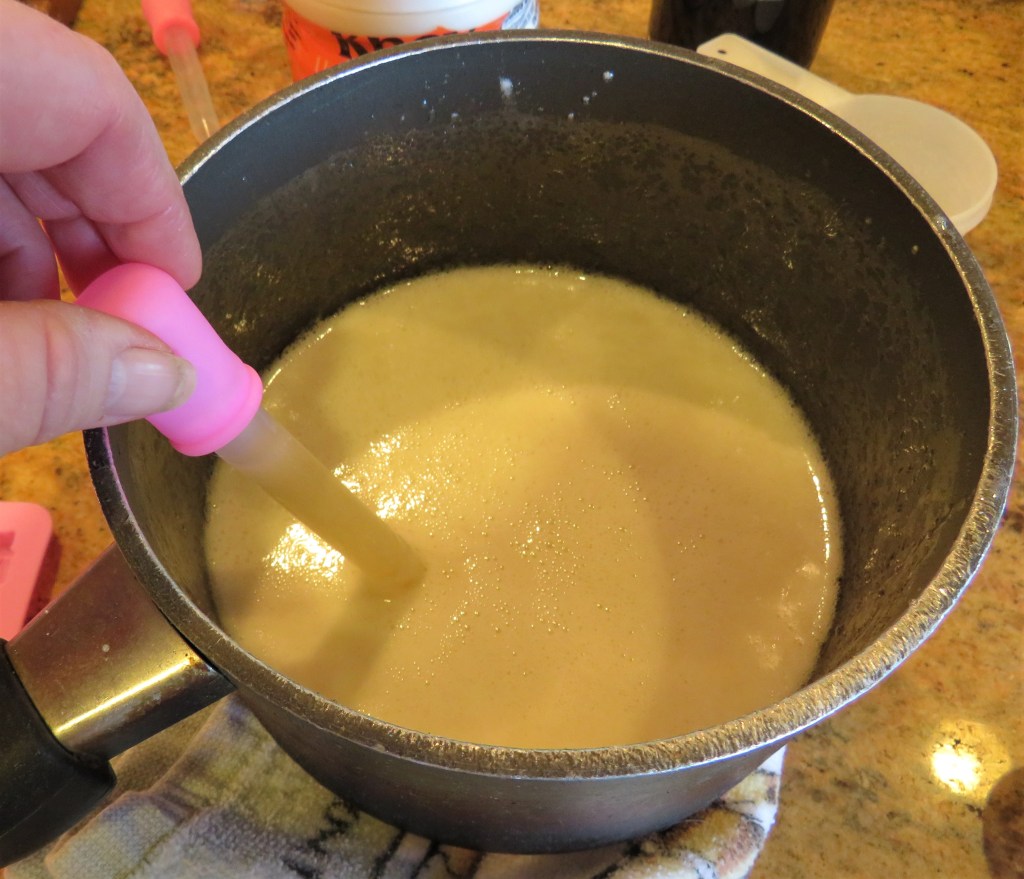
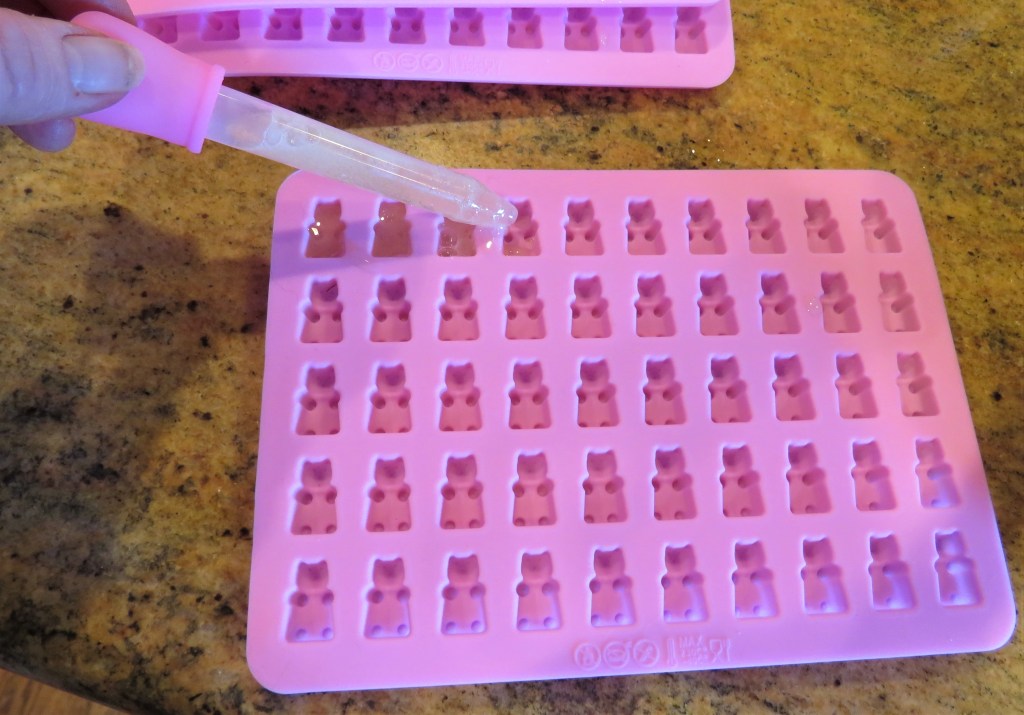
I made two batches. The first batch was with white wine. I was experimenting, so I was not sure how much it would make and I wanted a variety, so I do not have a lot of white gummy bears. After I filled a mold with white wine, I added a couple of drops of pink food coloring to the mix for some pink gummy bears. It was still with the white wine though.

Once the molds were filled I chilled them in the refrigerator for 90 minutes.
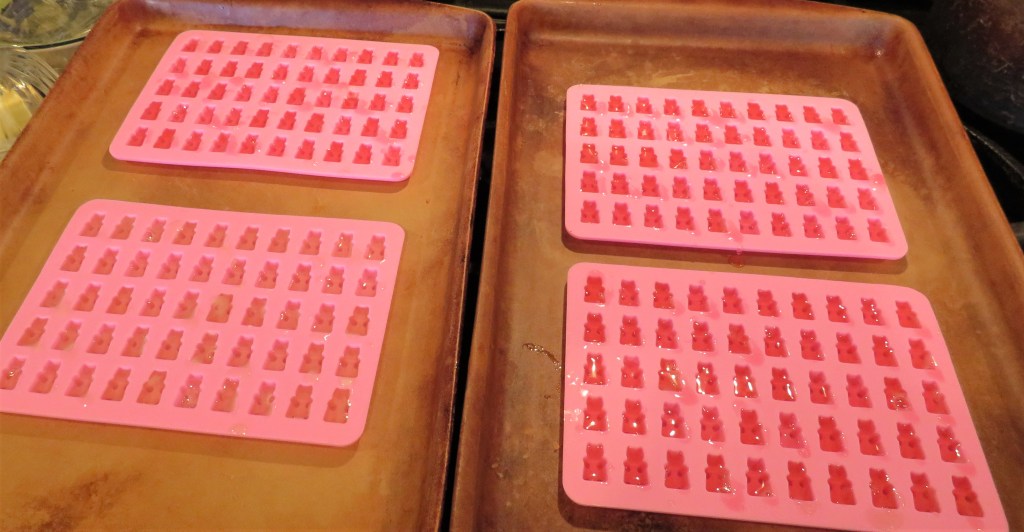
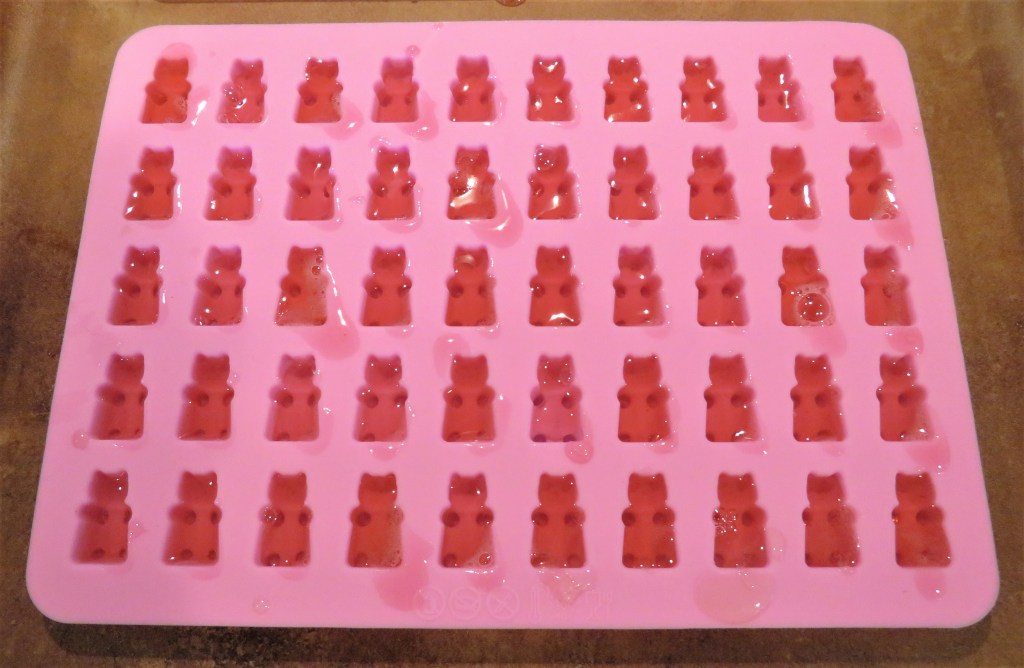
When the bears were set, I popped them out and made a new batch with red wine.
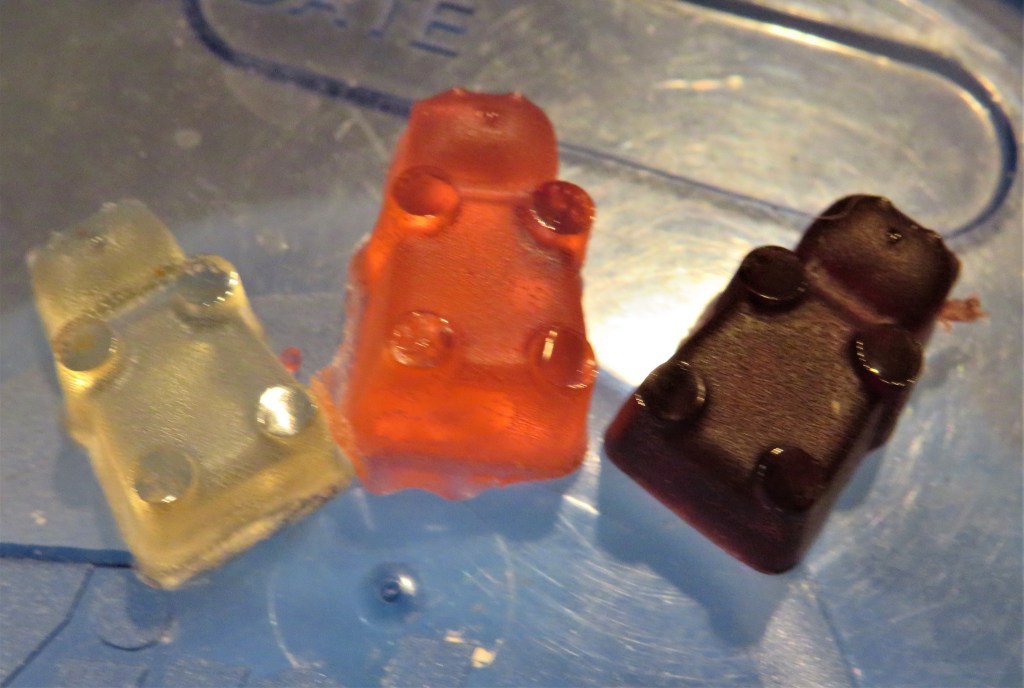
These adult gummies are both fun and easy to make. They will be a big hit at your next party, that’s for sure. I dare you to stop at just one. Cheers!
Merry Christmas to all and to all a safe and Happy Holiday season. ‘Til next time.
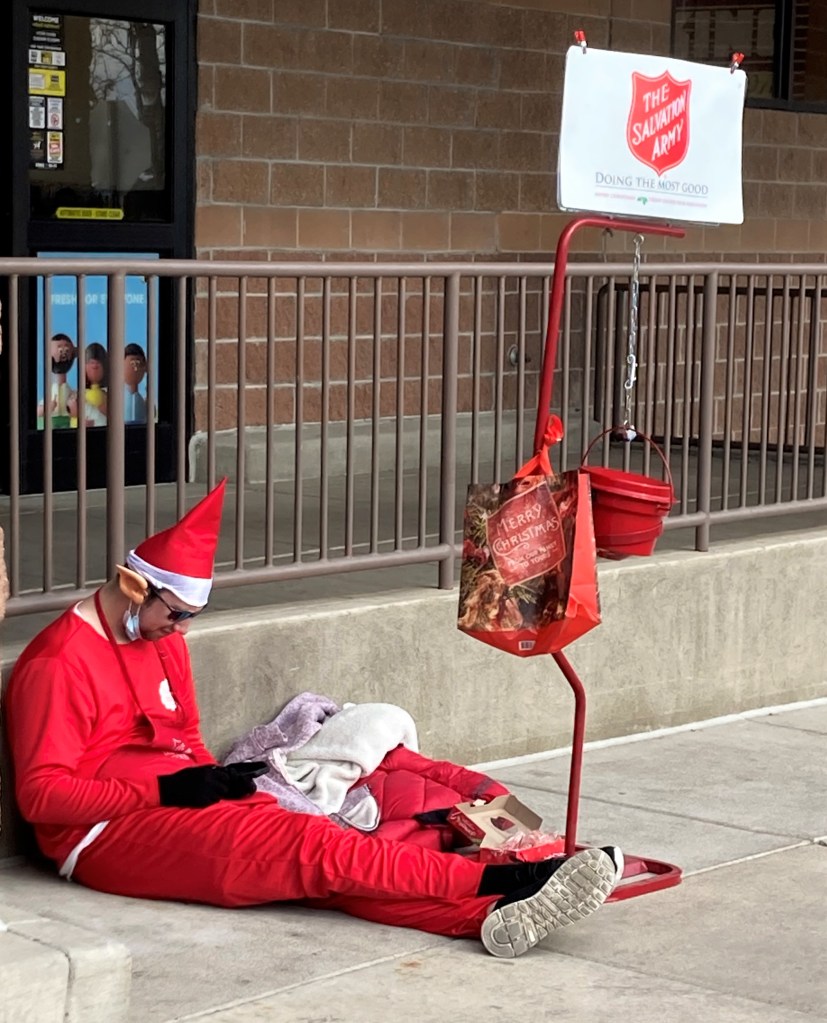
The Christmas party at the North Pole must have been one wild party. This elf apparently had to much eggnog.
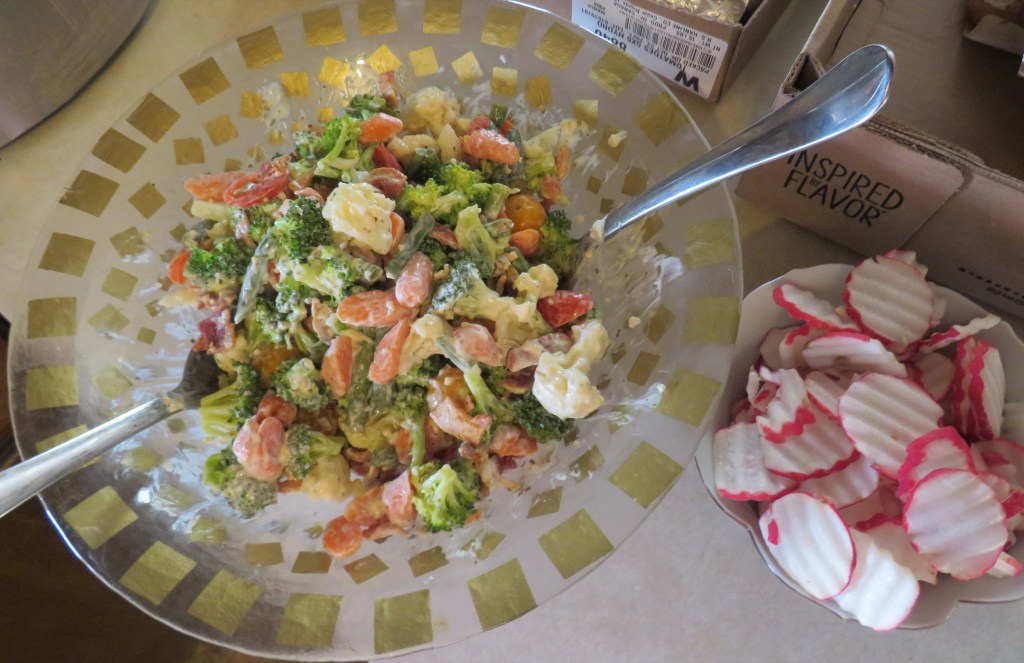
Salads are not something that we normally think of as a Christmas food, however, a salad is really any combination of foods combined together and served as one. I made this colorful Christmas vegetable salad before we left to go to Hays, KS for the Billinger Christmas, and added the bacon and creamy garlic dressing right before we served it. It traveled very well and it was very colorful and full of vegetables. There were no leftovers, so I will take that as a good sign that it was enjoyed by all.
I steamed all the vegetables and tossed them all together before we left. I was going to add radishes as well, but decided to leave them on the side instead. A key ingredient to a good salad is the freshness of the ingredients used. Salads are most often served as a cold side dish, but they can be hot as well. This was a cold salad, but I suppose if you wanted to, you could also serve it warm. It is just cooked vegetables after all.
Hearty Christmas Vegetable Salad with Creamy Garlic Dressing
The Dressing
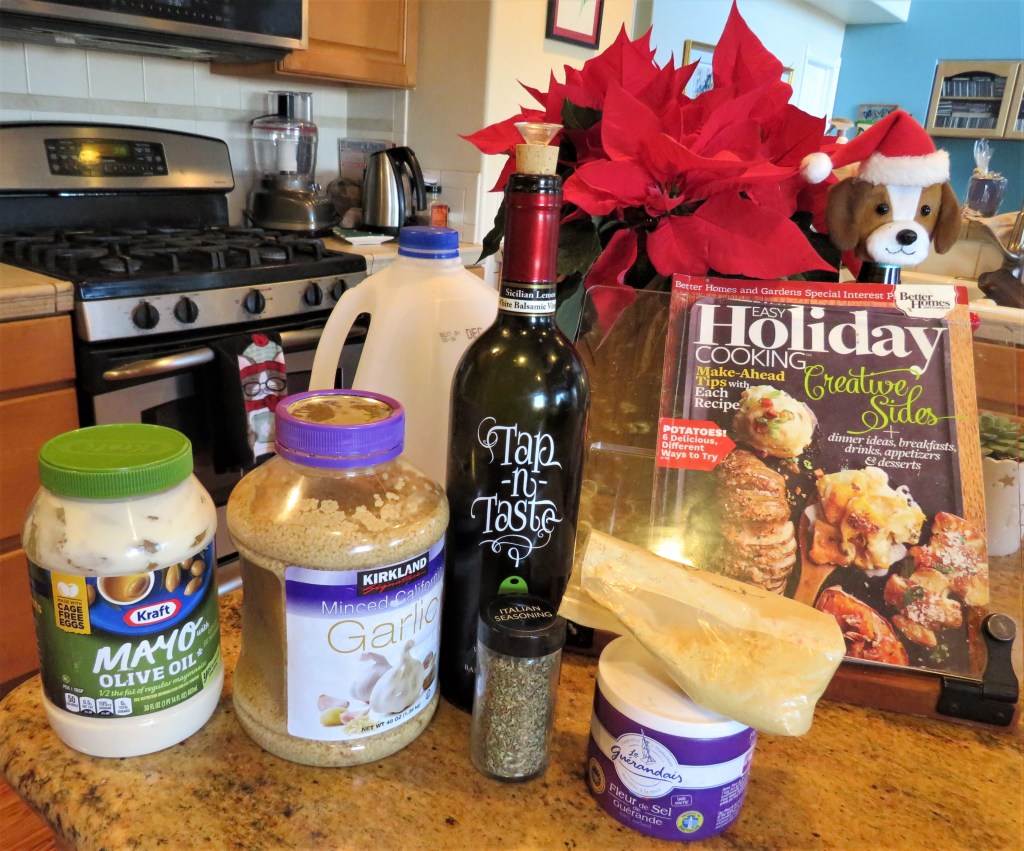
I made the dressing before we left as well and brought it with us to add to the salad right before we served it.
1 cup maytonnaise
2 tsp either white wine vinegar or lemon balsamic vinegar. I used the lemon balsamic vinegar.
1 TBSP garlic
1/2 tsp Italian seasoning or about 1/4 tsp of each oregano, basil, thyme and marjoram
1/4 tsp dry mustard
a dash of salt
2 TBSP milk
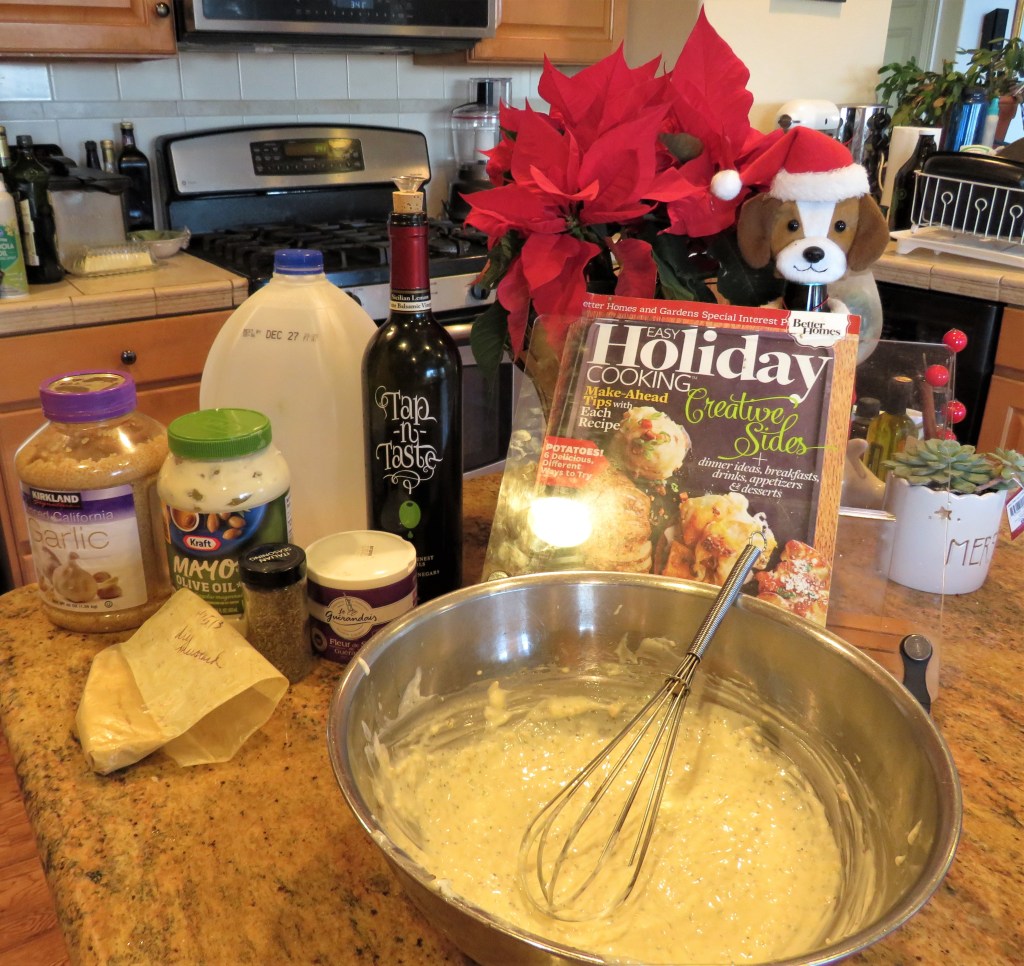
Whisky everything together until smooth and creamy and chill in the refrigerator until ready to use.
The Salad
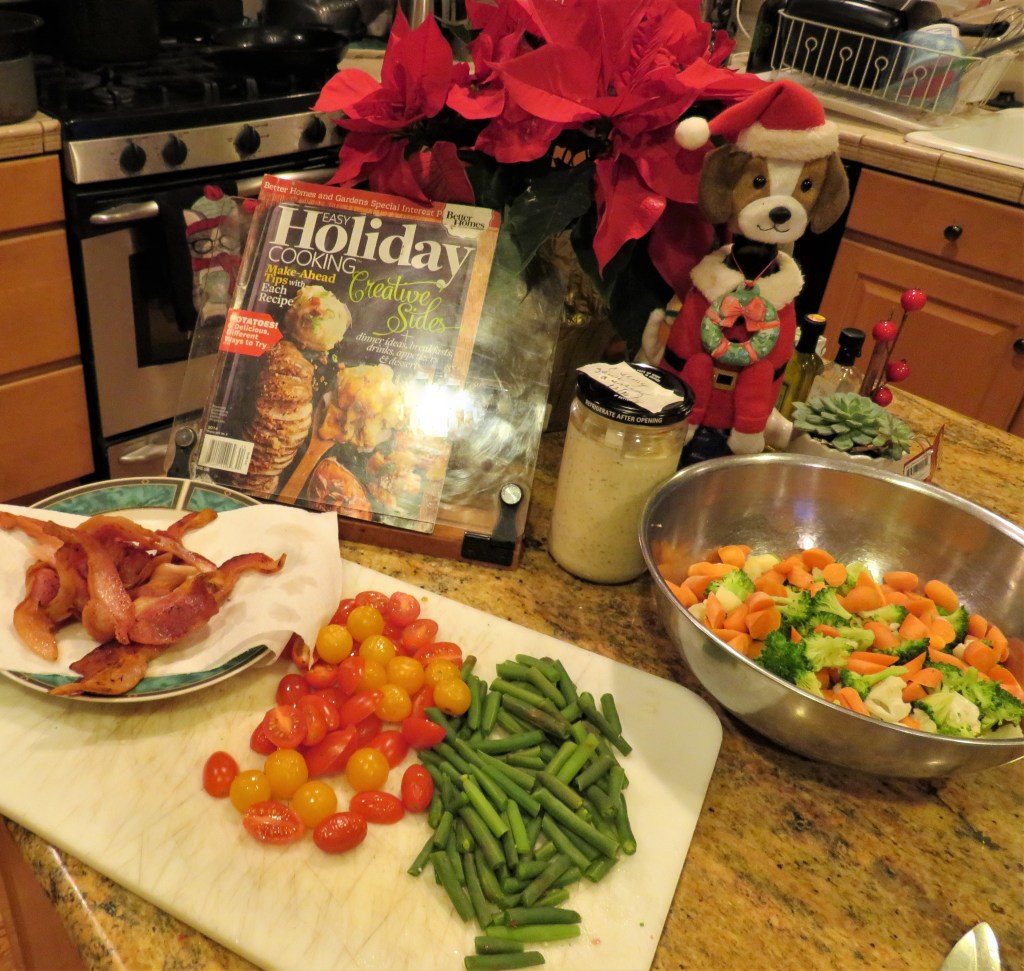
1/2 head of cauliflower cut into bite-sized florets
1/2 head of broccoli cut into bite-sized florets
1- 1 1/2 cups green beans, cut into pieces about 1 inch in size
1- 1 1/2 cups carrots, sliced
1- 1 1/2 cups grape tomatoes, cut in half
4-5 pieces of cooked bacon, crumbled
Steam all the vegetables together for about 7 minutes or until they are mostly tender, then immediately chill in an ice bath to prevent them from cooking any more.
Toss them all together and add the bacon crumbles and tomatoes as well.
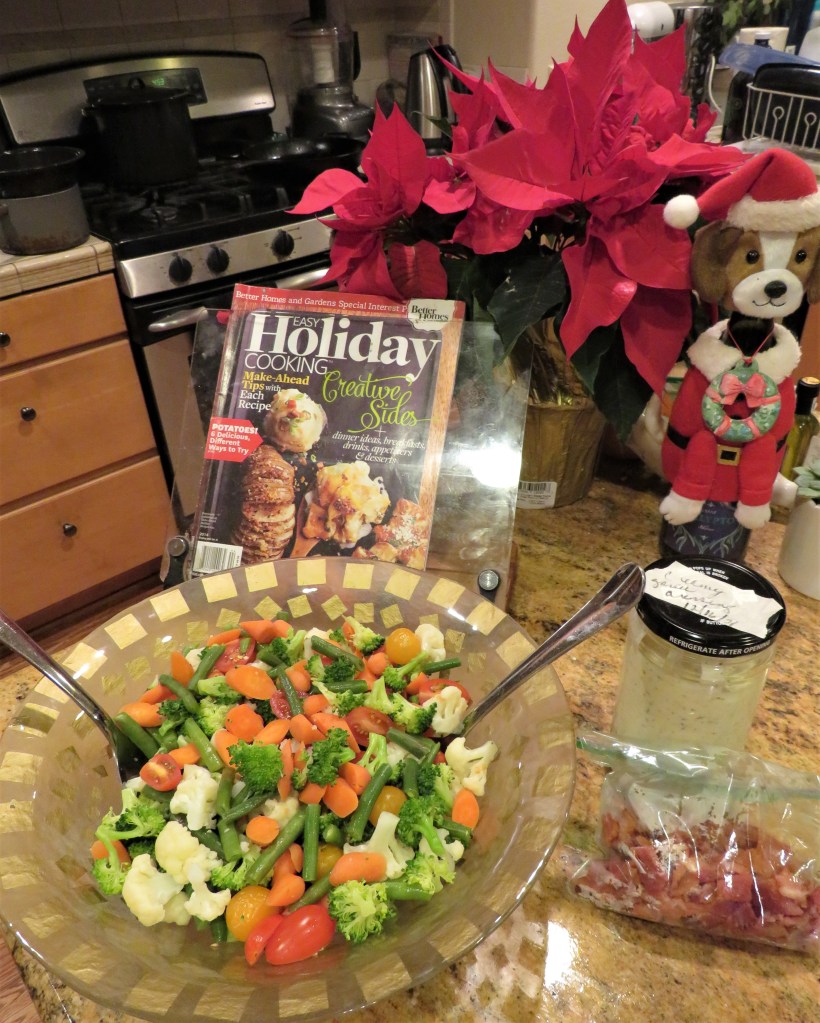
Add the dressing right before you are ready to serve the salad and enjoy. It was a big hit and disappeared very quickly.
Merry Christmas Everyone and to all a safe and Happy Holiday season. ‘Til next time.

