Cheese and Pepper Wreath

Bread is the food of life, and I certainly LOVE my breads. All kinds of breads. I could easily live on bread alone, if there was enough butter of course. Not only do I love eating breads, but a close second is making all different kinds of breads too. My latest bread making adventure came in the form of a cheesy, peppery wreath.
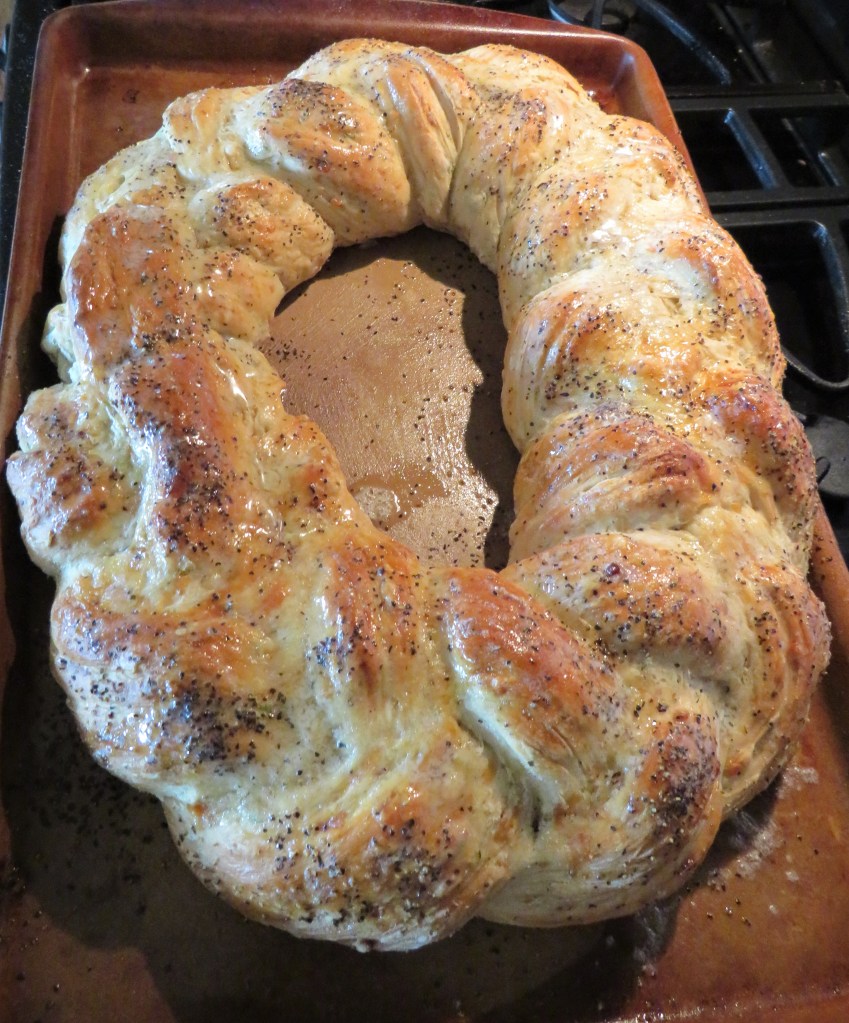
Like with so many good bread recipes, this was a simple recipe, with simple ingredients. The secret to making good breads though, is patience. The dough needs to rise before it can be baked. So make sure you have the time to put into it and let your dough rise at its own pace before making it.

The recipe called for Parmigiano cheese, but at the time I was making it, I didn’t think I had any. I did have Monterey Jack though, which worked just fine. And, of course AFTER my bread was made, I discovered I DID have Parmigiano cheese. Lots of it too. Anyway, my point is, use what what you have and try something different.

Cheese and Pepper Wreath
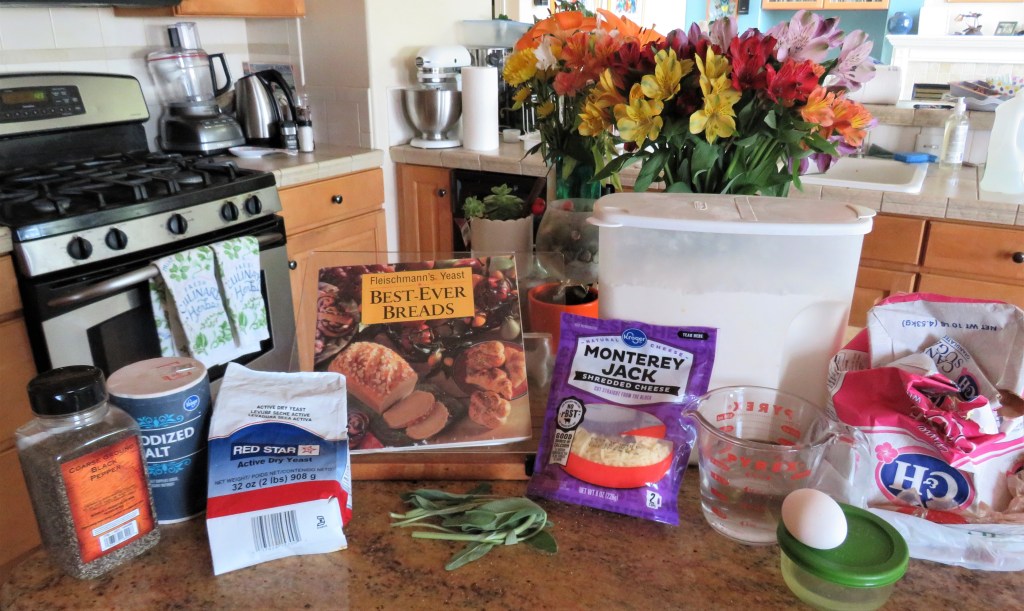
1 1/4 cups lukewarm water (105-115* F)

4 1/2 tsp active dry yeast, or 2 packages

2 TBSP sugar

1 1/2 tsp black pepper, plus more for sprinkling on top

1 tsp salt

3 1/2-4 1/2 cups flour

1 TBSP fresh sage, chopped fine, optional

1 egg

1 cup cheese

egg white for brushing on top

Combine the flour, cheese, sage, salt and pepper together and mix well. The amount of flour is going to vary depending on where you are. Start with 3 1/2 cups and add more later if needed. I only needed the 3 1/2 cups, and the dough was nice and soft.

Sprinkle the yeast on top of the water and gently mix together. Add the sugar. Let set for about 5-10 minutes, or until it becomes frothy.
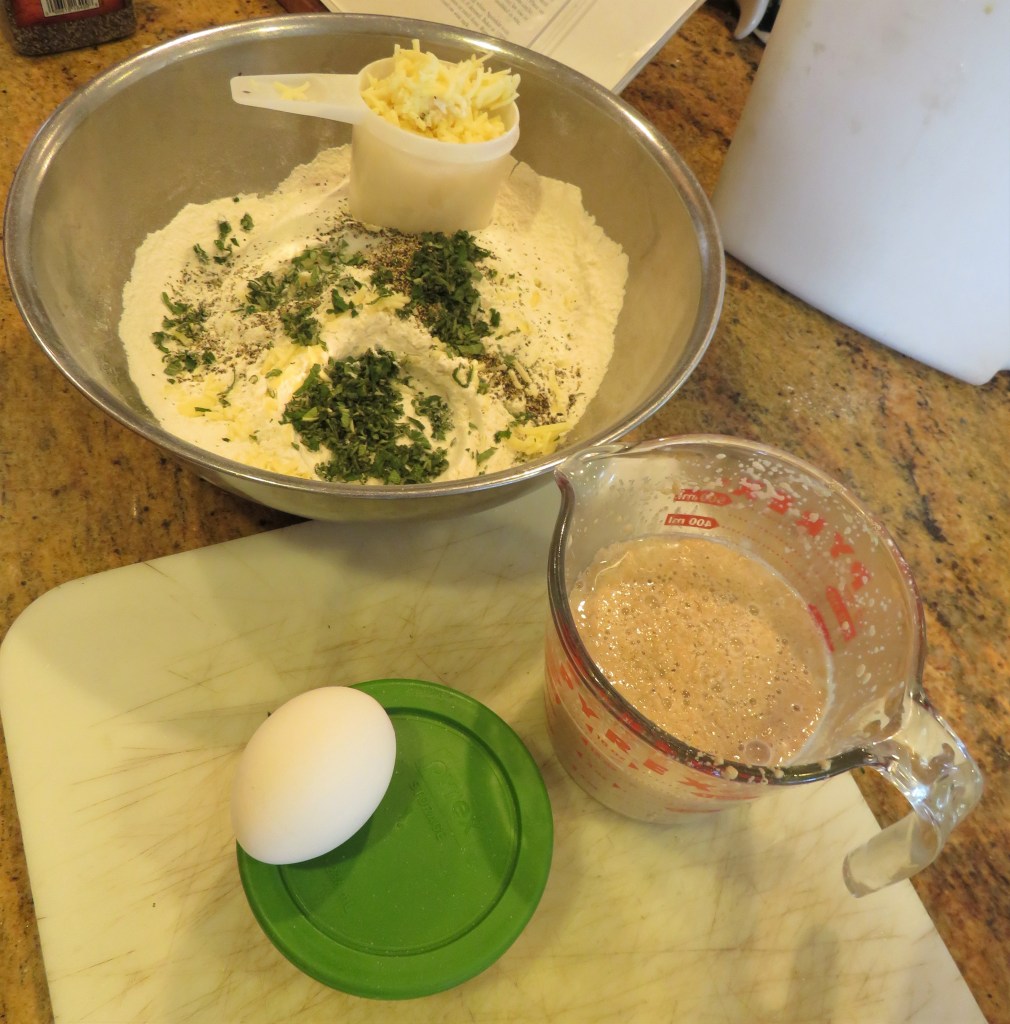
Make a well in the center of the flour mixture and add the egg and the yeast mixtures. Start from the center and work your way out, and incorporate the flour mixture with the egg and yeast mixture.
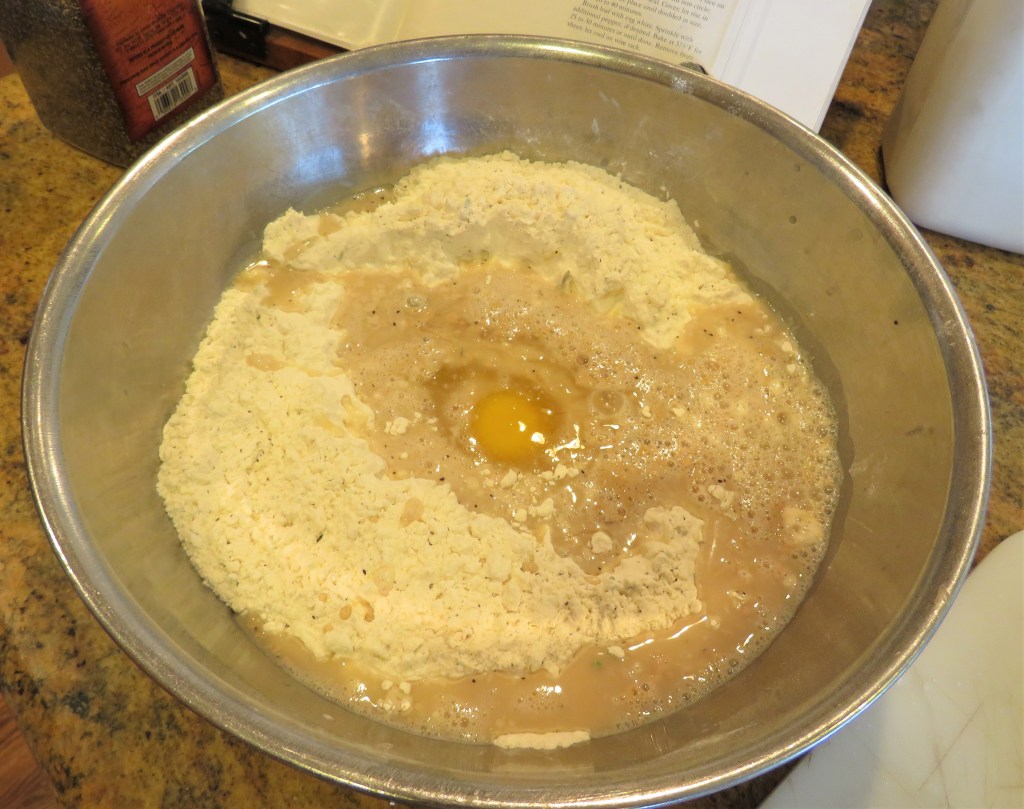
Keep working at it until everything is combined and forms into a soft dough.

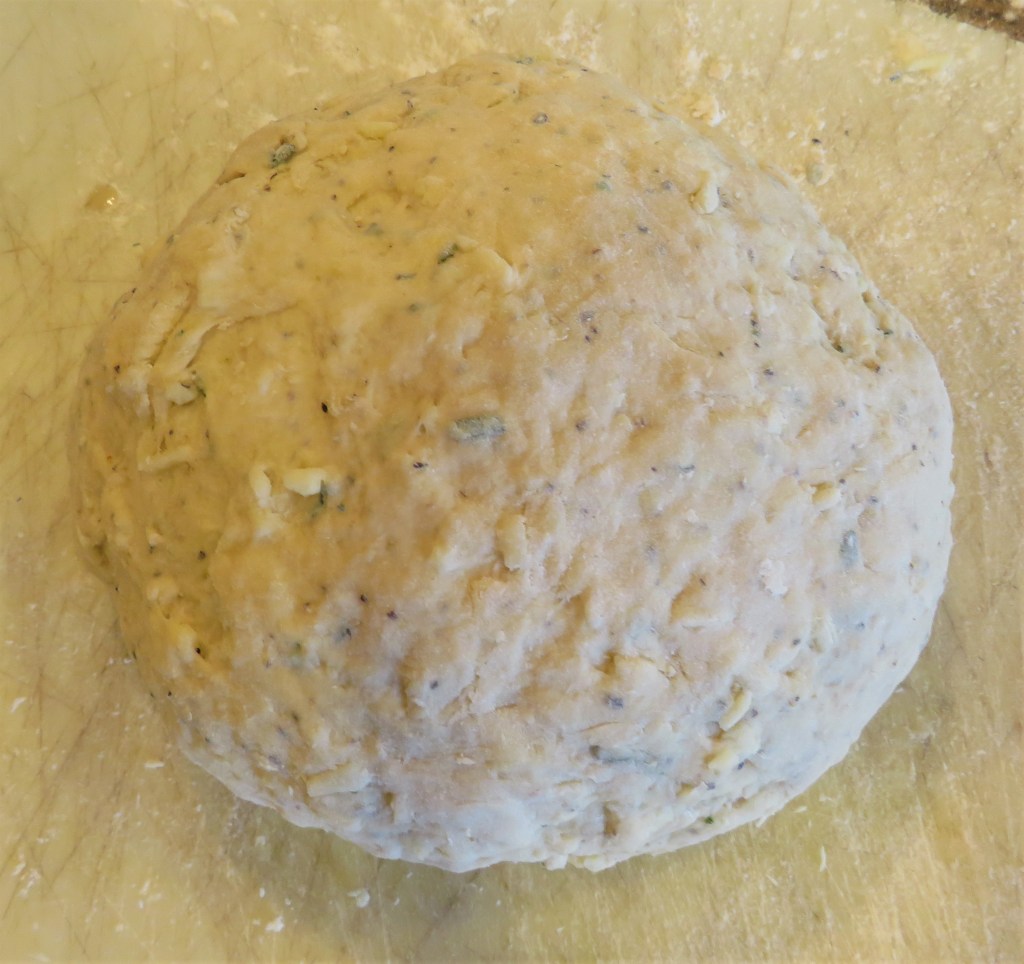
Add the dough to a lightly floured work surface and knead it all together until it forms into a ball and the surface is smooth and elastic.

Lightly oil a large bowl and place the dough into the bowl. Cover and let rest for about 45 minutes, or until it doubles in size.
When the dough is ready, divide into 3 equal portions and roll out into long ropes, about 28 inches long.
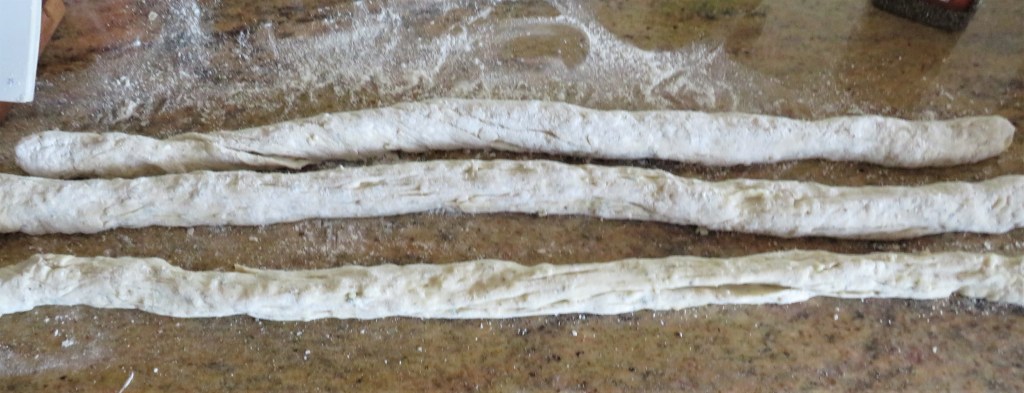
Then carefully braid the bread strands together.
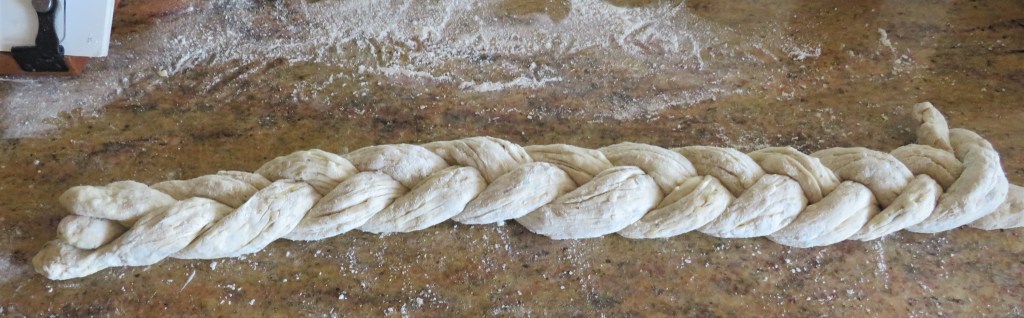
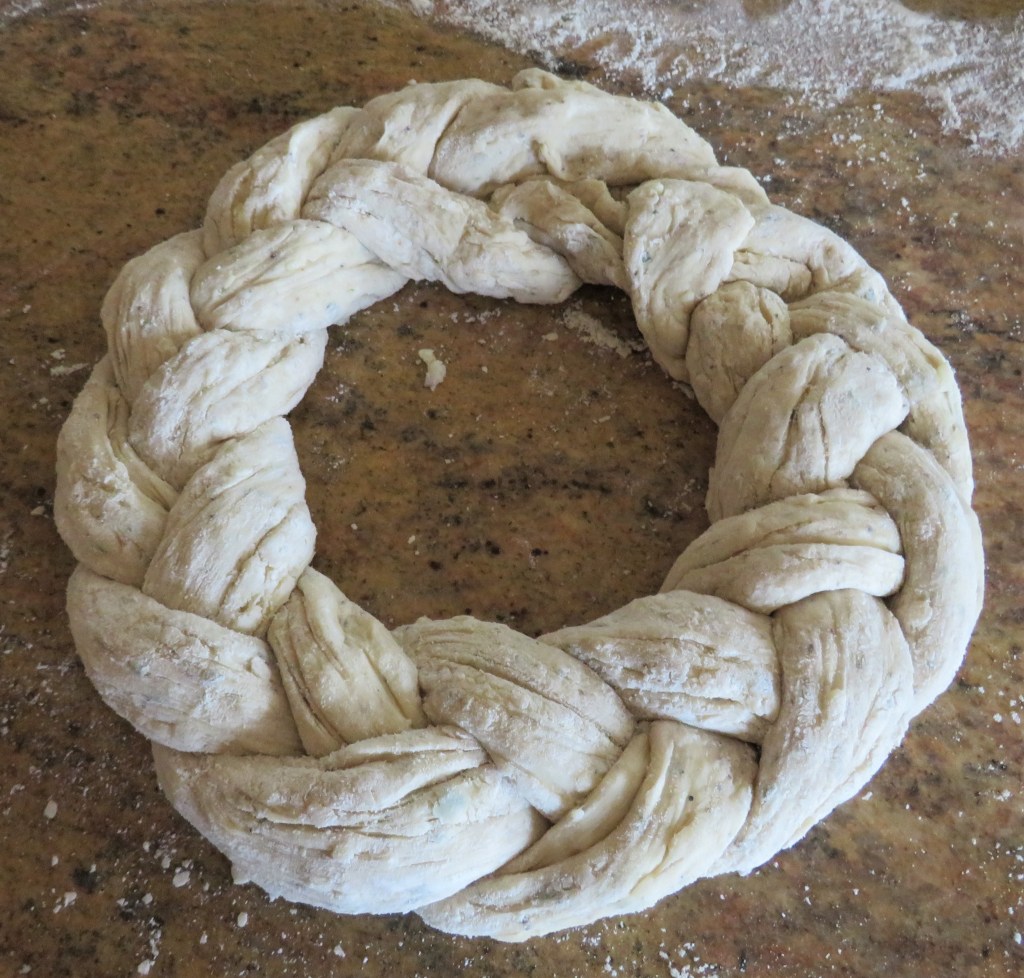
Carefully mold the braided dough into a round wreath and connect the loose ends together. Cover and let rise again for an additional 40 minutes.
Preheat the oven to 375* F or 200*C.

Once the dough has risen again, brush it with the egg whites and sprinkle black pepper all over the dough.
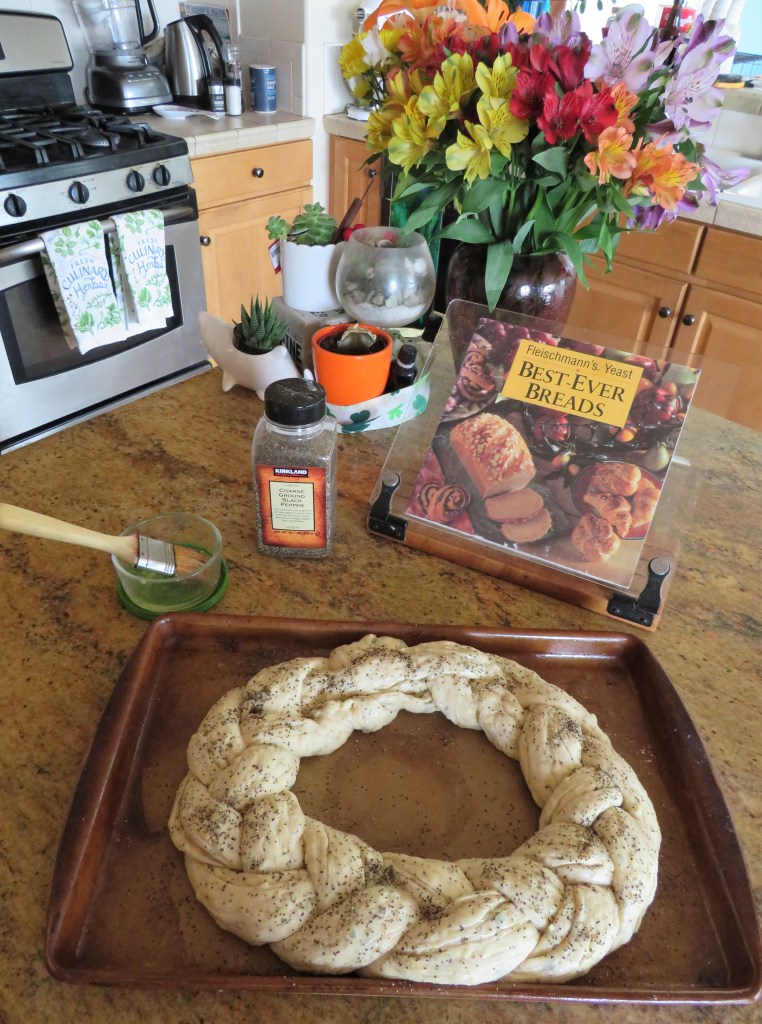
Bake for about 30-40 minutes, or until golden brown. If you like, you can spread some melted butter on top of the bread immediately after removing it from the oven. This makes it even more flavorful and moist. Allow it to cool for a bit, and then enjoy. I love the peppery finish to this bread.

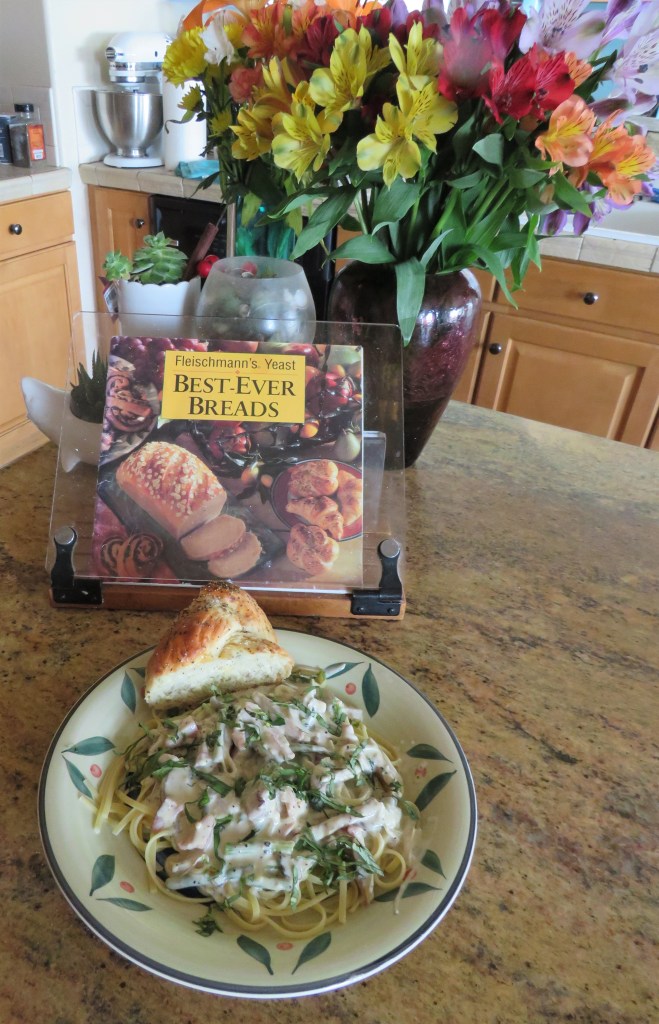
I served it with some ham and asparagus carbonara Pasta Carbonara with Ham and Vegetables and a cool, crisp white wine on the side. DELICIOUS!
Stay safe and stay well Everyone. ‘Til next time.

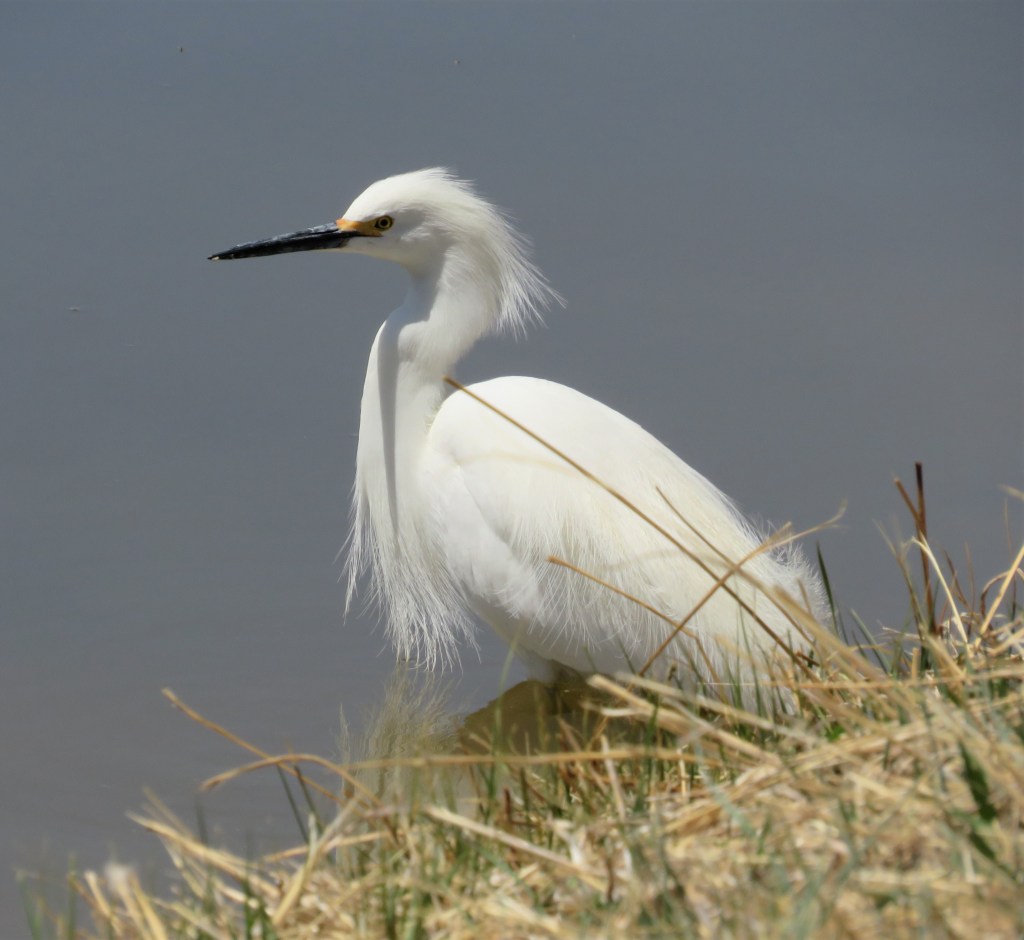
Nature Walks – More Egrets

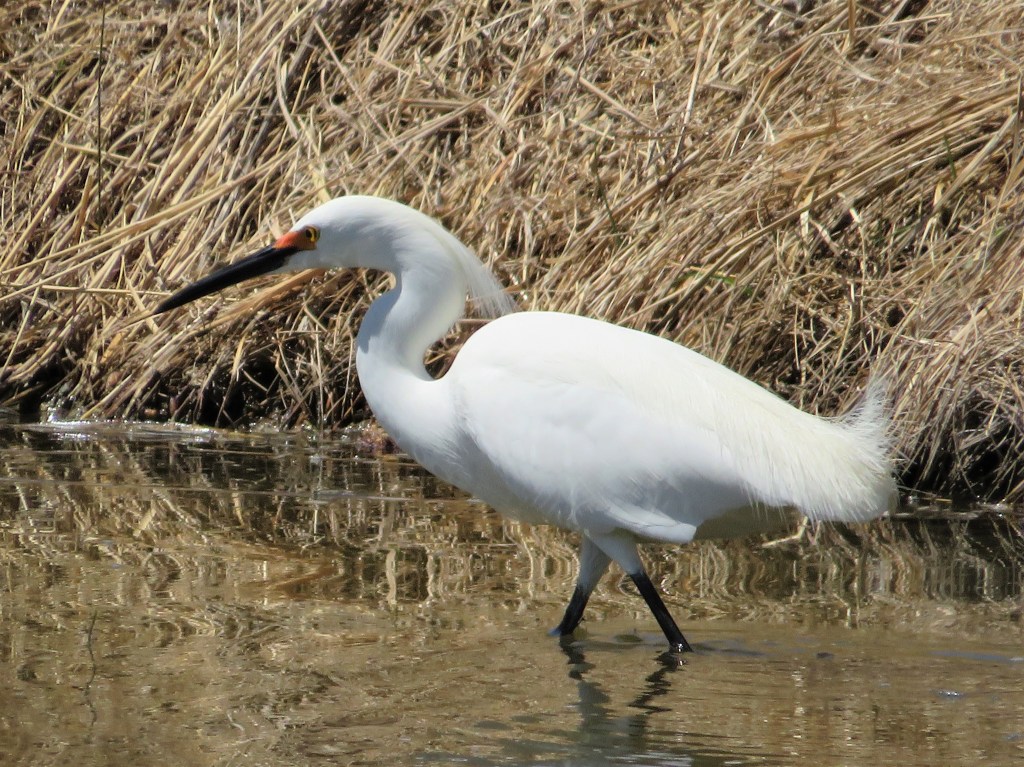
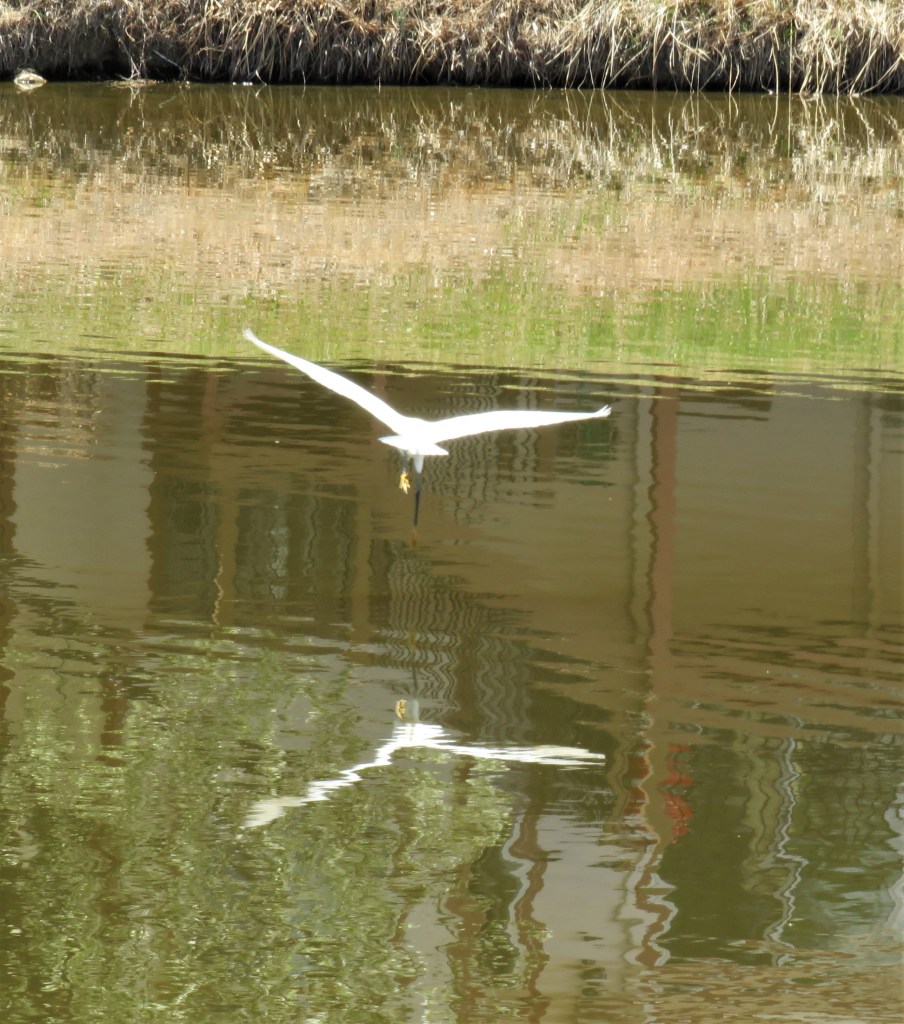
Yesterday was one of the fabulous days for walk-abouts. There was so much to see, the sun was shining brightly, it was nice beautiful weather, not to hot and just cool enough to be very comfortable. My camera was taking so many pictures, and of course, I want to share as many of my shots with you as I can. As I mentioned yesterday, I met a new goose, the Greater white-chested goose, Nature Walks – A New Goose, but I also saw turtles, quite a few Common Grackles, Mallards and Canadians, as well as more Snowy Egrets. I got a lot of great shots of all of them, but I can only share so many at a time. Patience, my friends, patience. All in due time.

Today, I am going to share more pictures of the egrets with you.

Find something beautiful in everyday. There is always something to see. Have a great day.

The Benefits of Olive Oil

Olive oil is a staple in my kitchen. I go threw tons of olive oil in my kitchen. I always have it and I use it daily, for everything. It is not only a staple in my kitchen, and maybe yours too, but it has been a staple in people’s households for many 1000’s of years, before the time of Christ.

Olive oil was discovered and began to be used thousands of years ago in the classical era when various Mediterranean civilizations (Phoenicians, Greeks, and Romans) began to grow olive trees and extract juice from the olives.

Olive oil is produced in many dry, arid places around the world, but it is said that the olive oil produced in Spain is among the best. Spanish olive oil is considered to be olive oil royalty, although I am sure the Egyptians, Greeks and the Italians might argue and disagree.

Olive oil is very versatile and is used for far more than just cooking. Originally is was produced as the oil for lamps and was used for religious ceremonies. But its uses go far beyond that. Here are a list of other uses for olive oil I bet you never knew about, and I am sure there are many more creative uses that I am not mentioning. Bottom line, olive oil goes way beyond its uses in the kitchen.

  • Olive oil was the original “viagara” and is used as a booster or enhancer for those intimate moments. It is thought to boost the blood flow and circulation.
  • It is used as a detangler for your messy or hard to control hair.
  • It is used as a moisturizer for your skin and helps slow down the aging and wrinkling processes.
  • It helps fade and erase stretchmarks during or after pregnancy.
  • It helps to ease and lessen the pains of constipation.
  • It is an anti-inflammatory.
  • You can use it for a natural shaving aid.
  • It helps keep your immune system healthy and intact.
  • It helps improve your mental state.
  • It helps in preventing skin cancer as an after sun protector.
  • It helps protect you from the harsh reactions to radiation.
  • It is a great make-up remover.
  • It helps reduce blood pressure.
  • It is great when used as a massage oil
  • It moisturizes and conditions your hair too.
  • It is used in soaps.

Be good to yourself and indulge in all the goodness of the olives and their oils. You deserve it.

Stay safe and stay well Everyone. ‘Til next time.

Nature Walks – A New Goose

It was such a beautiful day. So much to see today. AND …. I even met a new goose. My new goose and now new friend, is a Greater white-fronted goose. I am like a kid in a candy store. I just love meeting “new friends” and seeing all the beautiful things I see. I am so fortunate and blessed to have so much beauty right in my own backyard.

Have a great day Everyone. ‘Til next time.

Just A Little Casual Get-Together

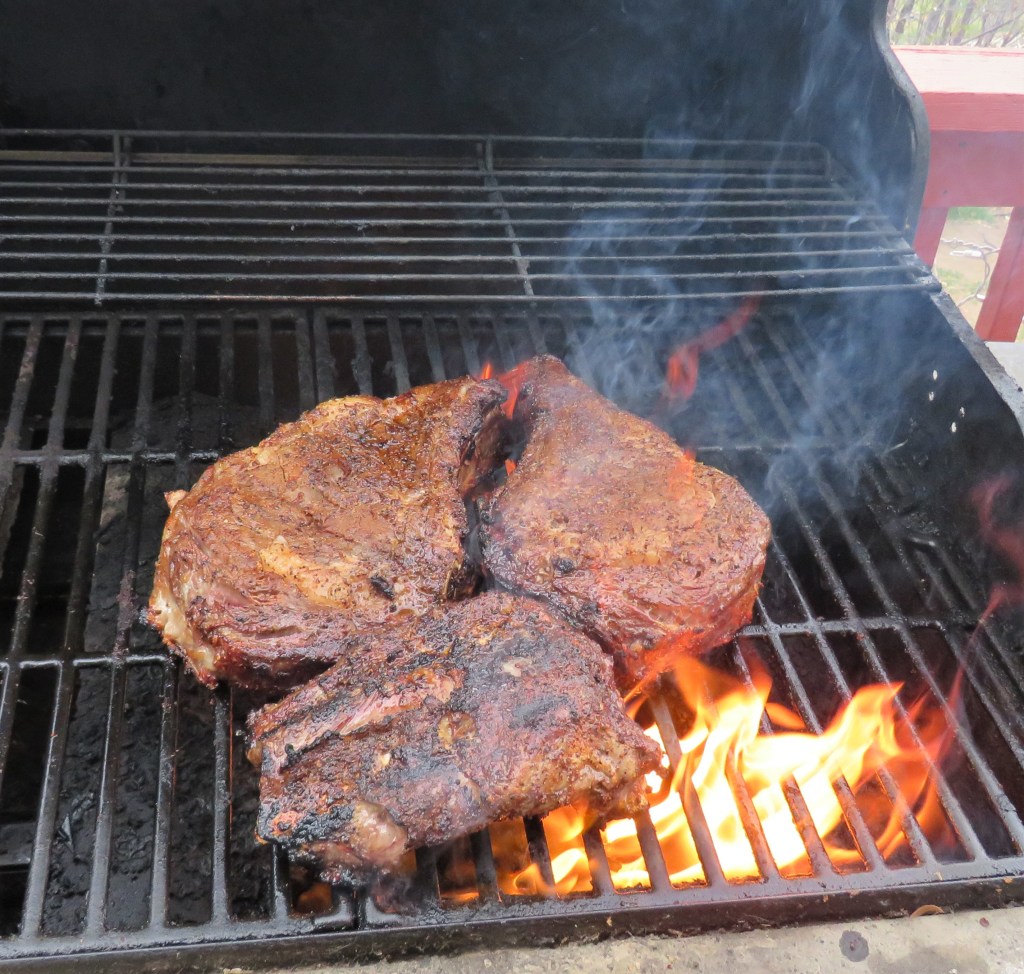
Larry has been itching to smoke another big batch of beef, and of course when we do that, we have to have friends over to help us enjoy the fruits of his labor. So we had a little casual get-together with our friends Eric and Shannon. Unfortunately though, I think the smoker has died. We inherited the smoker from one of Larry’s brothers when he bought a new one, and it was already old then, and we have had it for a few years. I think it smoked its last bit of meat though, and it is now time for Larry to buy a new one. It has lived a good long life. But when the smoker doesn’t work, put it on the grill. It’s always good to have a plan B.

Larry did an excellent job on the meat. It came out just perfect. It was seared perfectly on the outside and deliciously tender and juicy and medium rare on the inside. It literally just melted in our mouths.

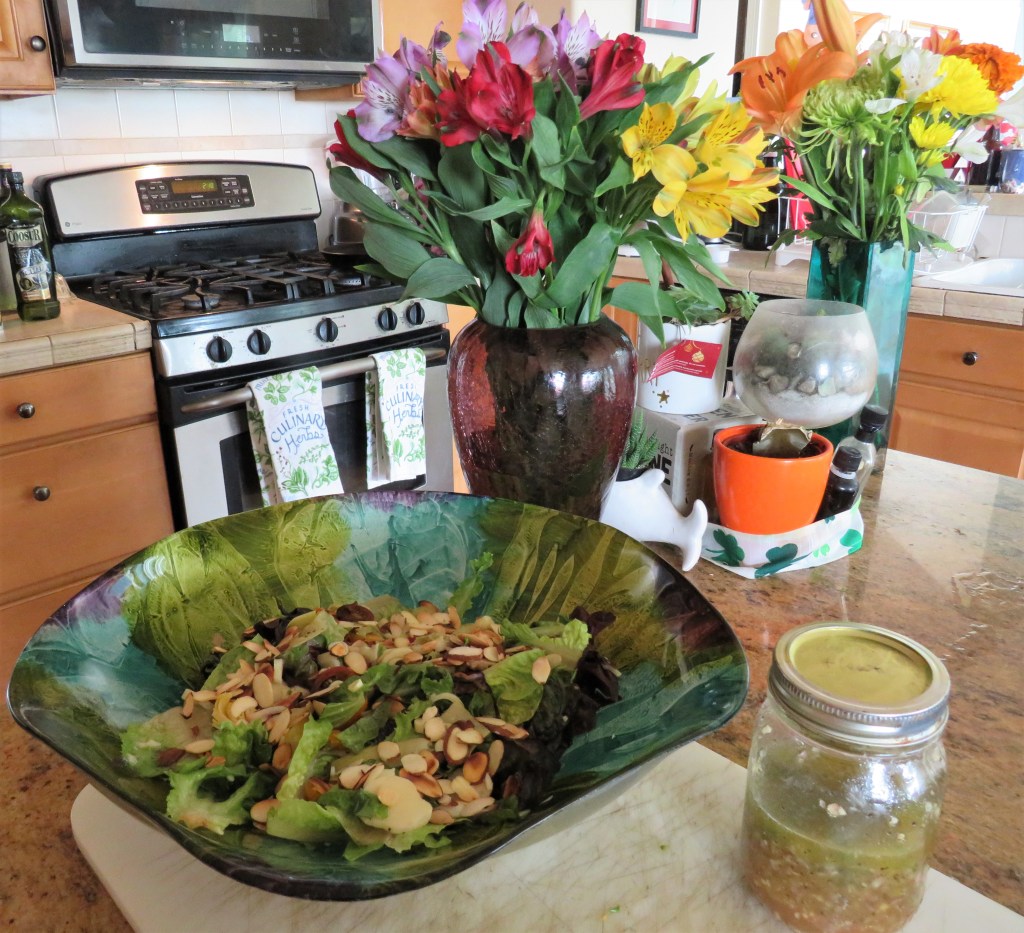
But we cannot live on meat alone. Of course we had side dishes too. I made some spinach mushrooms, garlic, shallots and tomatoes for a Tuscan topping, or side, along with some roasted potato rounds and a very springy Mediterranean salad. Shannon brought some gluten-free brownies for dessert. We went gluten-free for the evening. As you can see, it was just a simple little dinner enjoyed by the four of us.

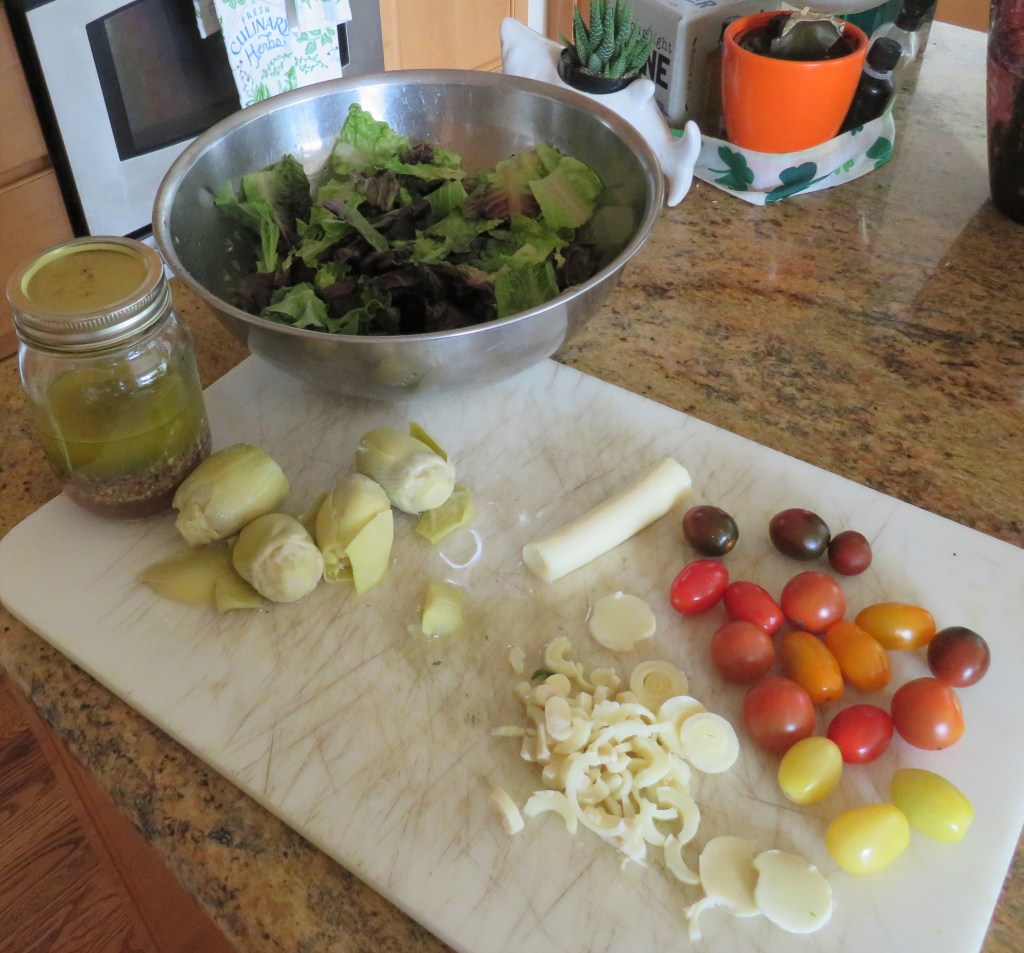
For the salad, I used some red leaf and green leaf lettuce, mixed with artichoke hearts, tomatoes and hearts of palm and toasted almonds. I tossed it all together with a fresh, lemony vinaigrette. YUM!

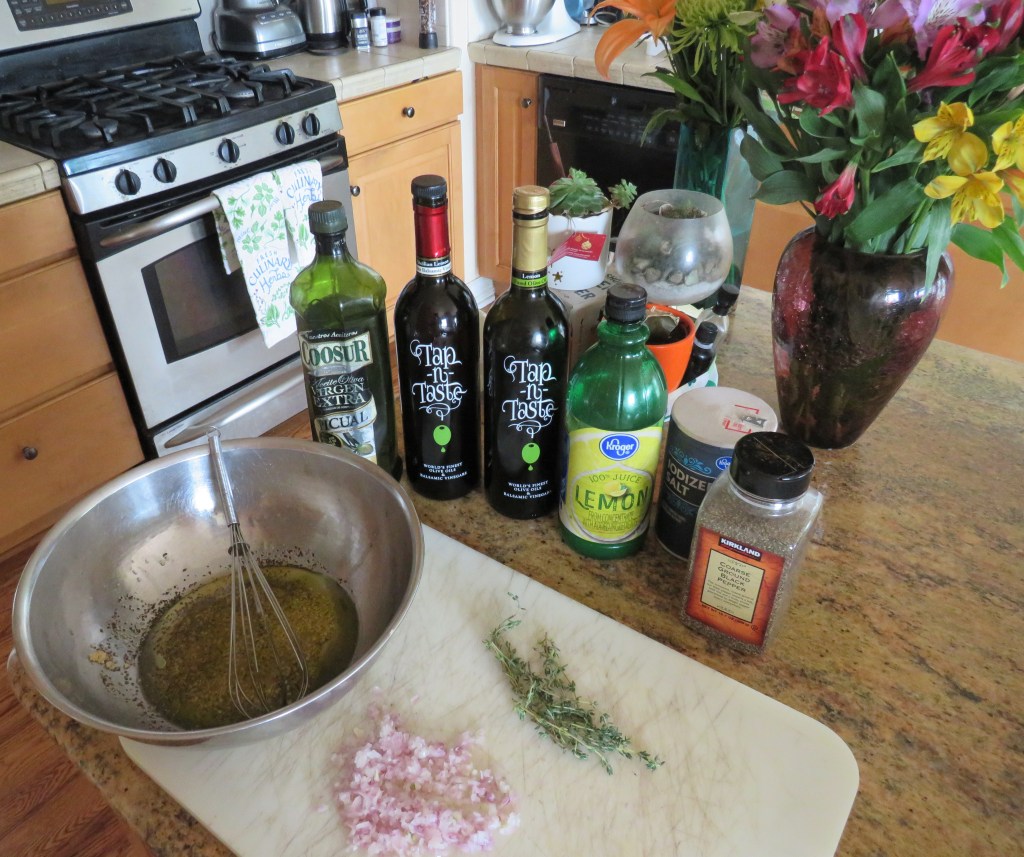
Lemon Vinaigrette

1/3 cup olive oil

2-3 TBSP lemon olive oil

1/3 cup lemon juice

2-3 TBSP lemon balsamic vinegar

1-2 tsp garlic

1 shallot, minced fine

salt & pepper to taste

3-4 sprigs of fresh thyme

Whisk everything together until well blended and set aside until ready to use. I usually do not put my dressings on my salads until just before I am ready to serve them.

We love getting together with friends and family. We really don’t need any excuses to do so either, but it always makes it fun to create a reason to share good food with good company. Food, after all, is meant to be shared.

Stay safe and stay well Everyone. ‘Til next time.

Today’s Kitchen Rules

Sometimes its fun to just step back a bit and not work to hard. Sometimes, the old tried and true sayings from the kitchen are all that needs to be said. All of these hold true in my kitchen, some more so than others.

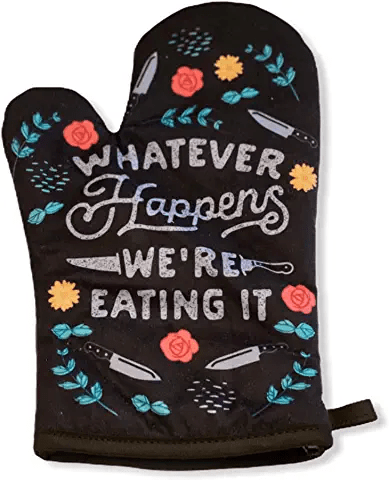
This is certainly how I was raised.

These are my rules that I strongly enforce everyday. Don’t believe me, just ask Larry.

This one is certainly true in my kitchen.

Oh yeah!

This one is so true, because I absolutely hate throwing food away if I can help it.

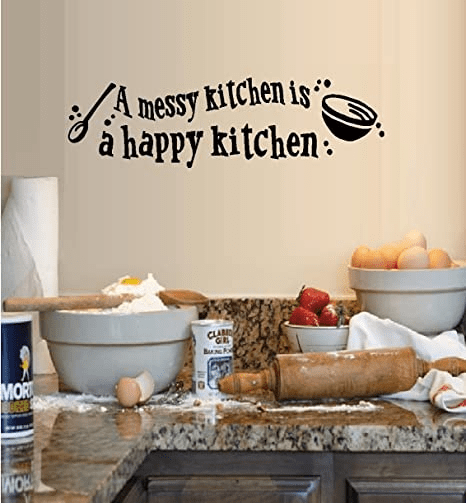
This is my kitchen on any given day.

Have a great day Everyone. Make the most of everyday. Stay safe and stay well. ‘Til next time.

Strawberries, Bananas and Coconut

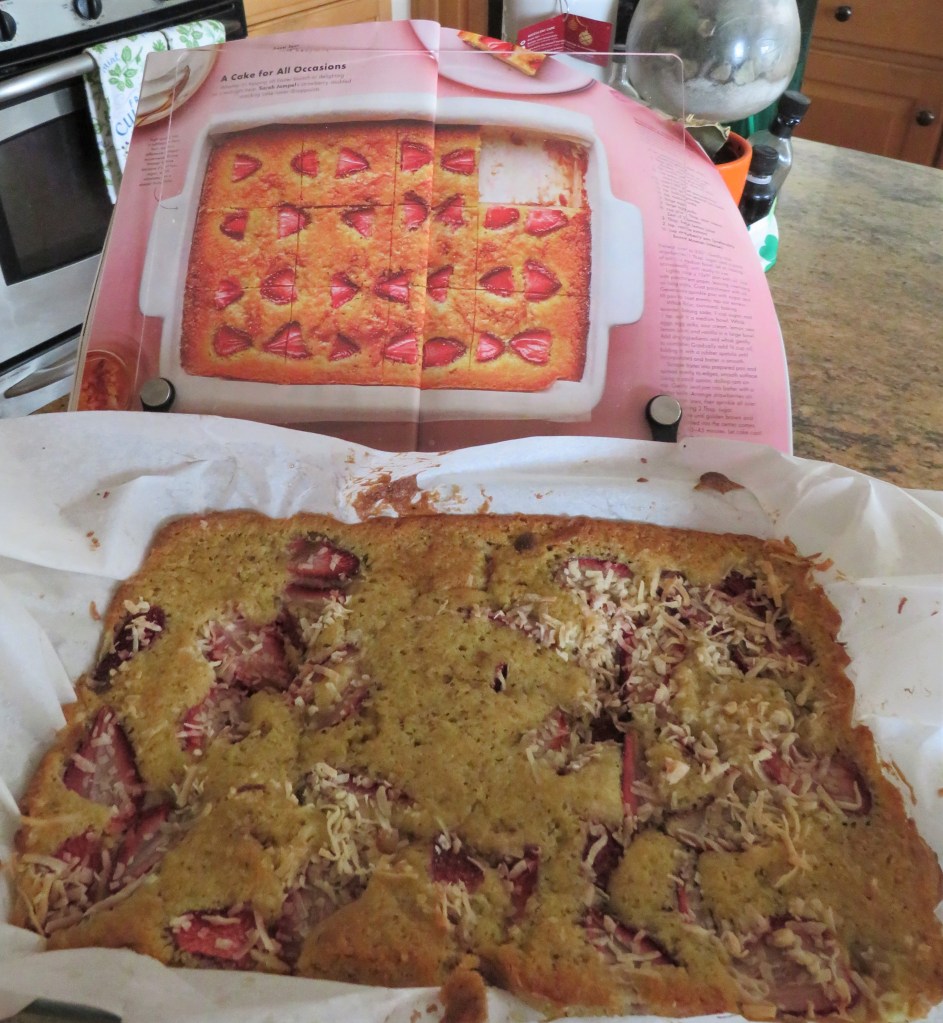
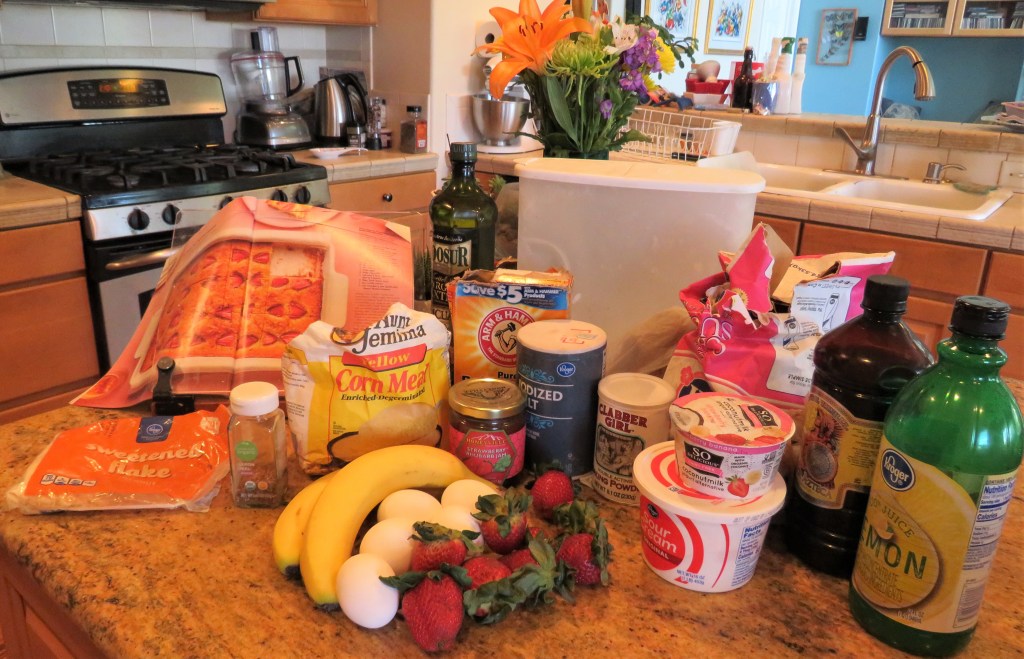
I like using a lot of fruits for my desserts during the warmer seasons. Plus I am always on the lookout for new and different ideas for my coffee cart. I saw a recipe for a strawberry cake, but I wanted to add bananas too, because I had some strawberry-banana yogurt. Then I thought of making it even more tropical by adding coconut to it as well, again, since my yogurt was made from coconut milk. There was a bit of a theme going on, all based on that one container of yogurt. 🙂 I haven’t tried it yet, but I just know it will be good.

Strawberry-Banana- Coconut Cake

You can use either yogurt or sour cream, but I used strawberry-banana yogurt.

8 oz sliced strawberries, stems removed

1 banana, sliced thin

3 TBSP + 1 cup sugar, divided

3/4 cup olive oil

1 1/2 cups flour

1/2 cup cornmeal

1/2 tsp baking powder

1/2 tsp baking soda

3 eggs

2 egg yolks

1/2 cup + 2 TBSP yogurt or sour cream

1 tsp lemon zest

3 TBSP lemon juice

2 tsp vanilla

1/2 cup strawberry jam

coconut

Preheat the oven to 350* F or 180* C.

Spray a 9×13 baking sheet with cooking spray and line it with parchment paper. Make sure you have some extending over the edges of the pan too. Spray the parchment paper with cooking spray as well.

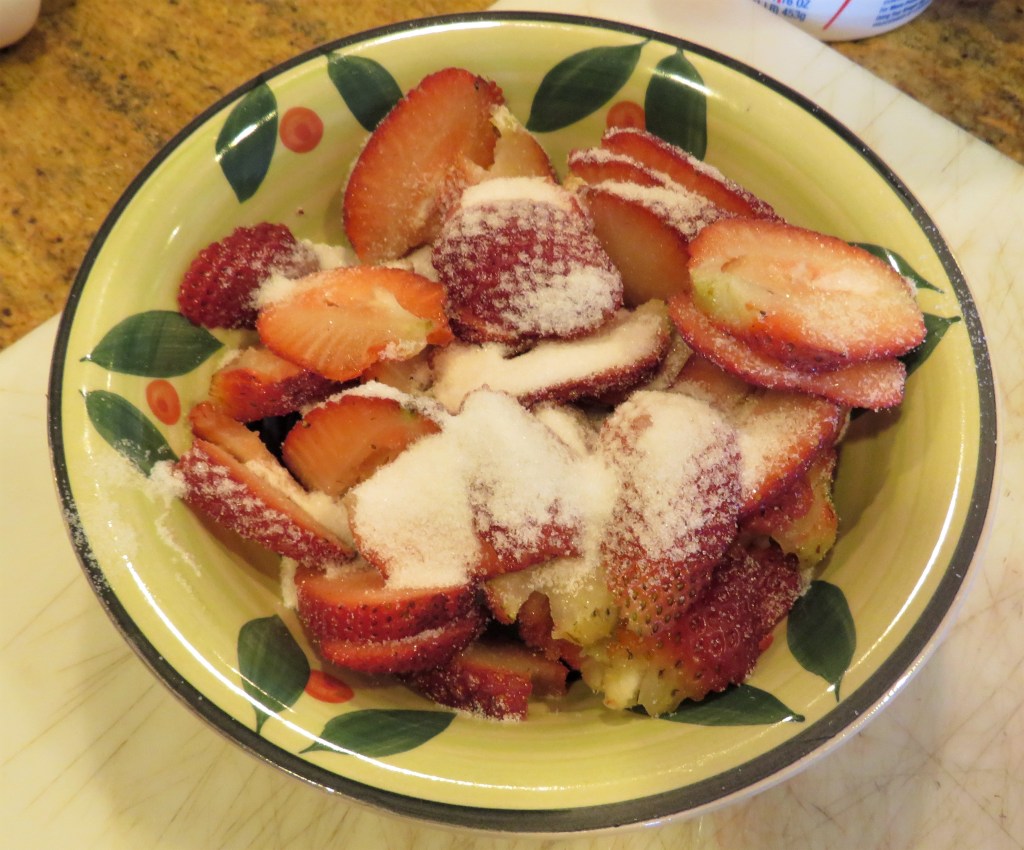
Sprinkle the strawberries with 1 TBSP of sugar and a pinch of salt and set aside.

Mix all your dry ingredients together and set aside. Combine all the wet ingredients and the remaining sugar together and mix until well blended then add the dry ingredients 1/2 at a time, blending in between each addition.

Carefully pour the batter into the prepared pan and evenly spread out.

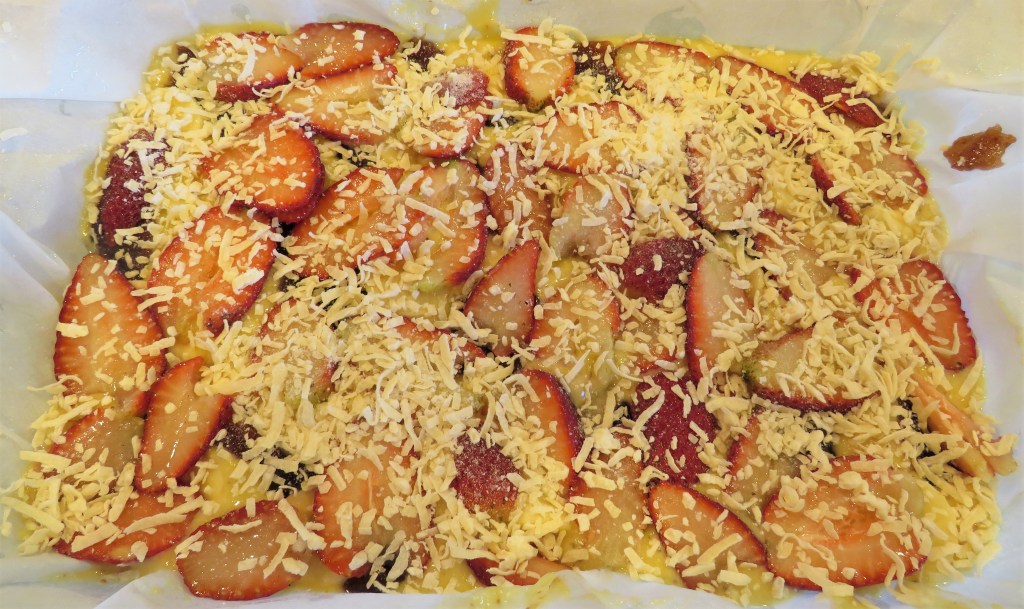
Add dollops of the jam all around the batter. Add a layer of the banana slices on top of the jam.

Add the sliced strawberries and then sprinkle the coconut on top of the strawberries.

Bake for about 40-50 minutes, or until the cake is done and nice and golden brown. Dust with powdered sugar once the cake is completely cooled (optional) and slice.

My cake wasn’t cooled yet, so I had not dusted it with the powdered sugar or sliced it yet.

In no time at all, your taste buds will take you down to the tropics with this fruity cake. Enjoy your Caribbean trip with each and every bite.

Stay safe and stay well Everyone. ‘Til next time.

Happy Earth Day

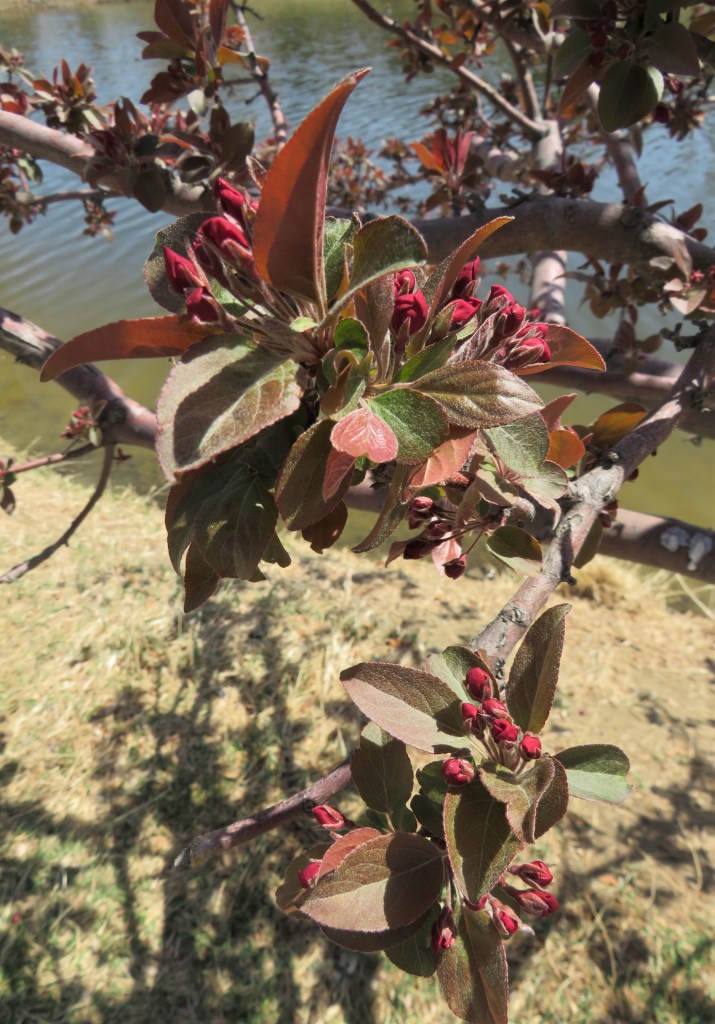
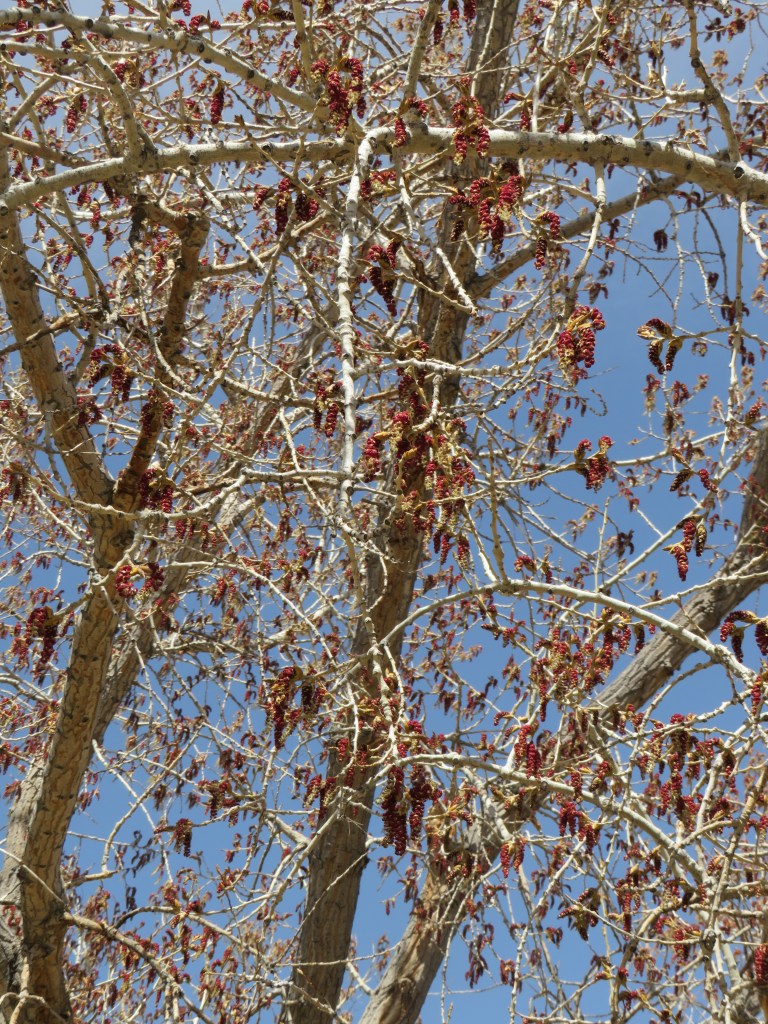
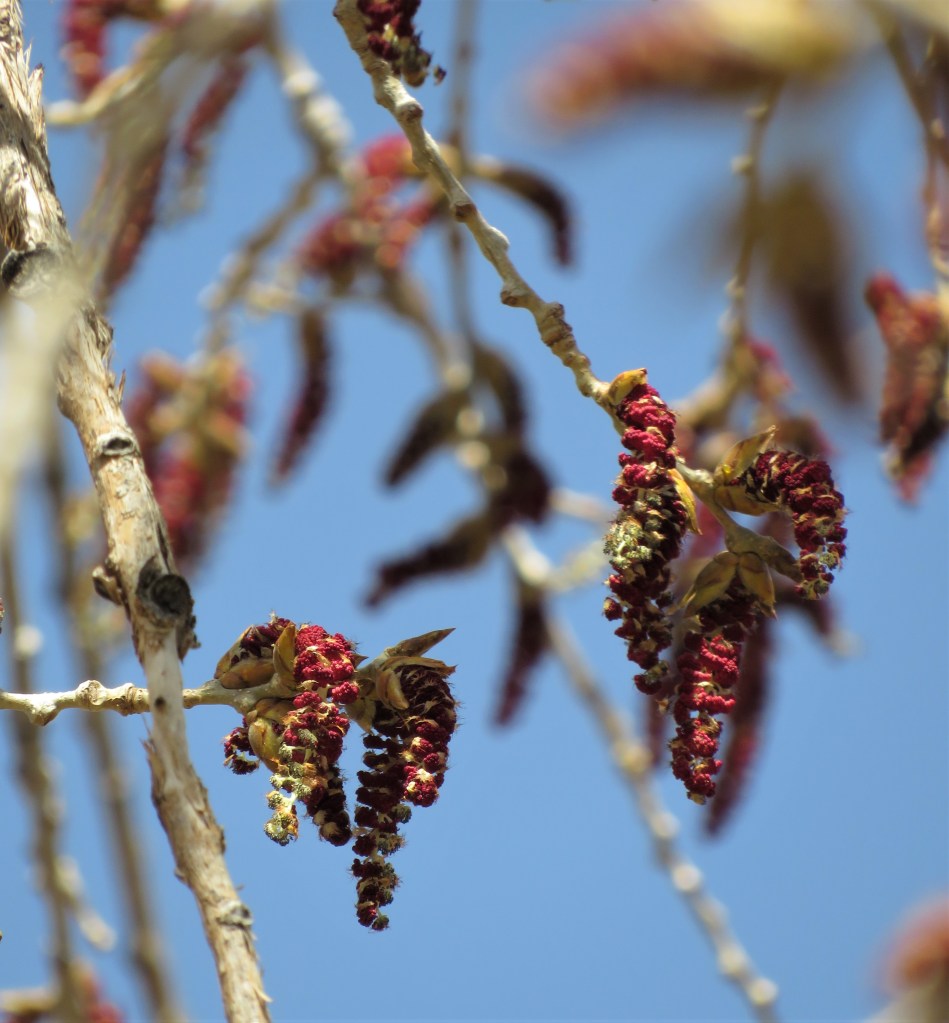
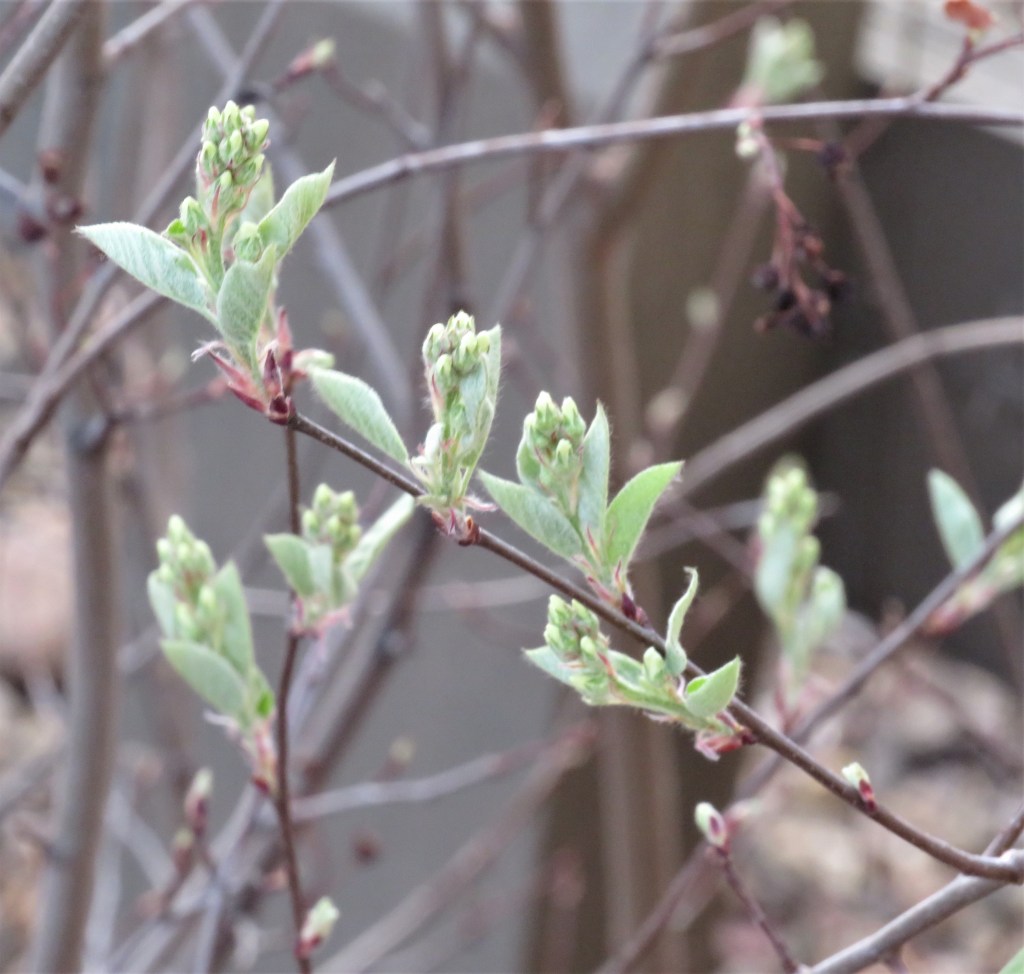
Today is Earth Day. Mother Earth is celebrated the world over as we give thanks for all that she has provided. Mother Earth is a pretty amazing place. She has so many wonders and beauties that she gives to us freely and abundantly. So let’s honor Mother Earth, not just today, but everyday.

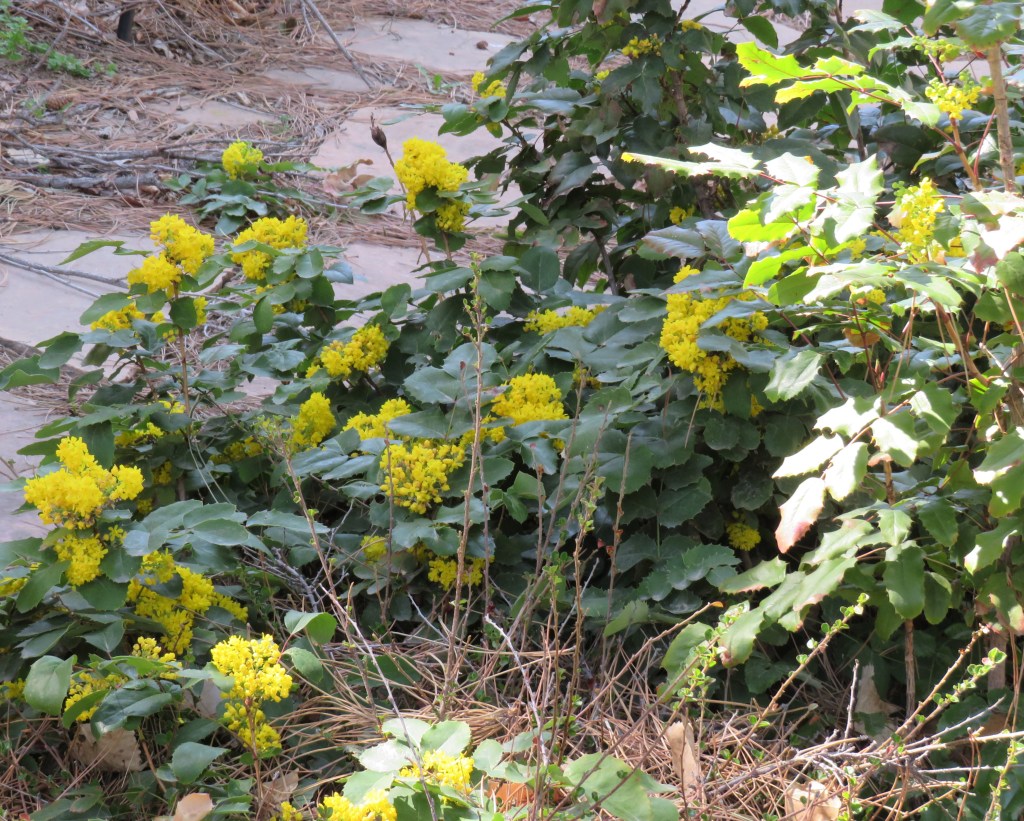
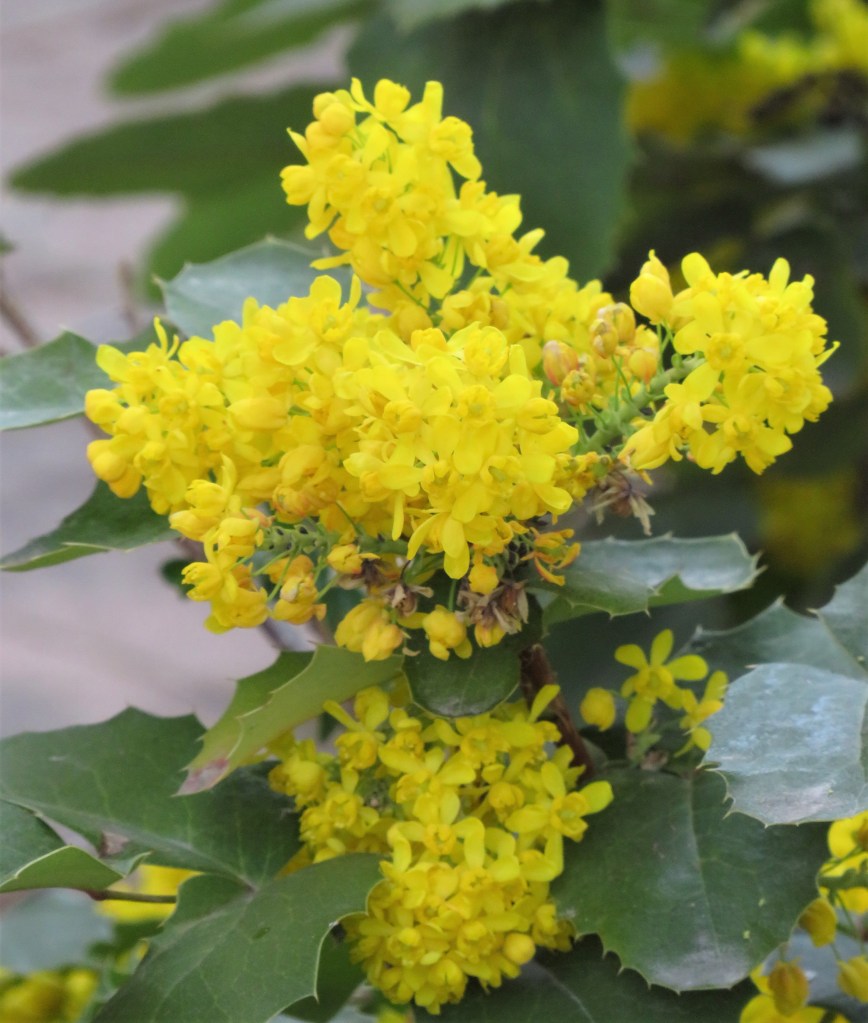
Here are some early Spring buds and blooms that help show all the beauty that abounds.

Thank you Mother Earth for providing such a beautiful place we call home. Thank you for all the fruits and foods you provide us daily. Thank you for the water we drink. Thank you for the lands. Thank you for all the birds and the bees, and all other creatures on both land and in the seas.

A New Trick For An Old Dog

I have been cooking my whole life. My mother took a picture of me helping her cook when I was just 3 years old. (I wish I still had hat picture). So, you would think I would know a lot about cooking, and I do. But here is ALWAYS something new to learn.

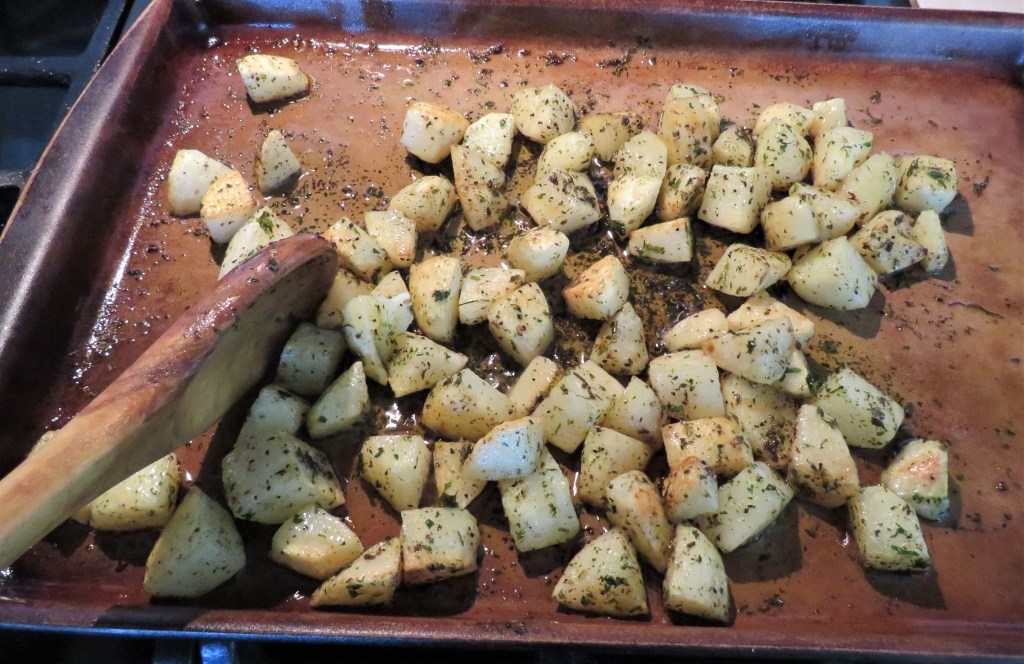
I love potatoes. I love them just about every way they are cooked too. I cook them often, in many different ways. One of our favorite ways to eat potatoes is roasting them. I make good roasted potatoes too. But I just discovered an even better way of roasting them. I learned this new method from watching America’s Test Kitchen videos. I learn a lot from them. I find them to be very informative and easy to follow.

This new method of making perfect, crisp roasted potatoes is to boil the cut potatoes first in some water with 2 TBSP of white vinegar and a dash of salt. They only thing new for me was the first step of boiling them with the vinegar. I never knew about this step before, but apparently the vinegar causes the potatoes to form a thin crust, which helps them hold their shape. It also helps the potatoes absorb the salt and other flavorings as well. Using vinegar for the potatoes also helps when frying them too. It draws out the starch, making them more rigid and less likely to stick together. The cooks fry them twice, first blanching them until slightly limp in peanut oil heated to 325 degrees, and again in 375-degree oil to crisp and brown them.

Bring the potatoes to a full and rapid boil, then reduce the heat a bit and let them boil for 10 minutes. Then drain them and let them cool slightly.

Preheat the oven to 500* F or about 260-270* C.

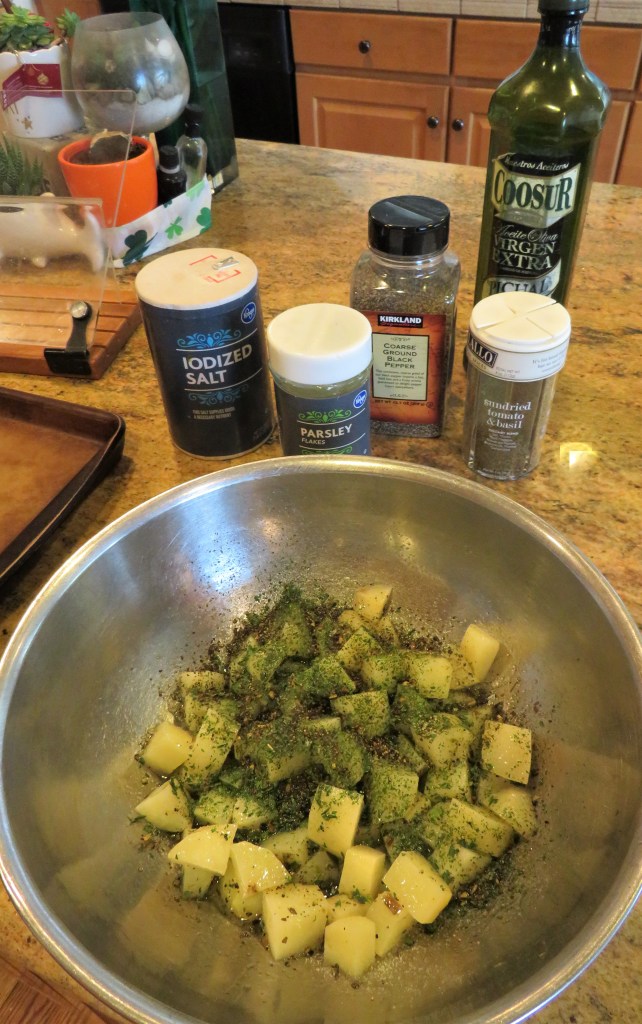
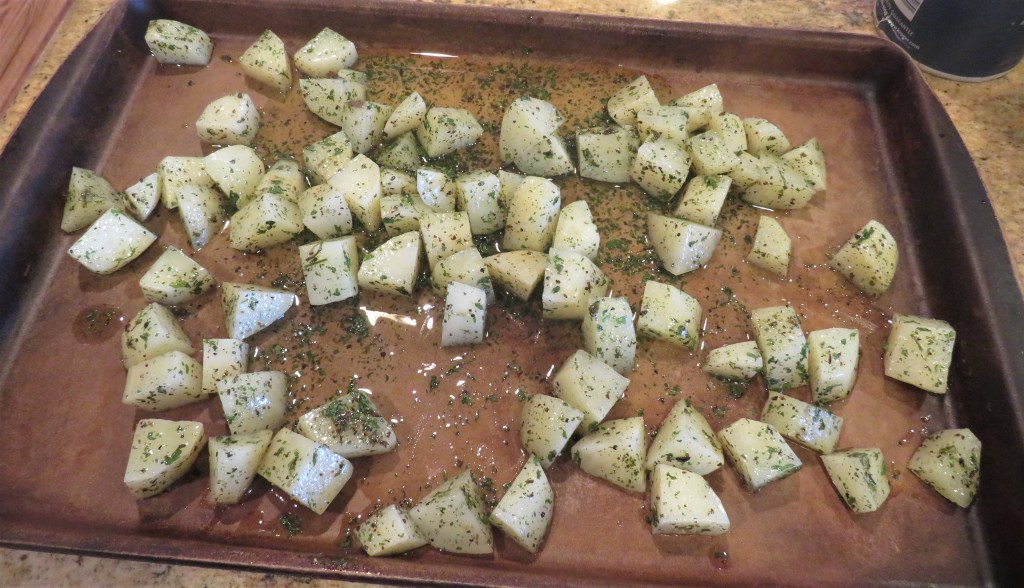
Once the potatoes have been drained and slightly cooled, toss them in olive oil, salt, pepper and whatever other spices and herbs you like to use and completely coat them. Spread them in a single layer onto a baking sheet.

Roast them for about 20 minutes, then stir them and roast again for another 20 minutes, or until they are nicely browned and crispy.

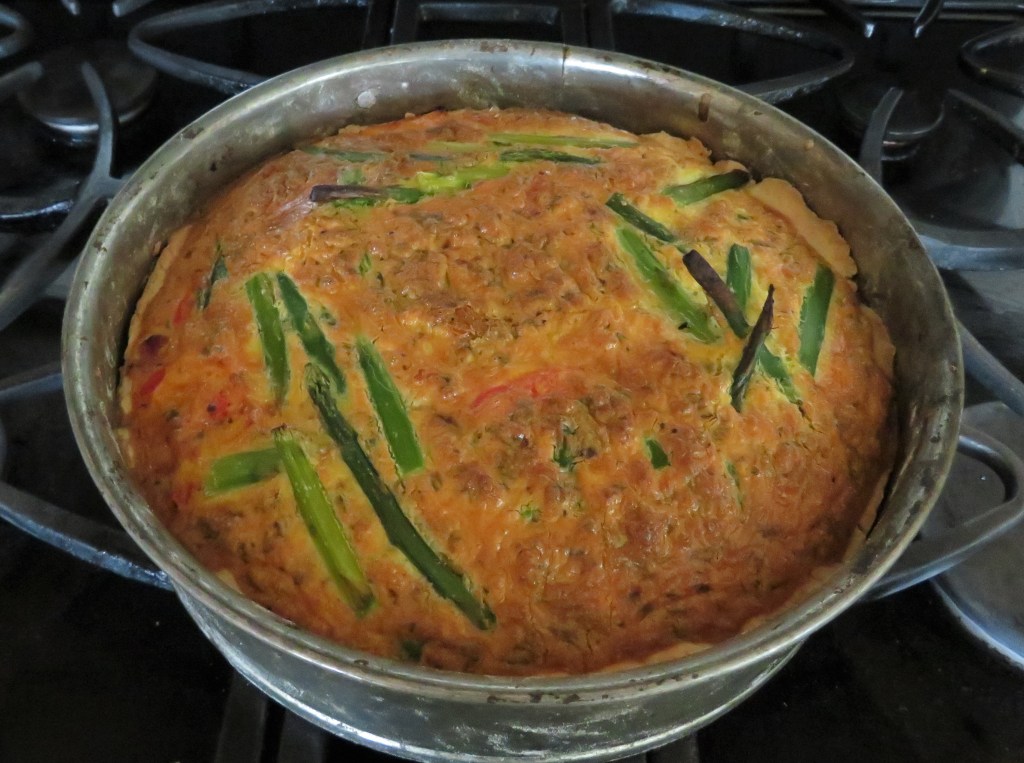
I served my potatoes with a ham, pepper and asparagus quiche. Delicious.

I will use this new method for roasting my potatoes from here on out too. Who knew? So see, old dogs can learn new tricks. 🙂 There is ALWAYS something new to learn, no matter how much you already know or how much experience you have. Always be open to learning new things. You’ll be amazed at the results when you do.

Stay safe, stay well, and always keep an open mind. ‘Til next time.

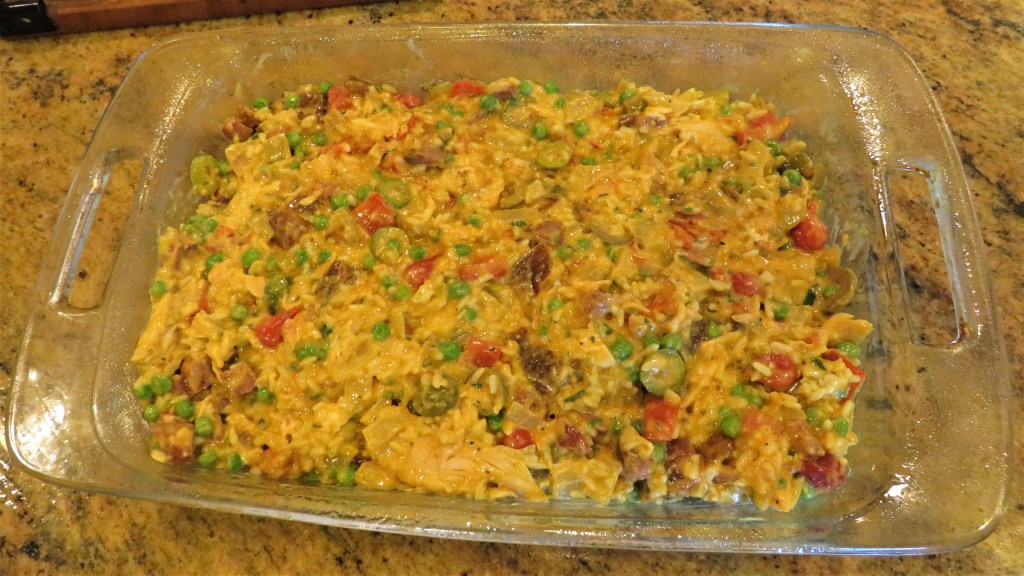
Chicken Paella Casserole

I think I must have been Spanish in past lives. When we went to Spain a few years ago, I absolutely fell in love with the whole country, its culture and especially the food. I would be a very happy camper if I was ever lucky enough to live in Spain and to call Spain home.

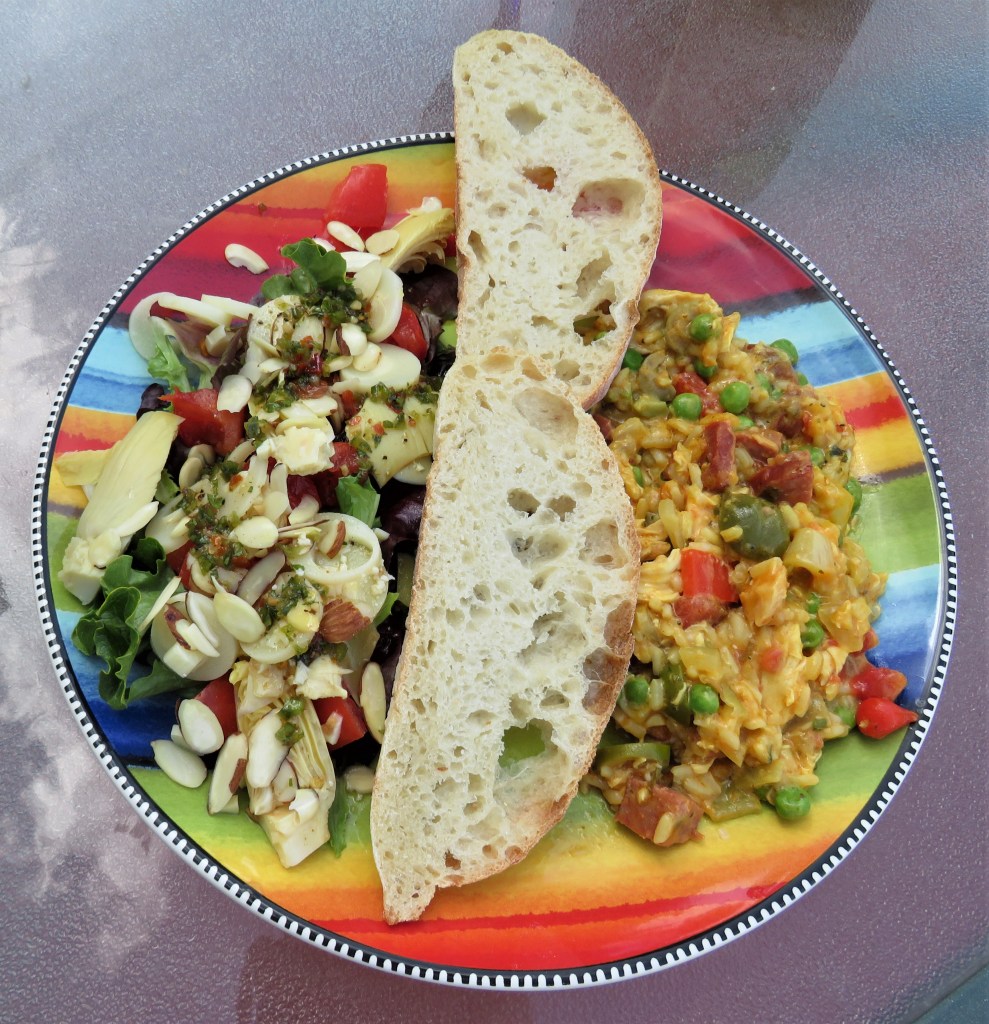
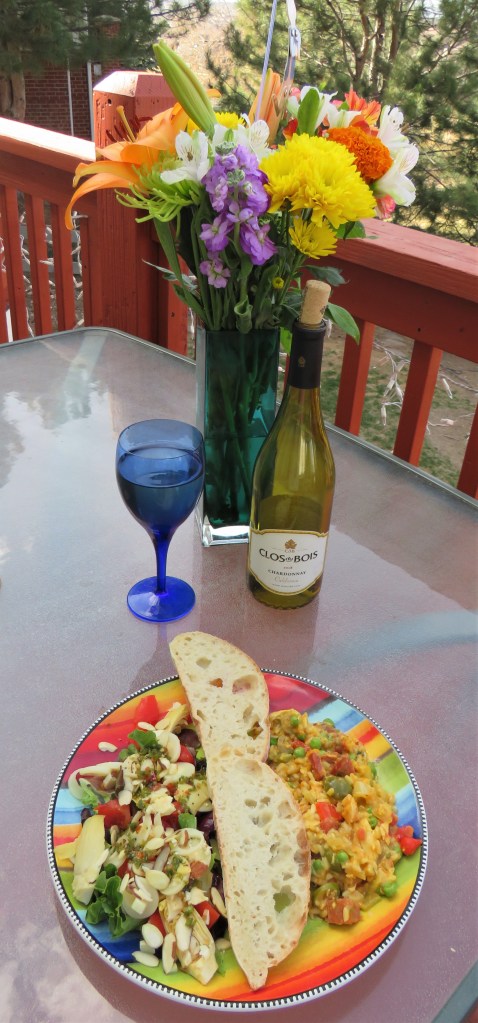
My latest Spanish culinary adventure led me to a delicious chicken paella styled casserole. And the best part …. you guessed it. I got to use my leftovers! I even served it Spanish style, with warmed ciabatta with an olive oil dipping sauce, and a cool Spanish salad on the side. I would have served it with a cool Spanish Albarino wine too, but it was not chilled.

Paella was originally the food of he people. It was “farmer’s food”, made with rice and whatever else was on hand at the time. It varies from region to region. Sometimes it is made with chicken and/or sausage, sometimes it is made with wild game, sometimes it is made with different seafood, and sometimes, it is vegetarian. There are so many endless possibilities of how to make and perfect a good paella.
Paella is also known as a very social dish. It is perfect for all kinds of gatherings and occasions. In Spain paella is still unique. Not only do families congregate on mass to eat paella in restaurants, but it is often cooked at weekends at holiday homes in ‘bodegas’ or ‘txokos’  (large dining areas where families gather) or at beach or mountain picnic sites. There are many paella competitions all over Spain and very often a giant paella is the centerpiece for many fiestas.

Chicken Paella Casserole

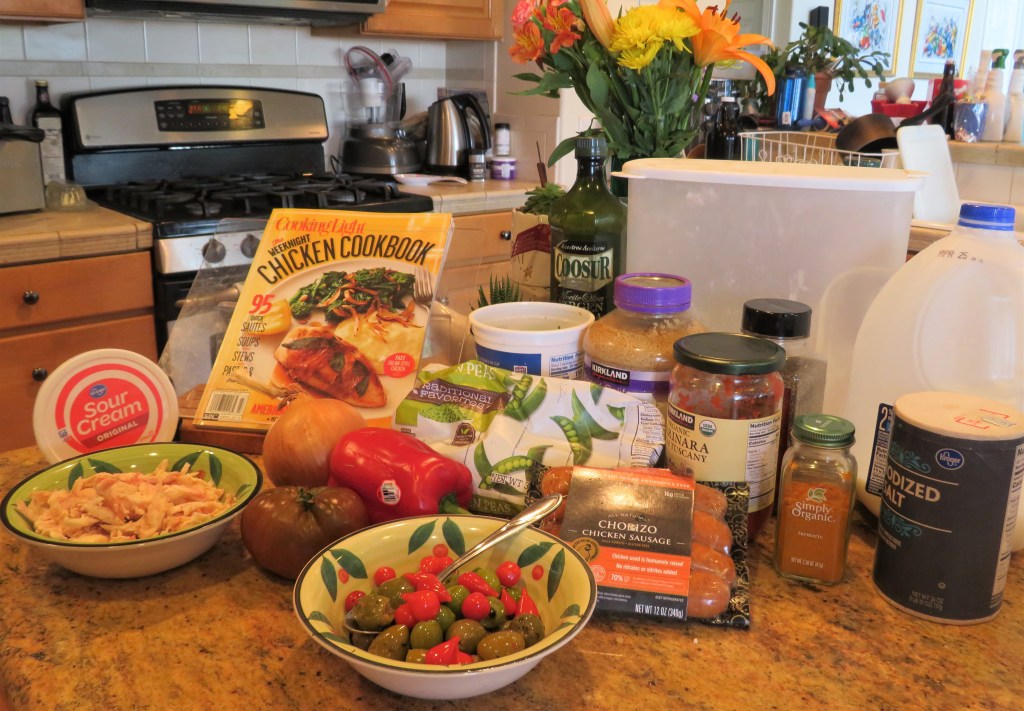
1 1/2-2 lbs cooked, shredded chicken

1 cup cooked sausage or chorizo

1 cup onions, diced medium

1 large tomato, diced medium

1 heaping TBSP garlic

salt & pepper to taste

cayenne pepper and/or red pepper flakes to taste

1 red bell pepper, diced medium

3 cups cooked rice

1 cup frozen peas

1/3 cup Peruvian peppers, optional

1/2 cup olives – I love mixing my olives, so I used 3 different kinds, including some Spanish olives

1 1/2 cups milk

1/4 cup tomato paste or marinara sauce

2 TBSP flour

1 tsp turmeric and/or saffron

1/3 cup sour cream

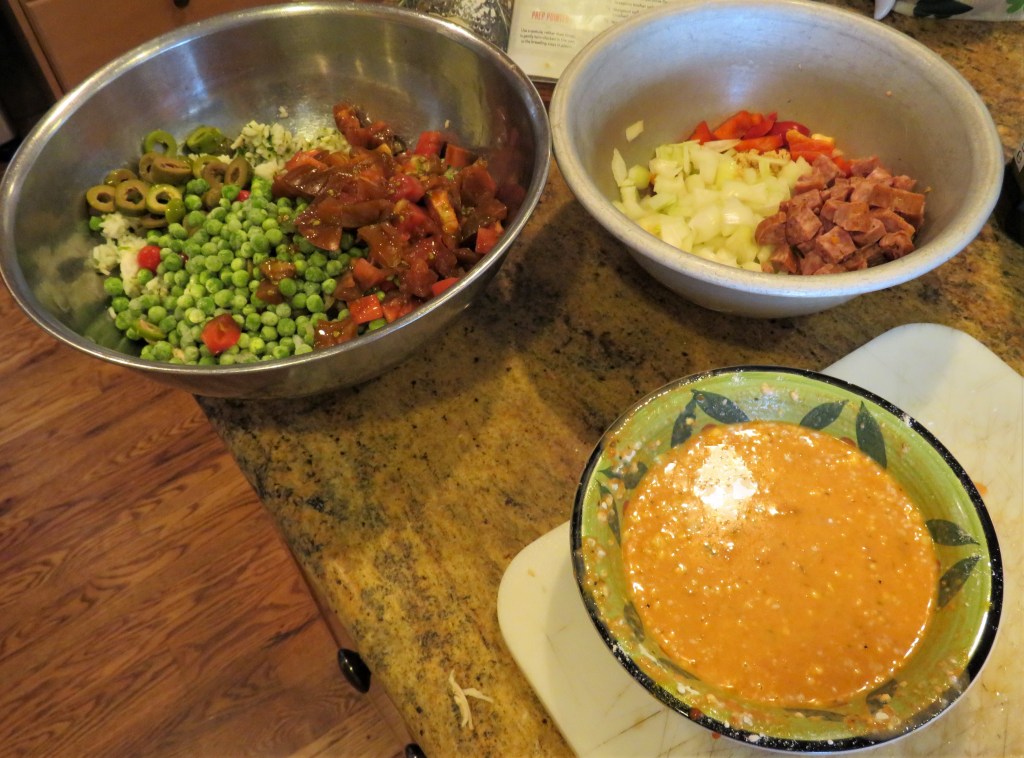
Combine the cooked chicken with the olives, rice, tomatoes and peas and set aside.

Mix the onions, peppers, and sausage together and set aside.

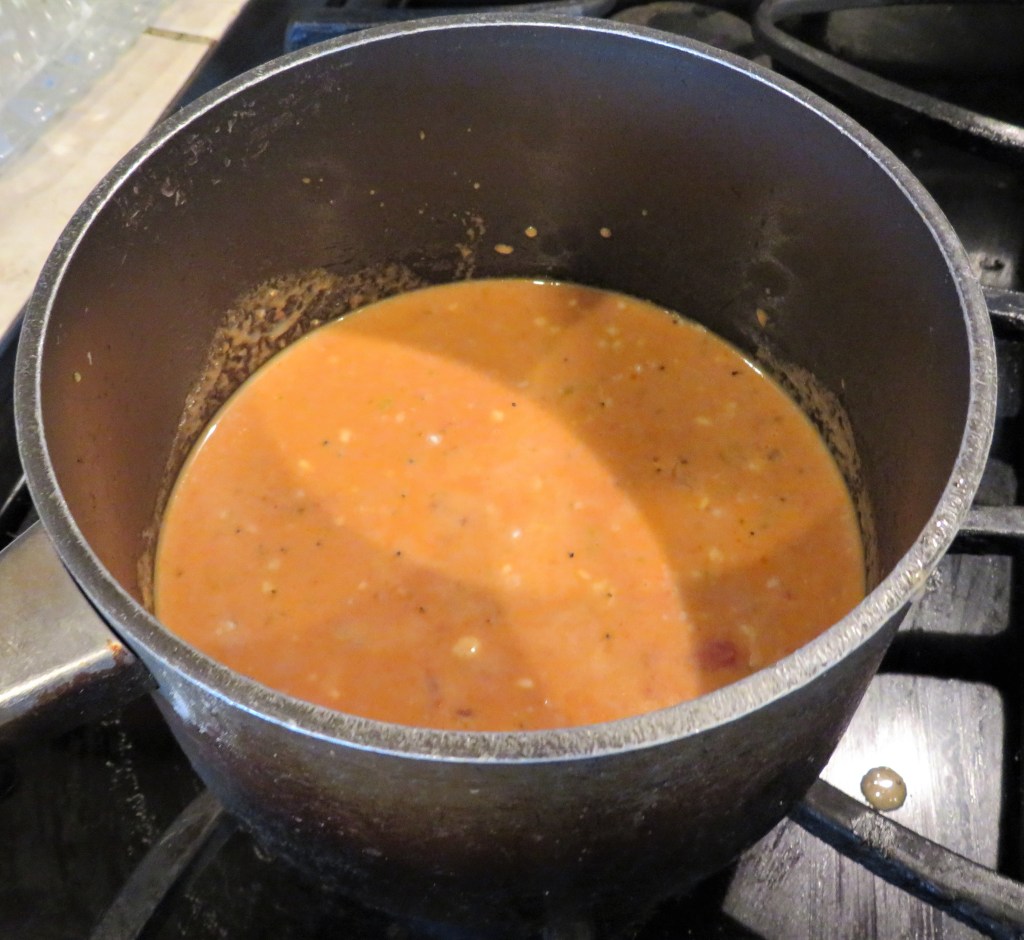
Add the milk, tomato paste or marinara sauce, salt, pepper and flour together in a saucepan.

Preheat the oven to 375* F or 200*C.

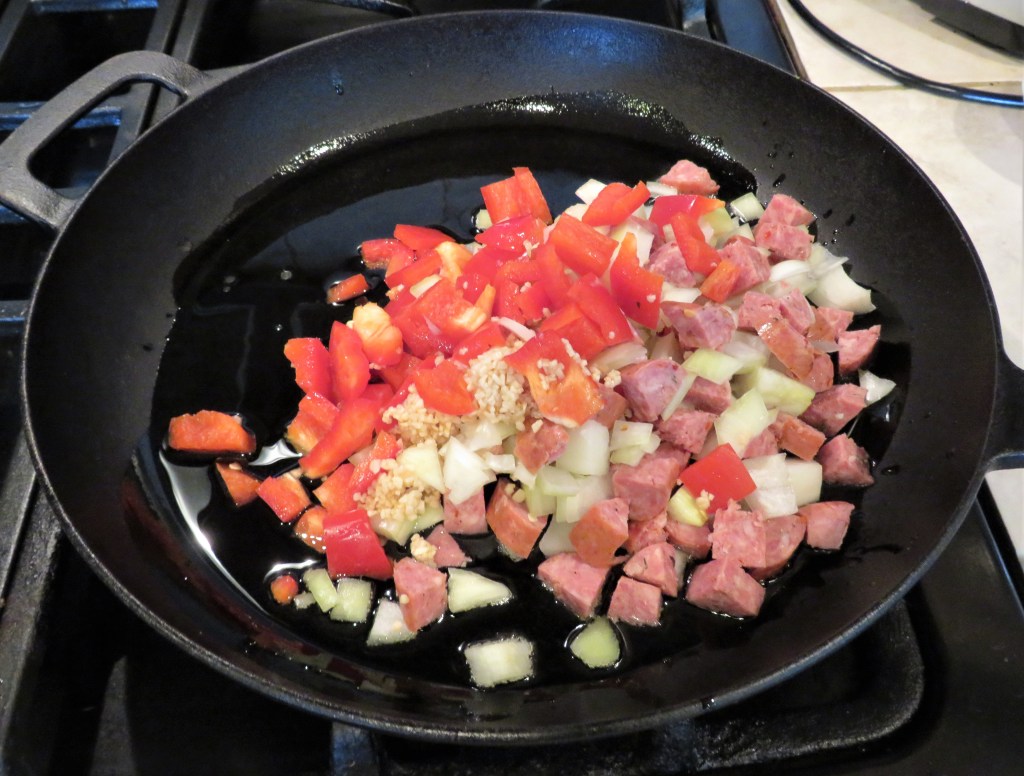
Saute the onion and pepper mixture in olive oil for about 7 minutes, or until the peppers and onions are softened and the onions are translucent and the sausage is completely cooked.

Cook the milk mixture over a medium flame and whisk together constantly, bring to a boil and continue to cook for about a minute or until it thickens. Remove from the heat and mix in the sour cream.

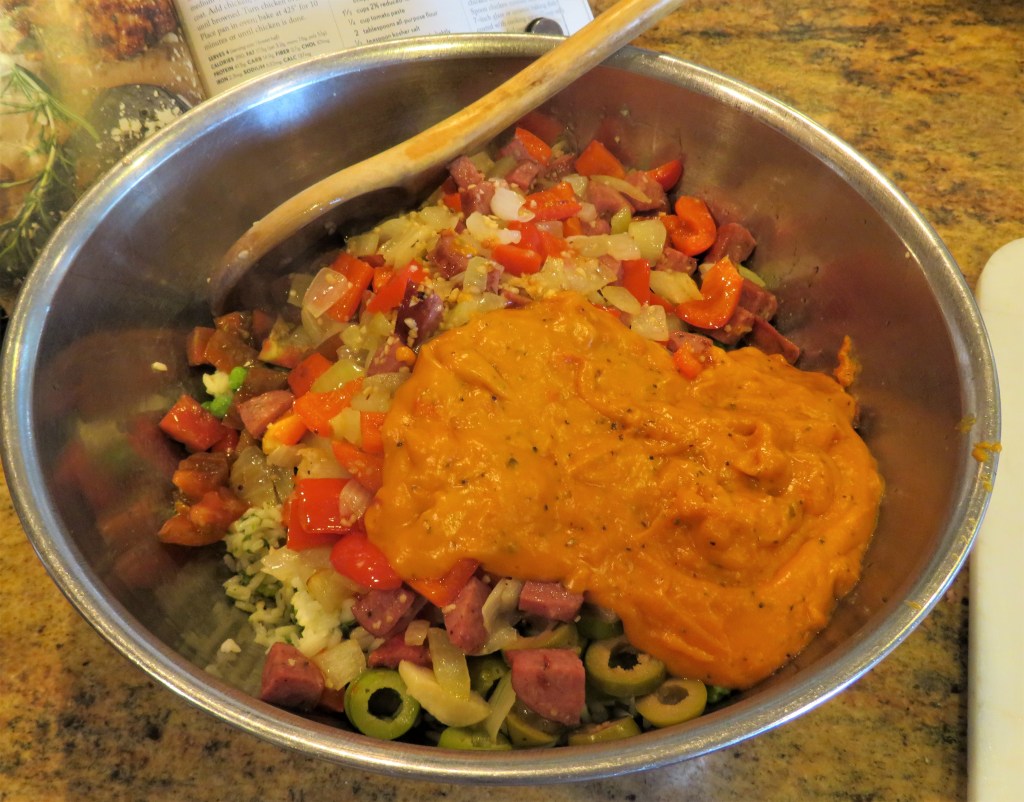
Once everything is cooked, combine it all together and mix well.

Spray a 9×13 baking sheet with cooking spray, then evenly spread the mixture into the pan. Cover with aluminum foil and bake for about 20-25 minutes, then remove the foil, and continue to bake for an additional 15 minutes or so.

When it is ready, serve it along side your favorite side dishes. My Spanish salad was simple mixed greens with diced tomatoes, hearts of palm and artichoke hearts, with some Cotija cheese on top for Larry and almond slivers for me. I used some of my jalapeno-lime vinaigrette as the dressing too. It’s Salad Weather Again
It was a perfect Spring/Summer kind of meal, especially out on our deck al fresco style. !Desfruitas! 🙂

Enjoy your days and stay safe and stay well Everyone. ‘Til next time.