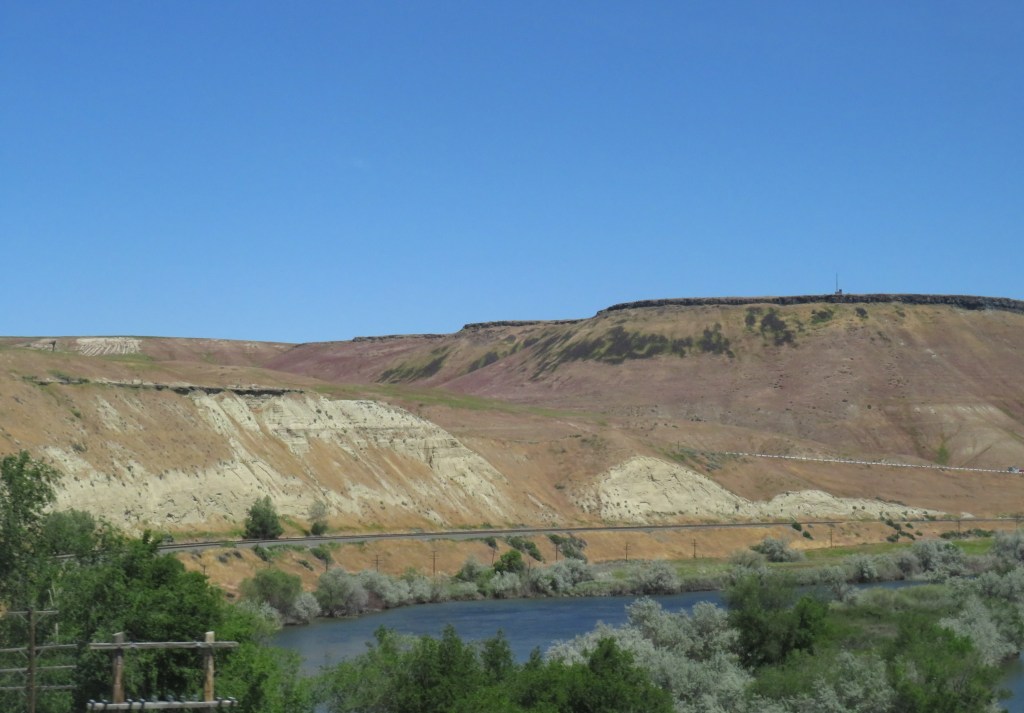
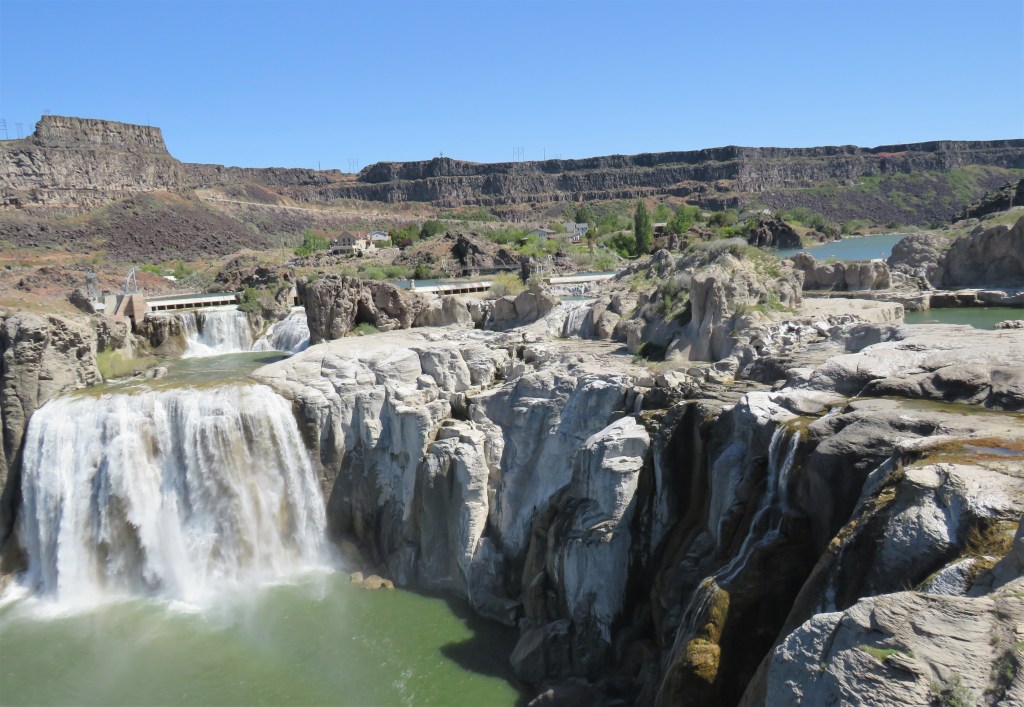
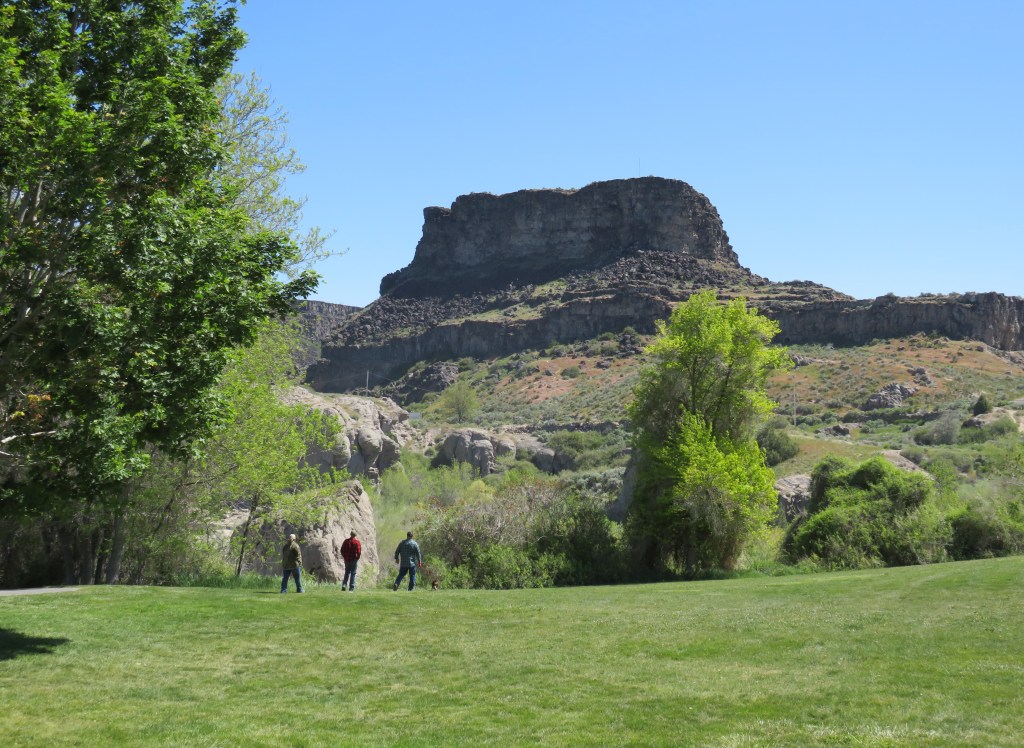
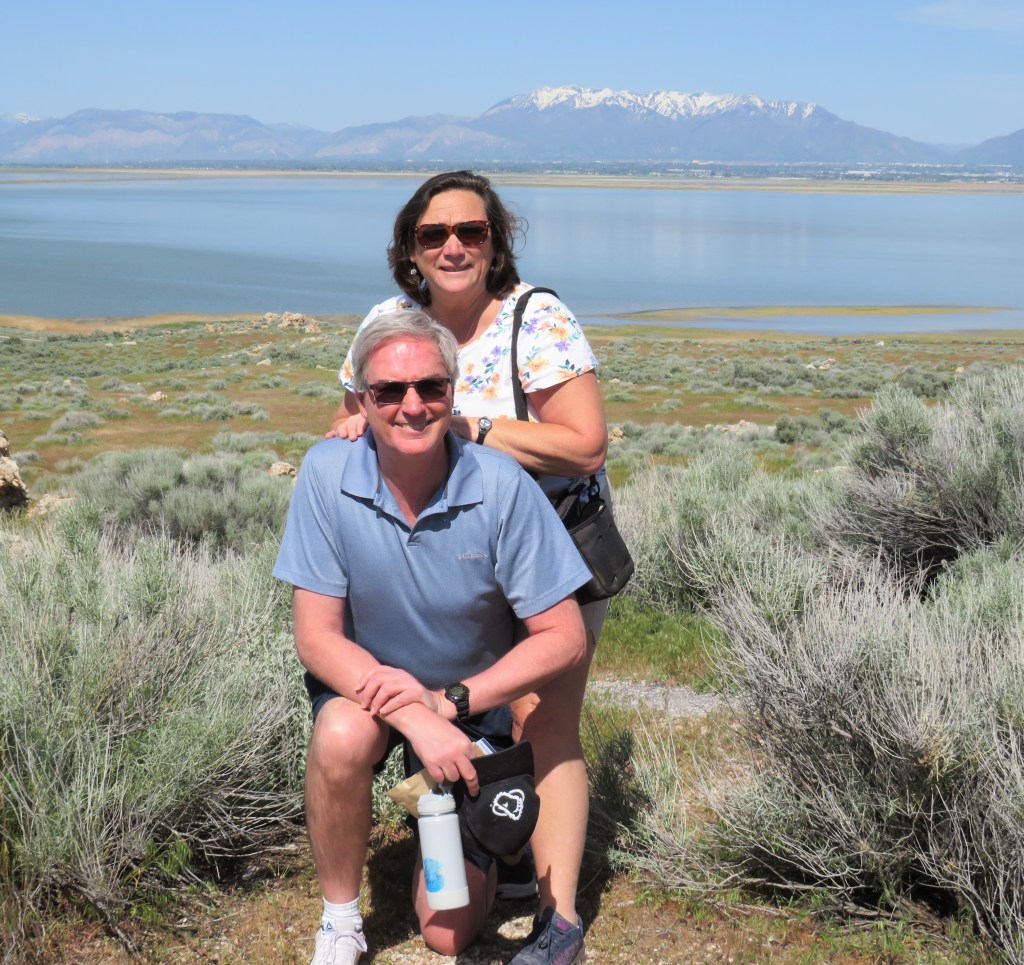
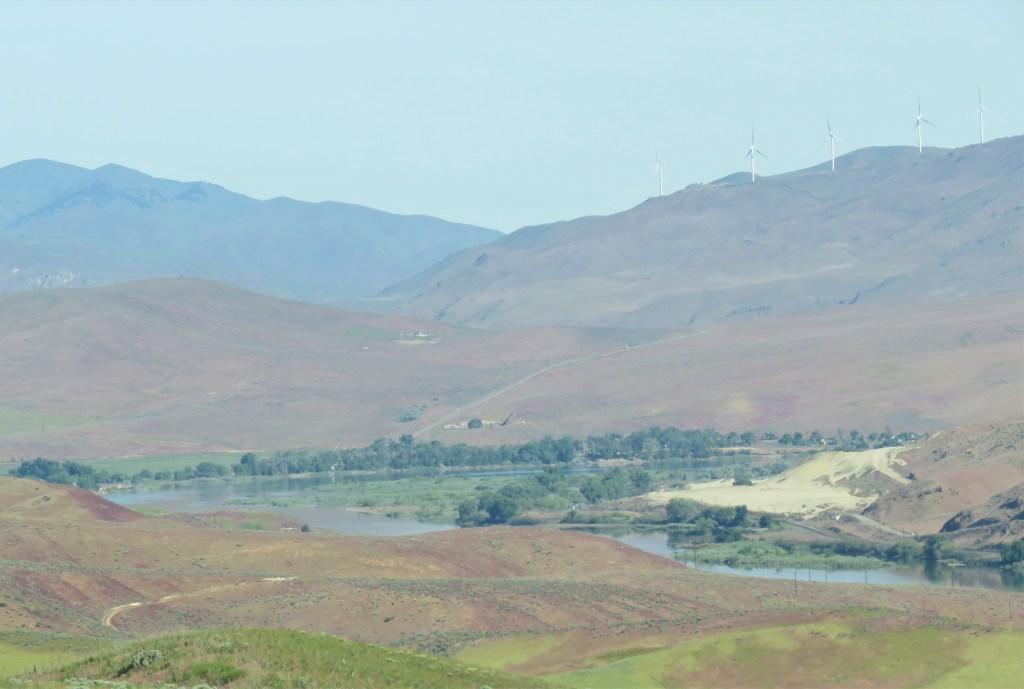
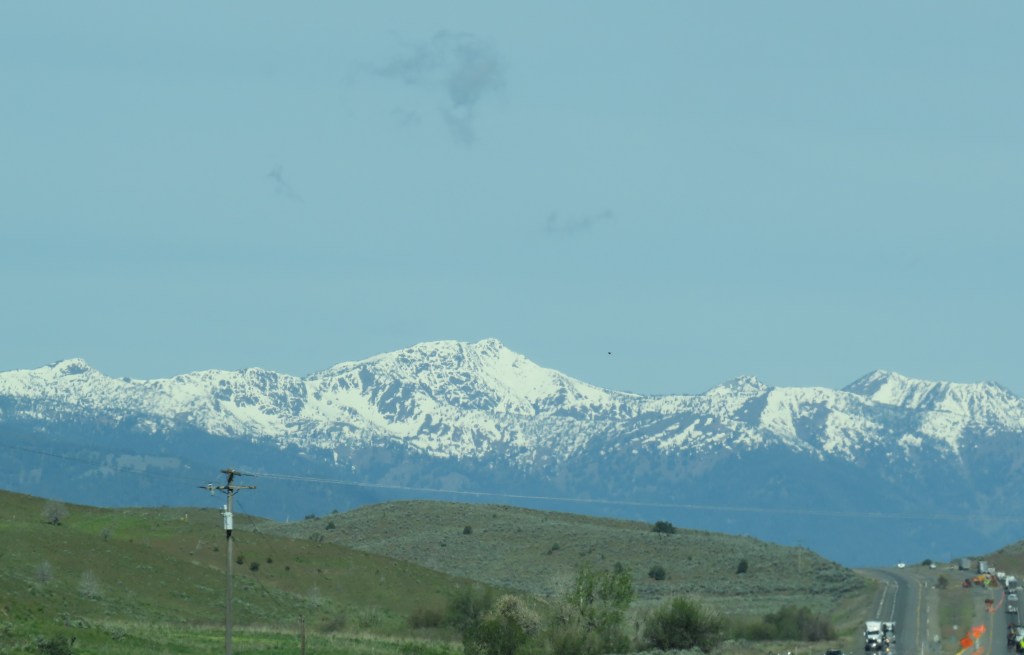
Scott and Traci only live about 20 minutes from the Oregon border. After leaving their place we crossed into Oregon and drove all the way up through Oregon, making just little stops along the way. We were headed towards Ellensburg, Washington, not far from the Canadian border. As you would expect, there was so much gorgeous scenery everywhere. Every place we went was different and beautiful in its own unique way.

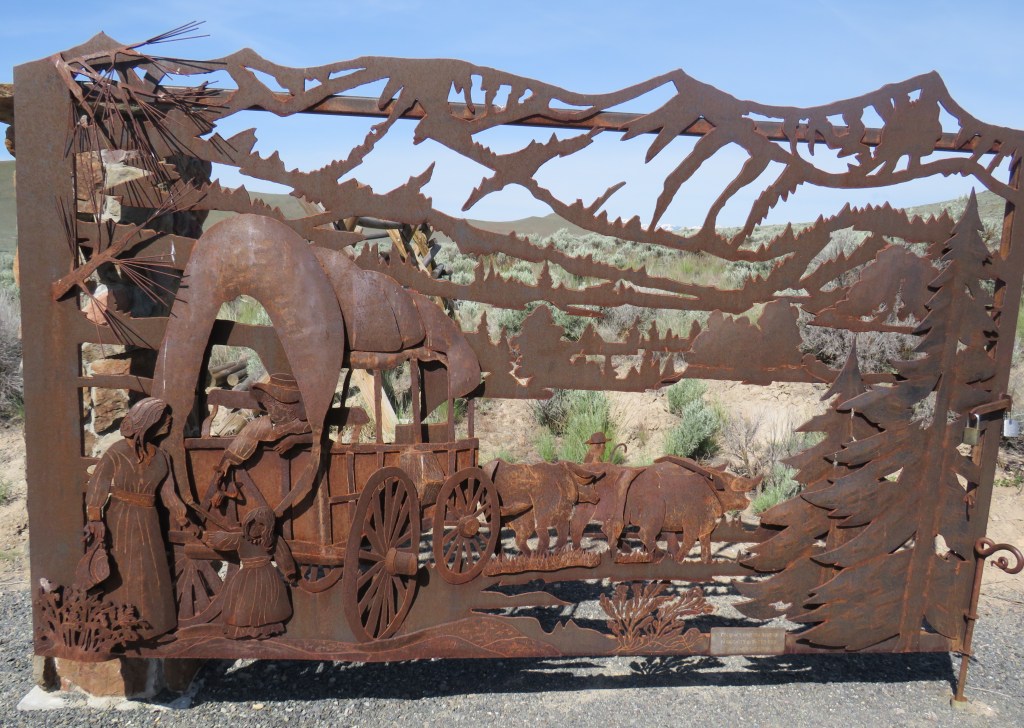
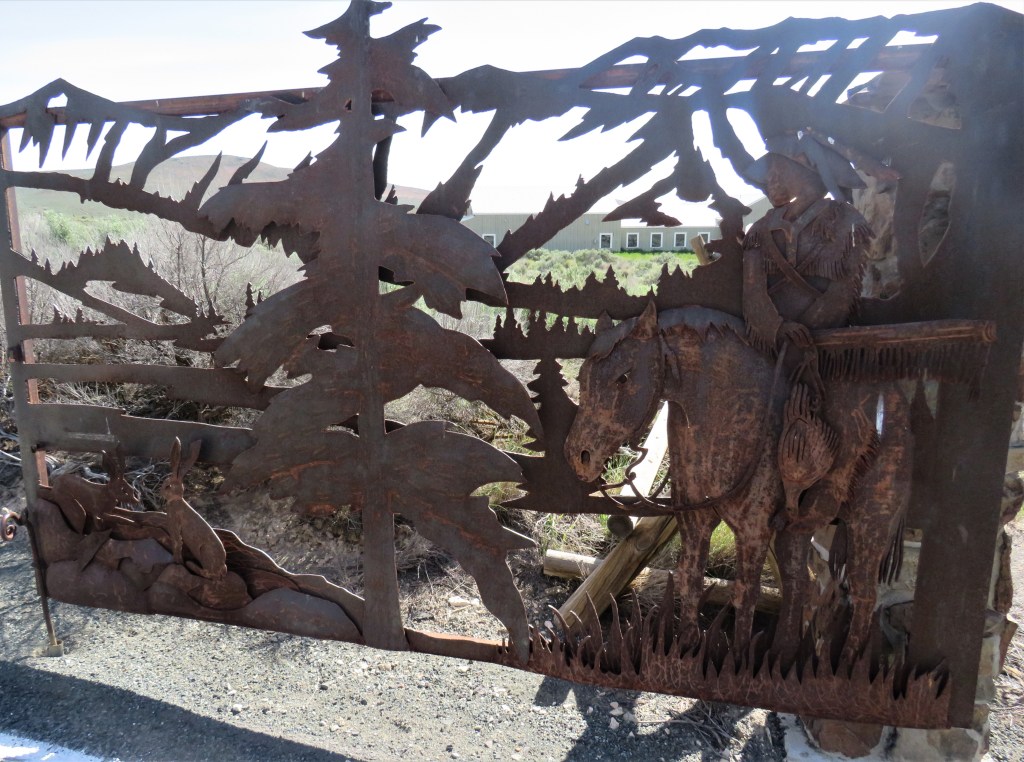
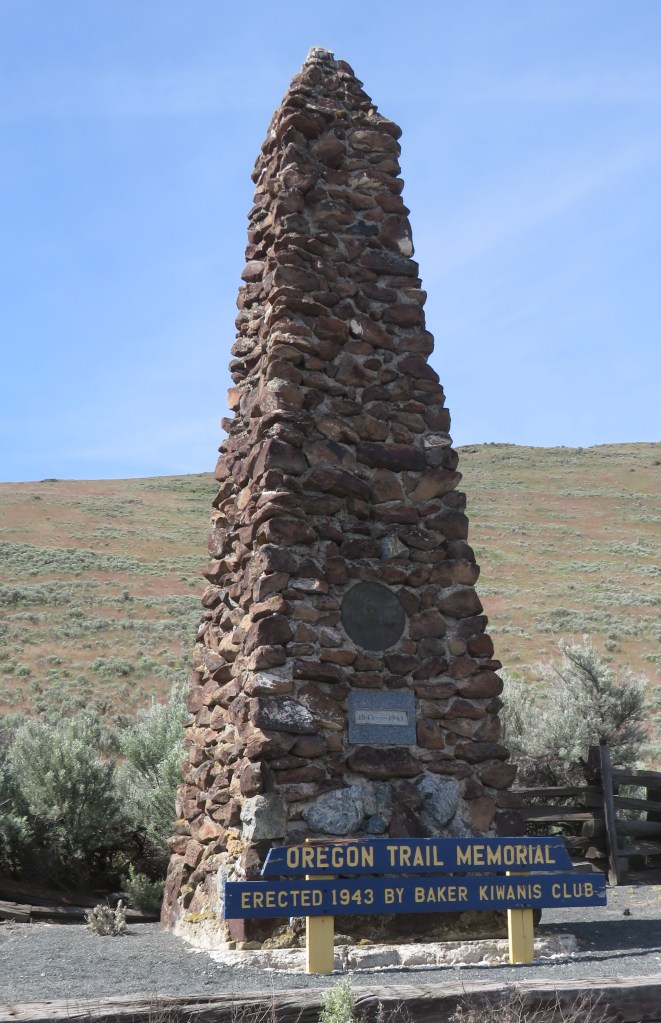
We didn’t have plans to stay the night in Oregon, but we did try to stop at the Oregon Trail Interpretive Center, only to find out it was closed that day. I’m sure it would have been very interesting and informative, but we’ll have to save that for another trip, another time.

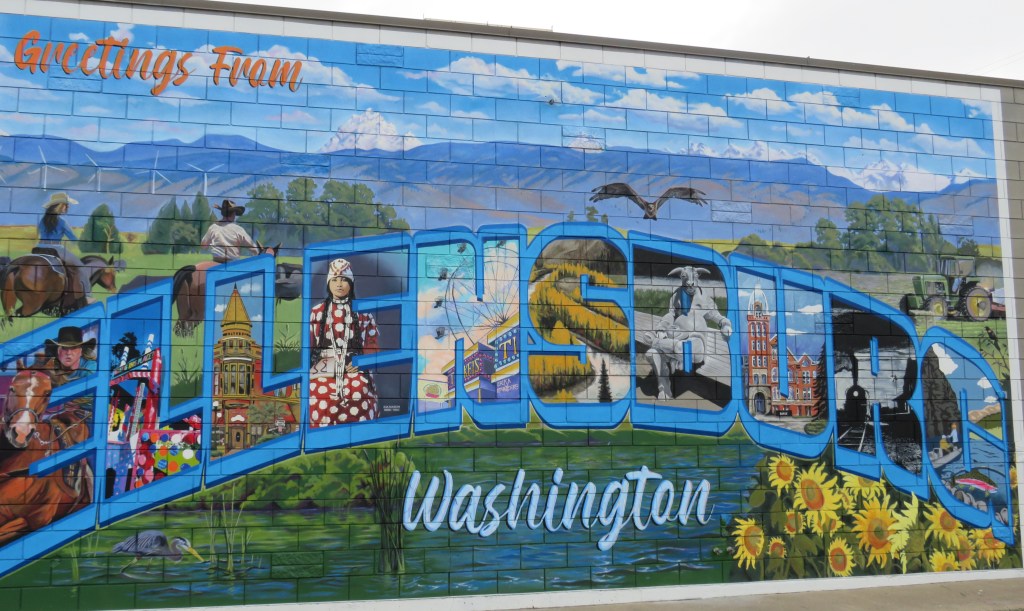
We continued on our journey, making our way up to Ellensburg, Washington, where we were stopping for the night. We had a lot of ground to cover, and people to see, so we were on a very tight schedule.
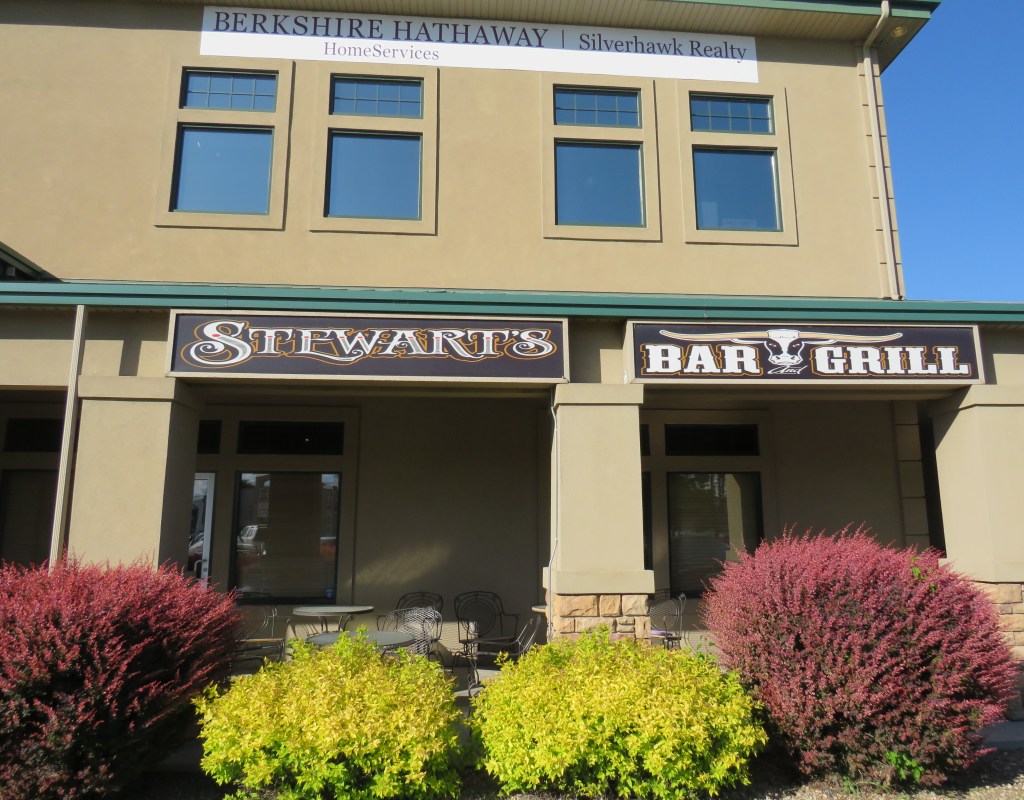
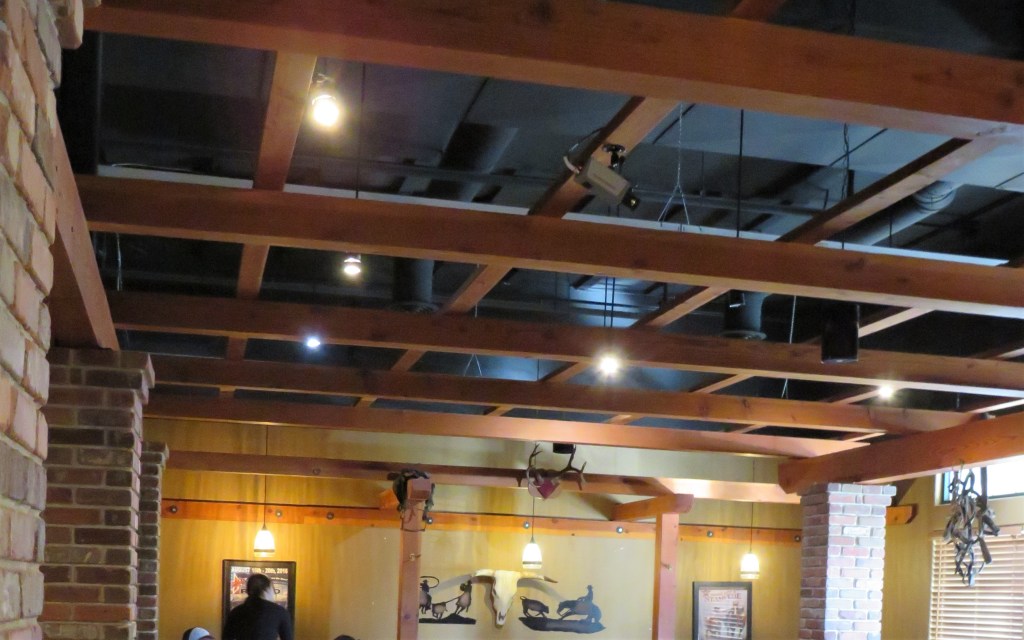
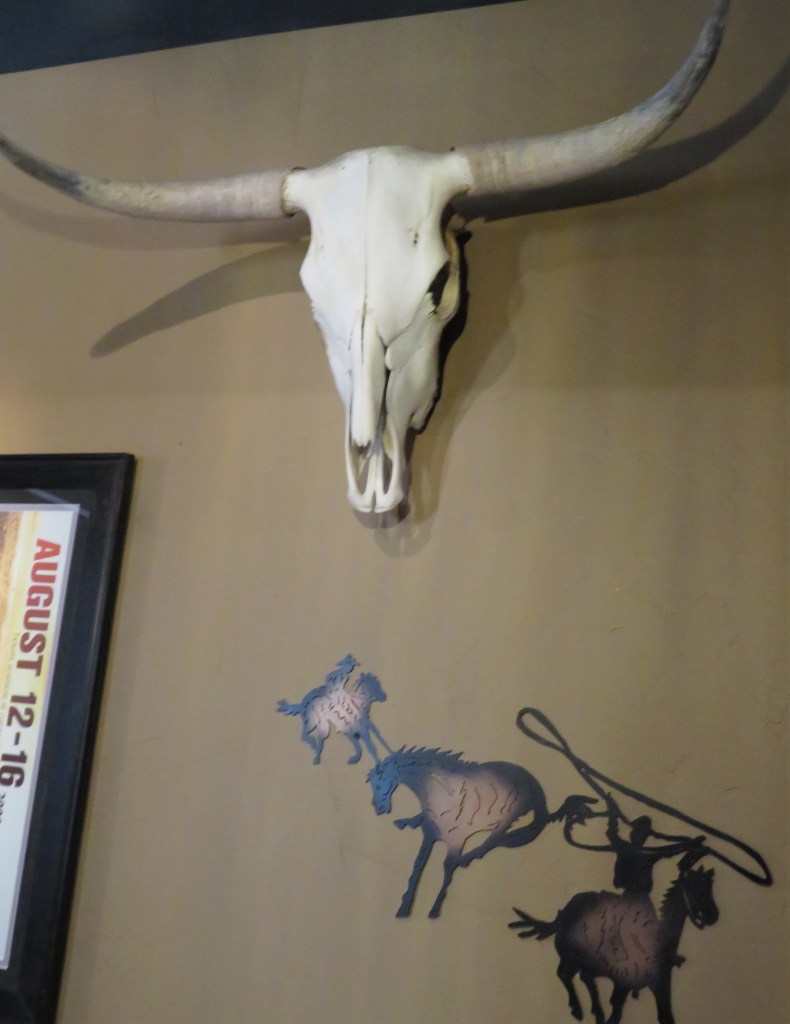
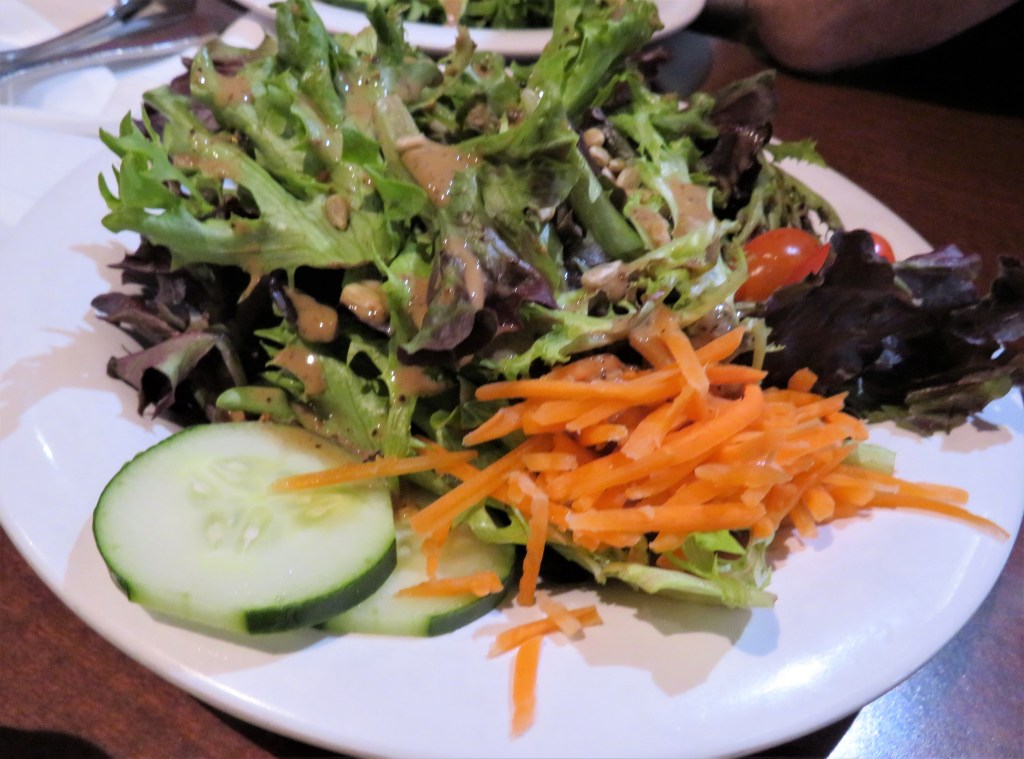
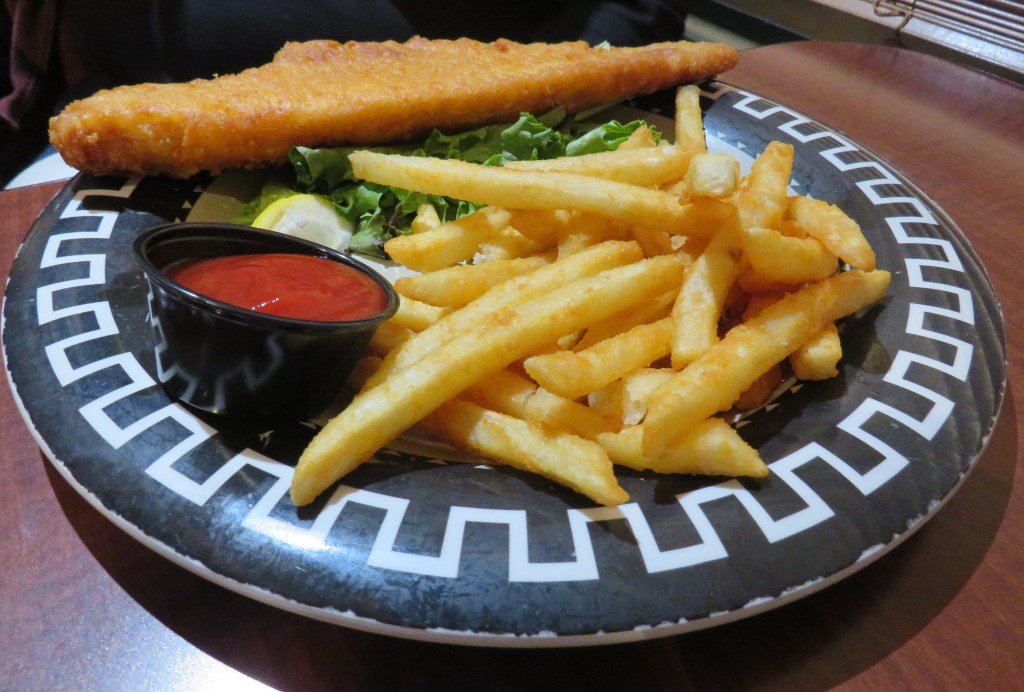
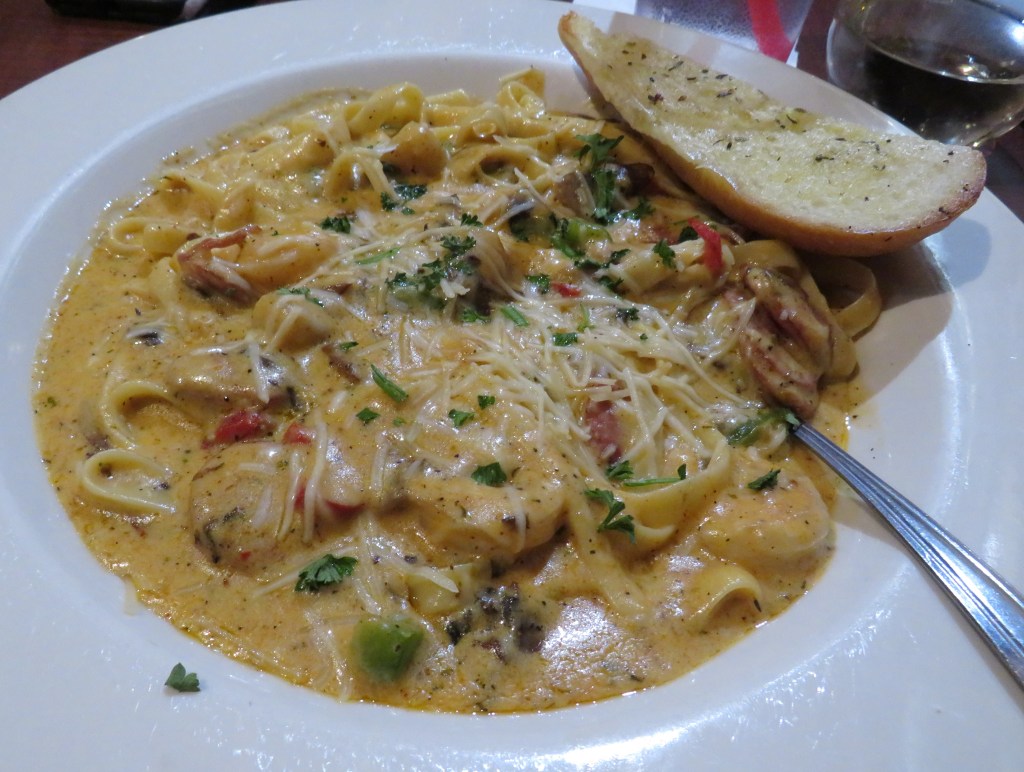
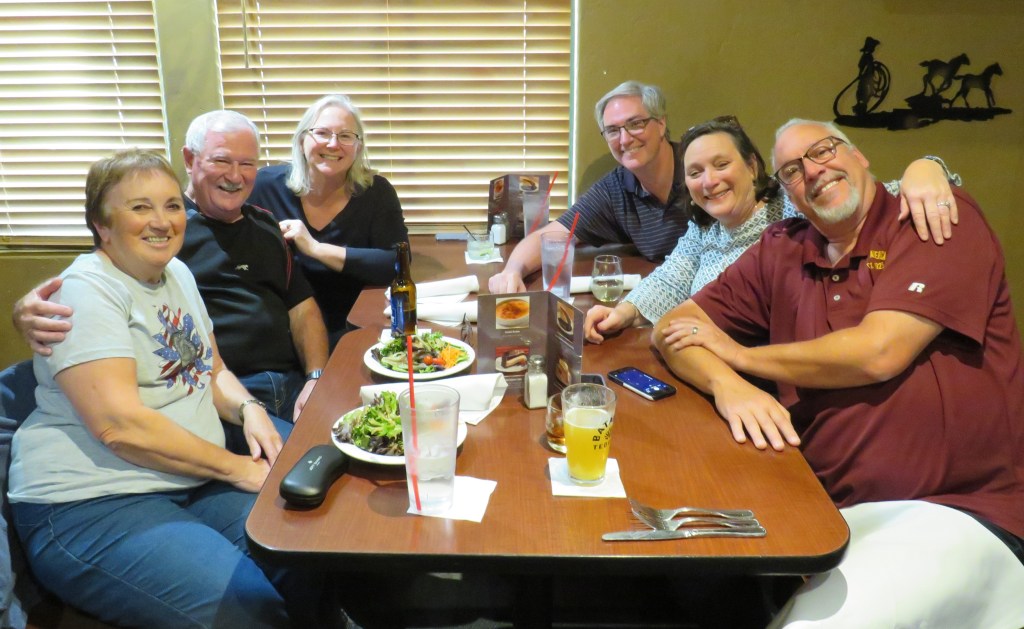
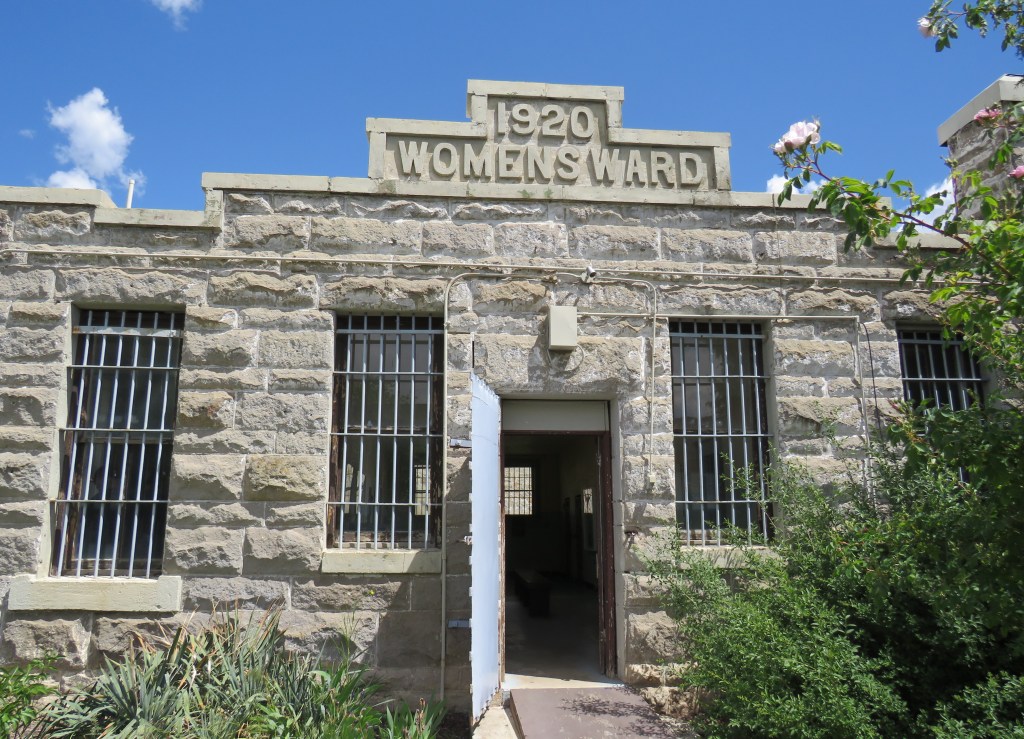
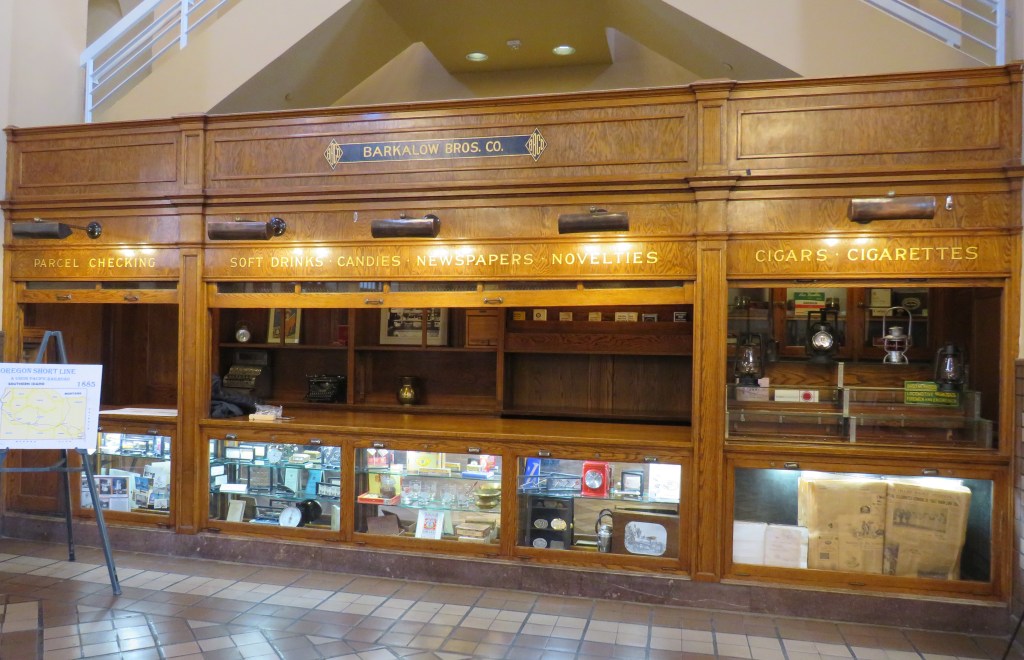
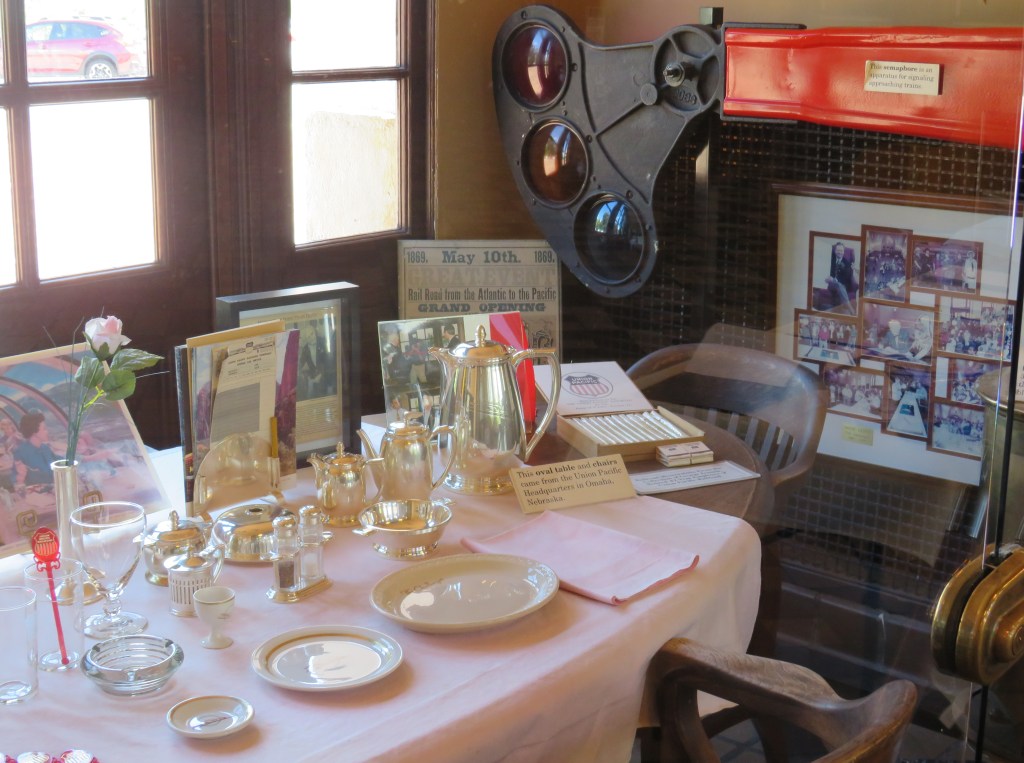
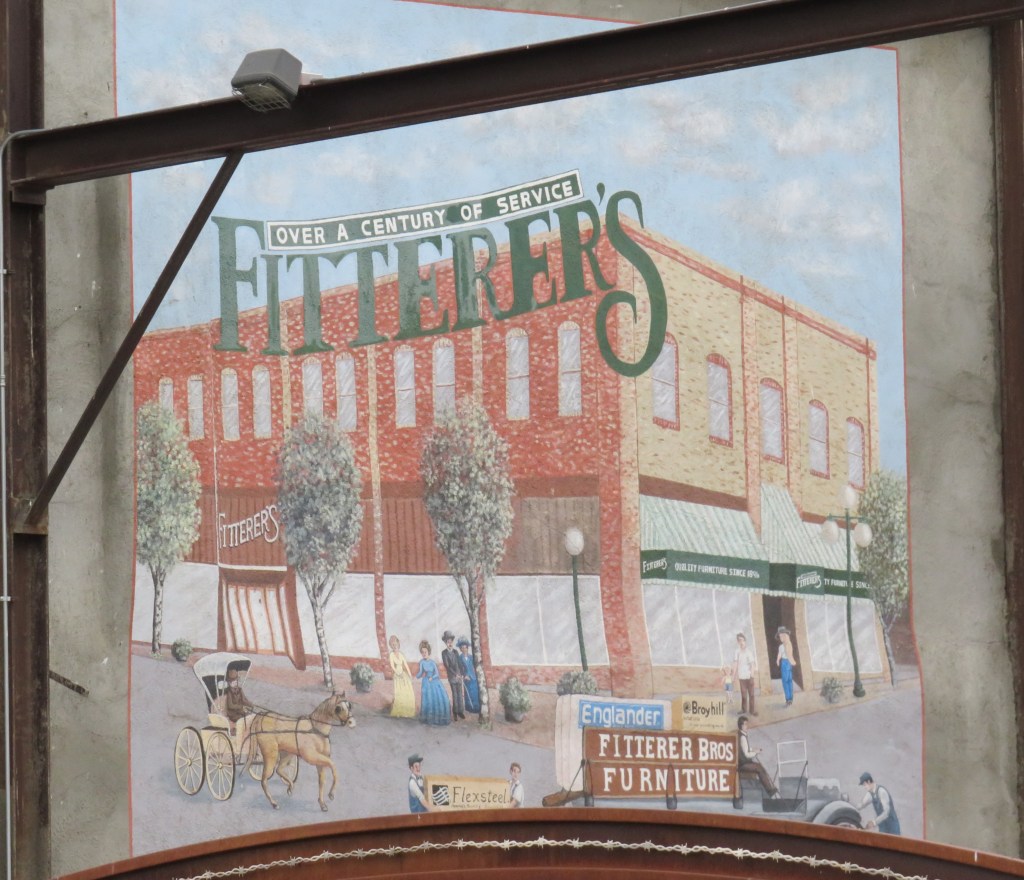
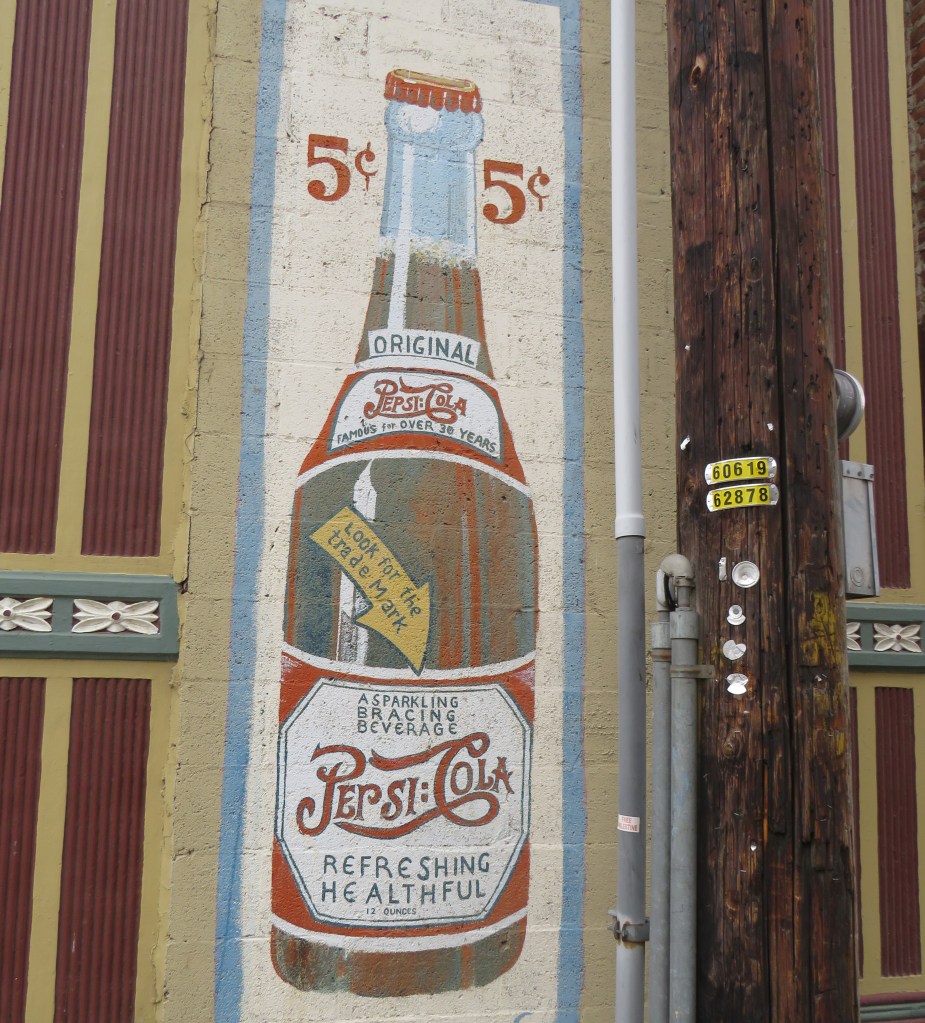
Ellensburg is a quaint little town that takes you back in time to the days of the Wild, Wild West. It is also a little town that is very proud of its history. We wondered around through town, taking in the sights before settling down for dinner and for the night.
This was a door handle to one of the buildings.


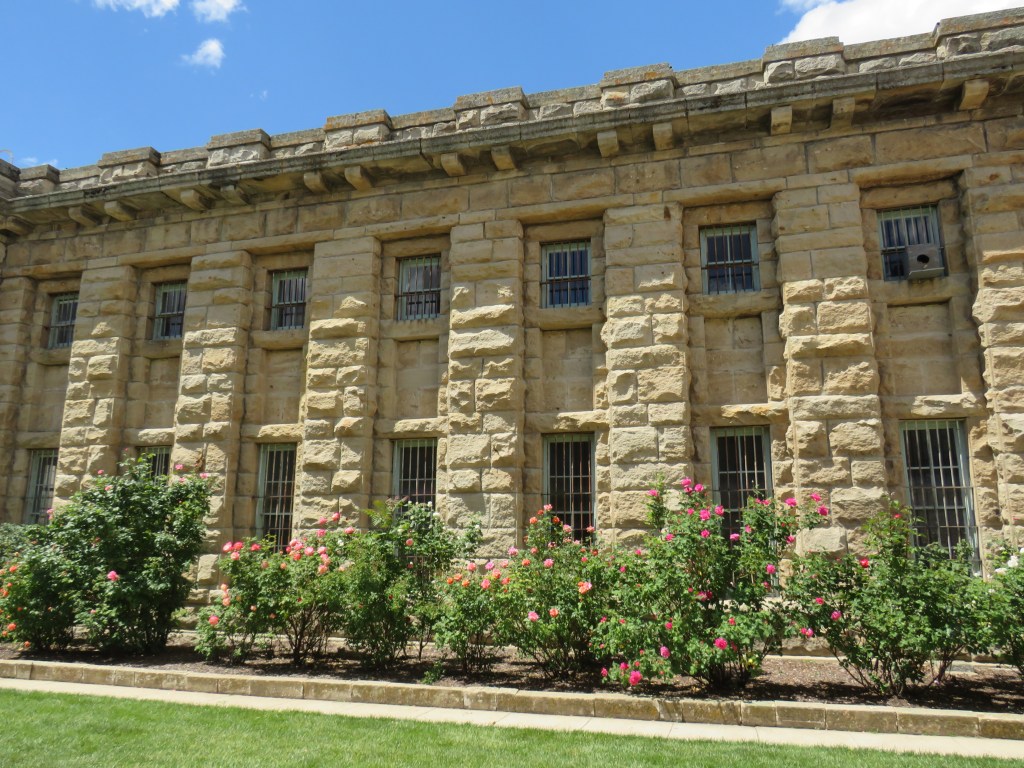
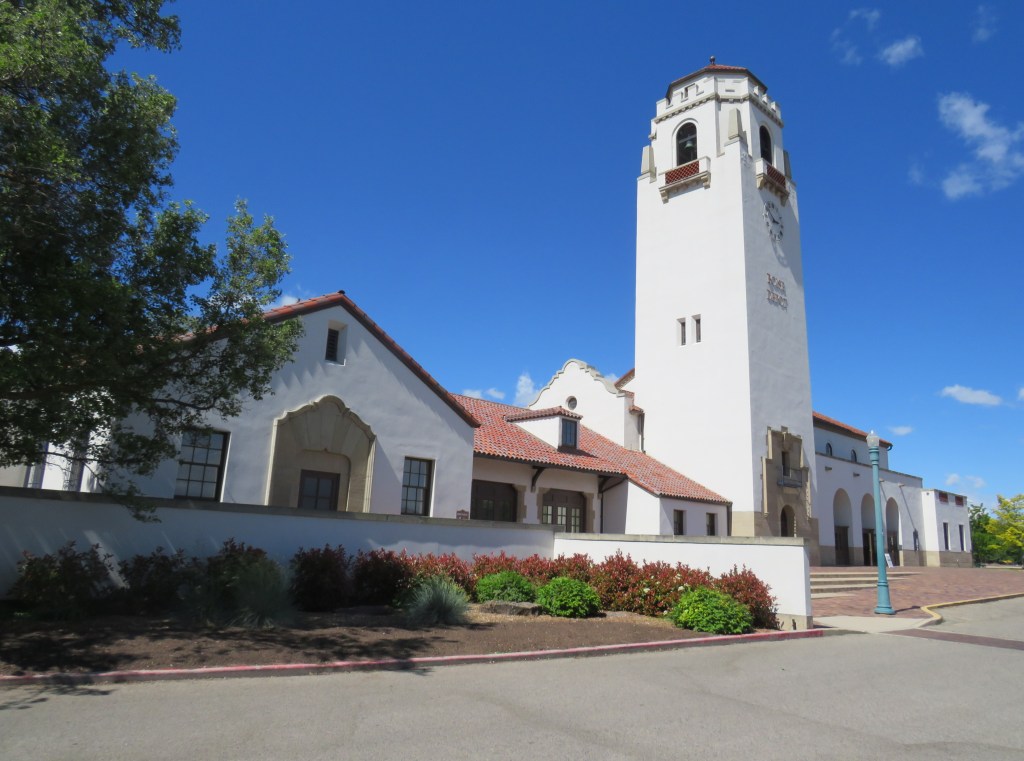
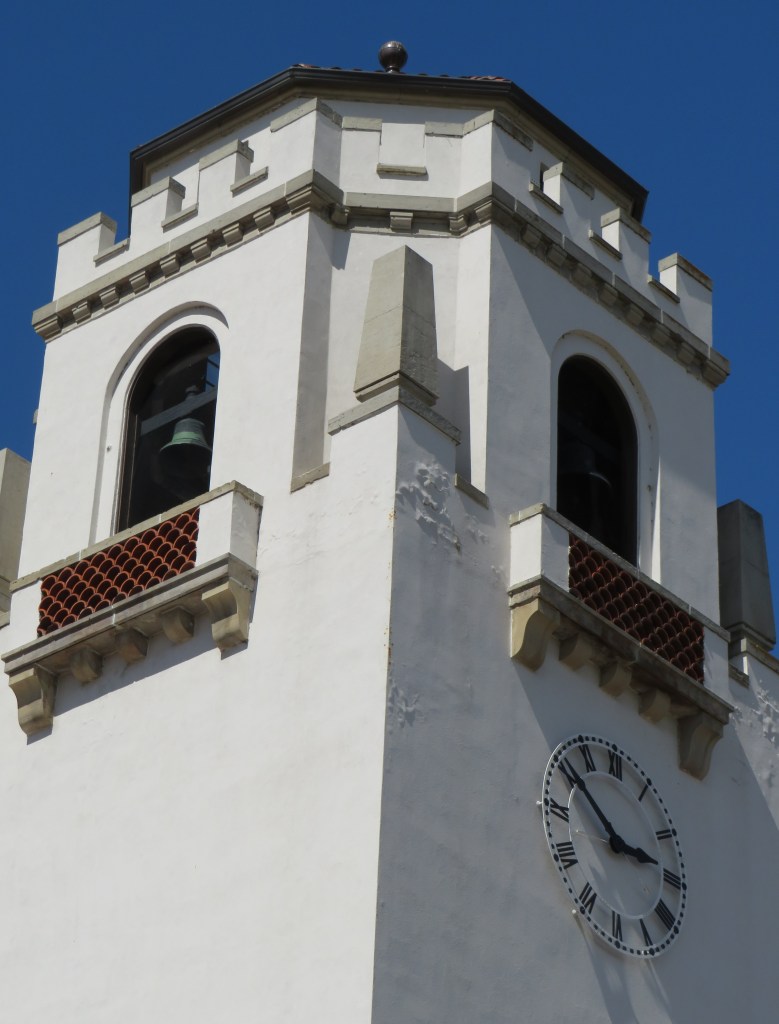
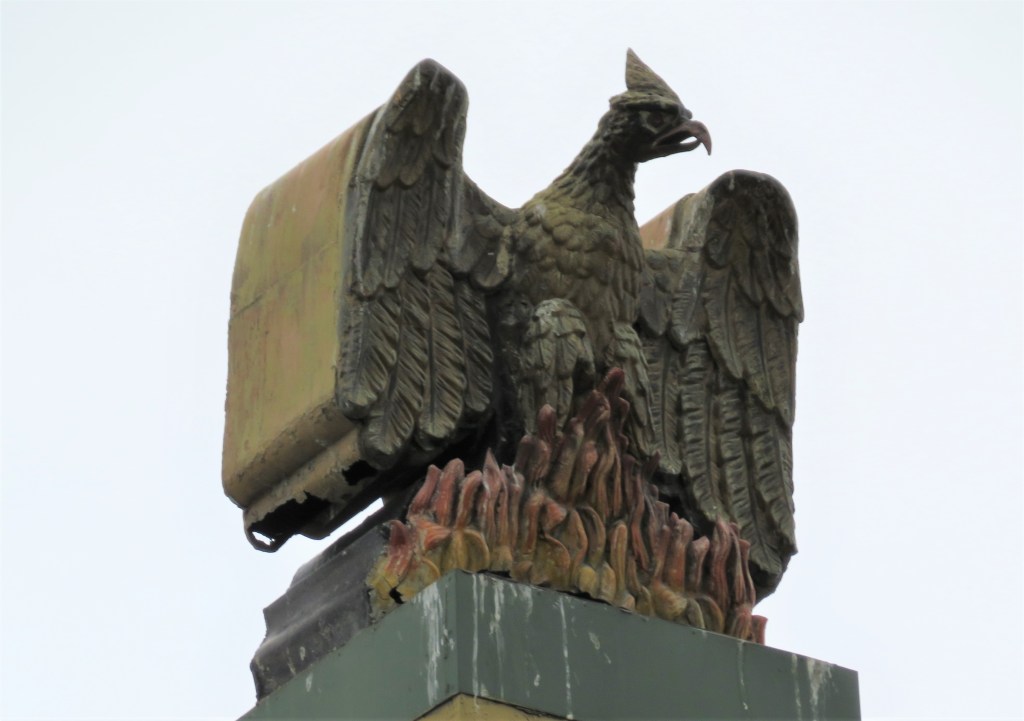
This beautiful old building was constructed in 1889. I think of it as the Phoenix Building.

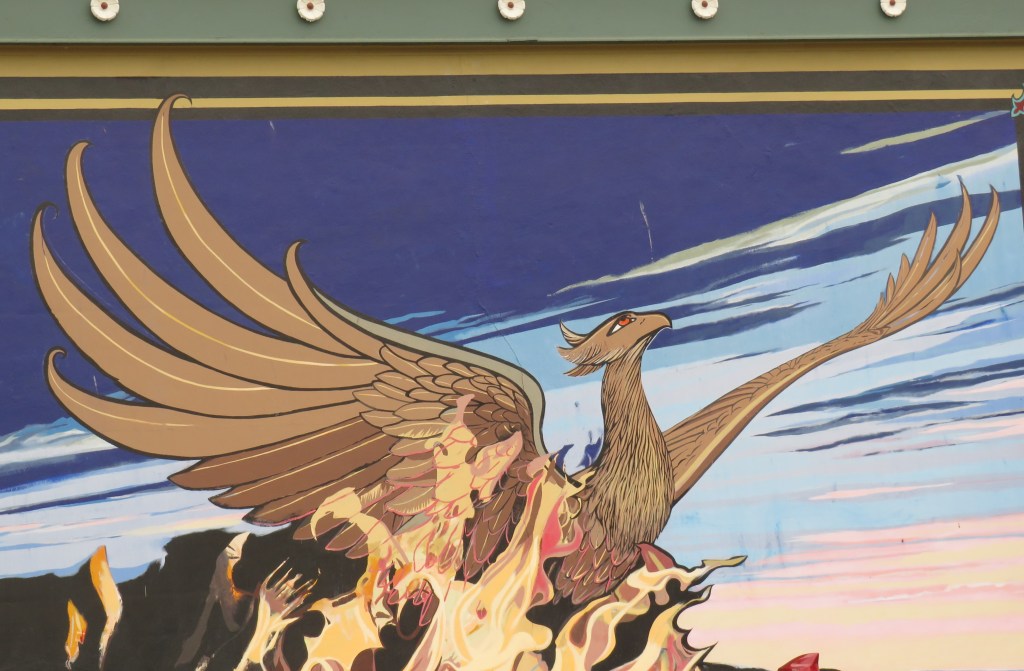
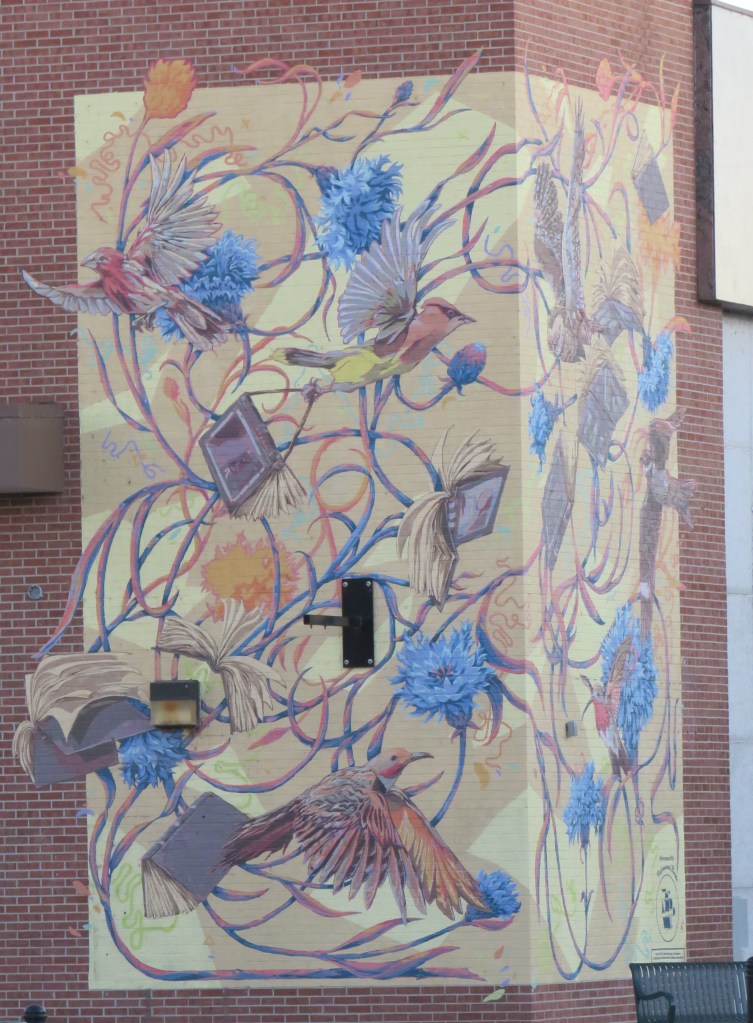
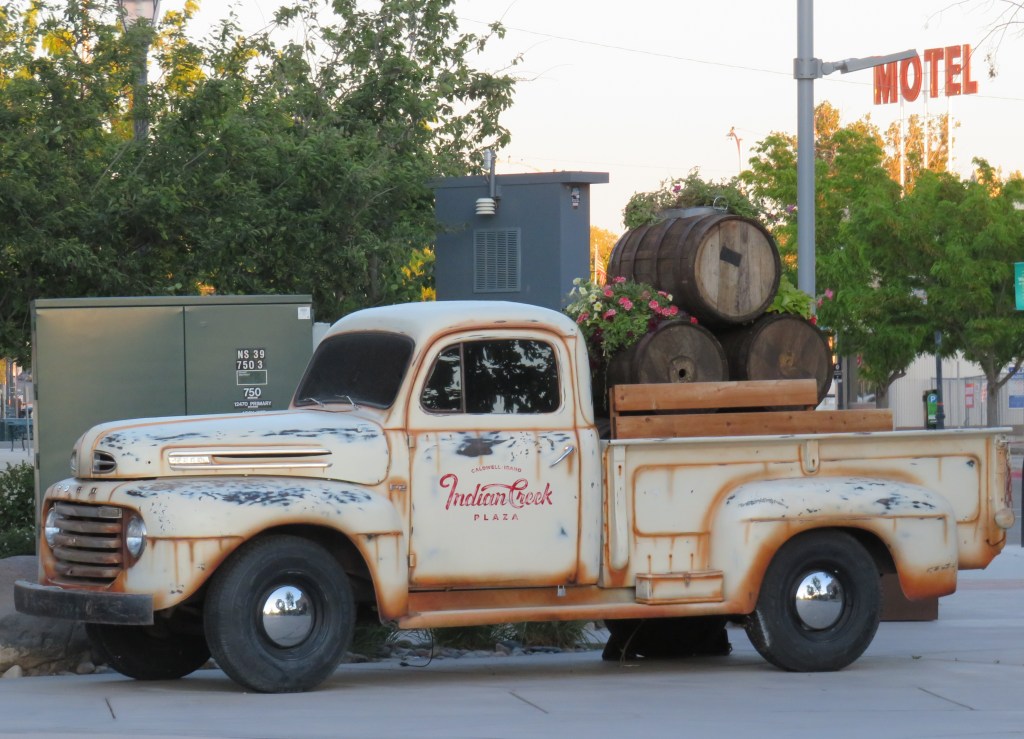
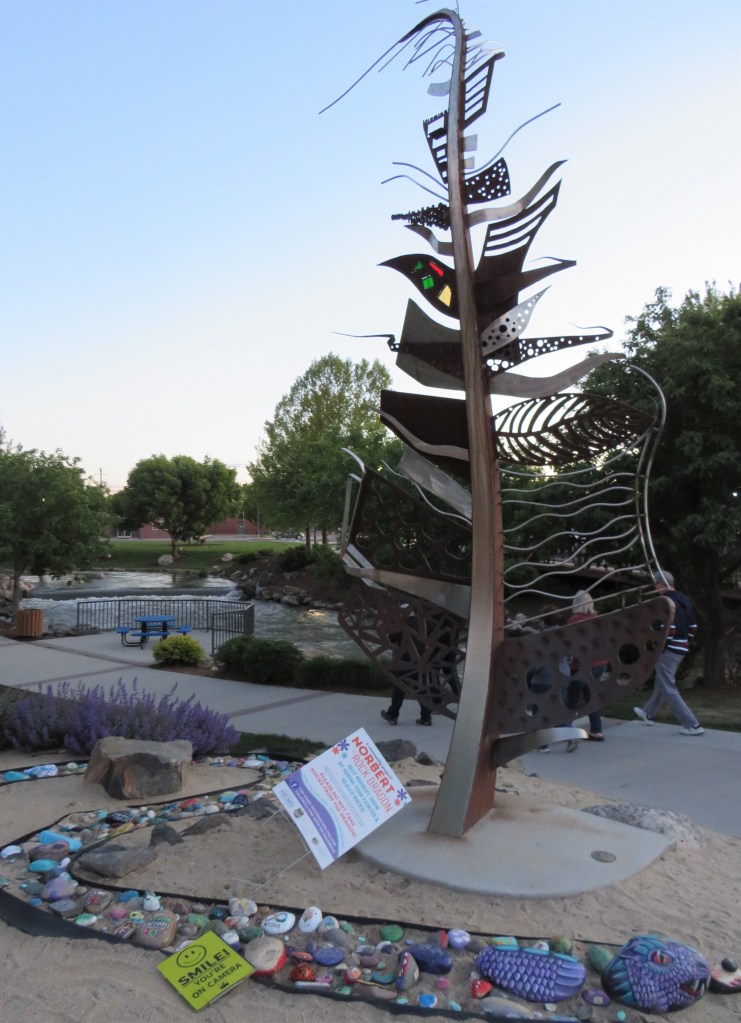
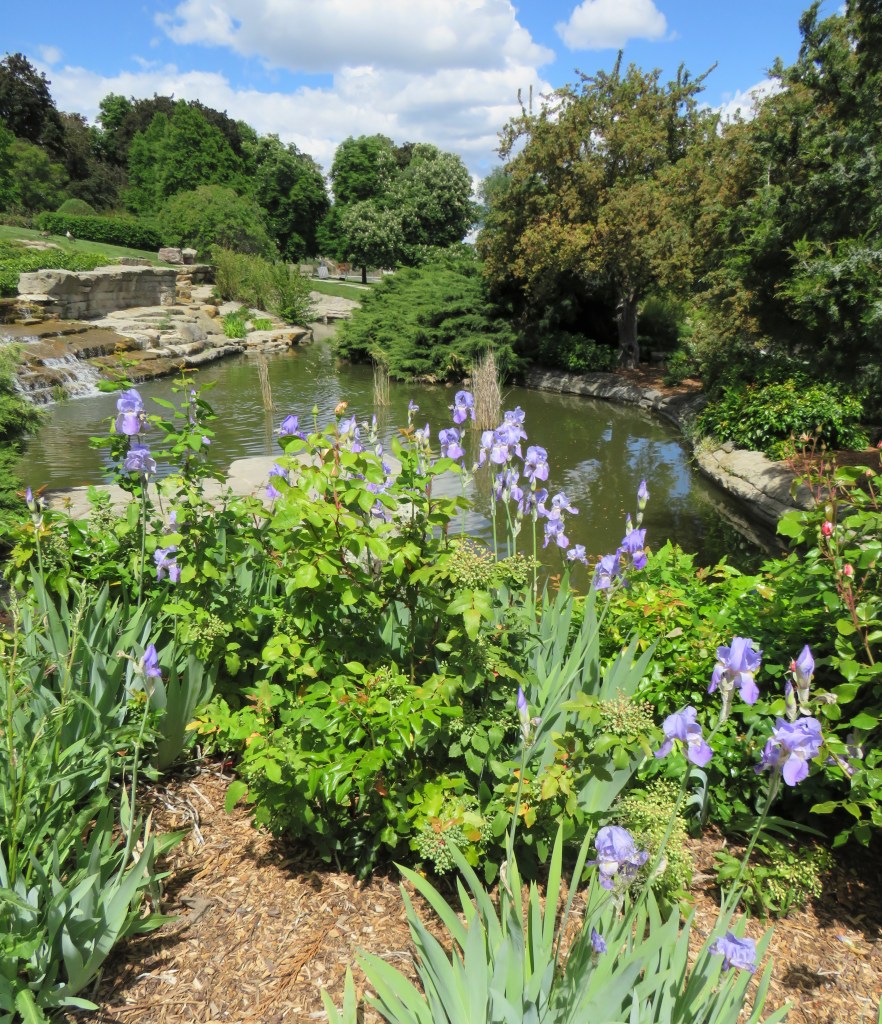
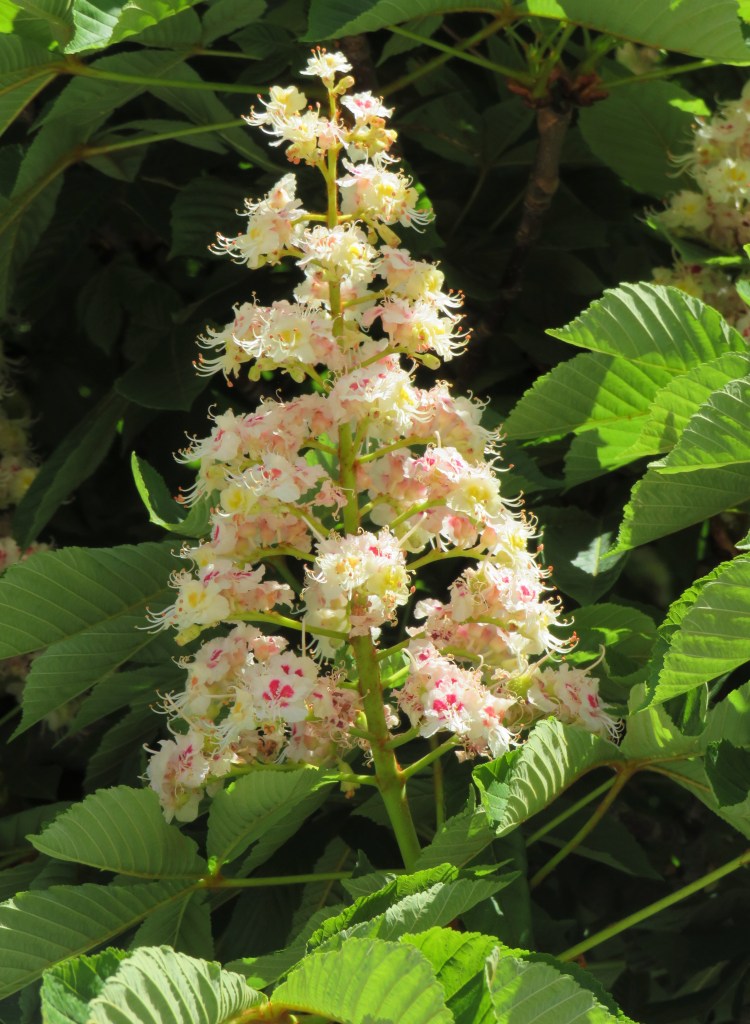
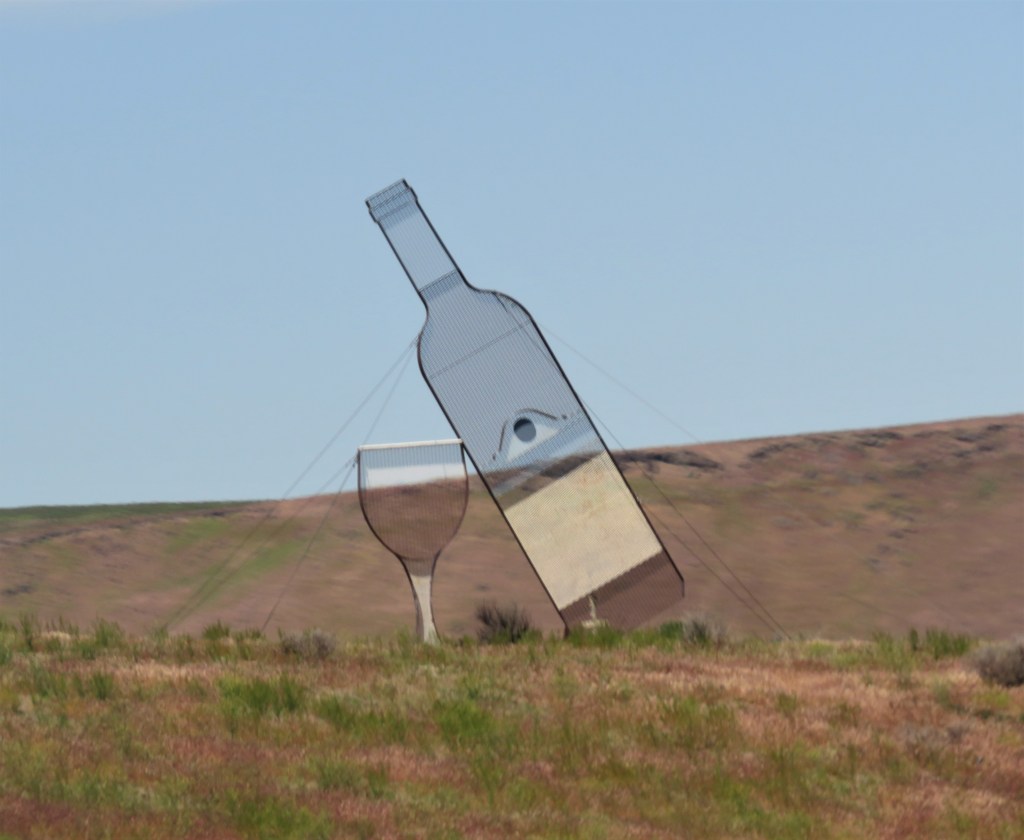
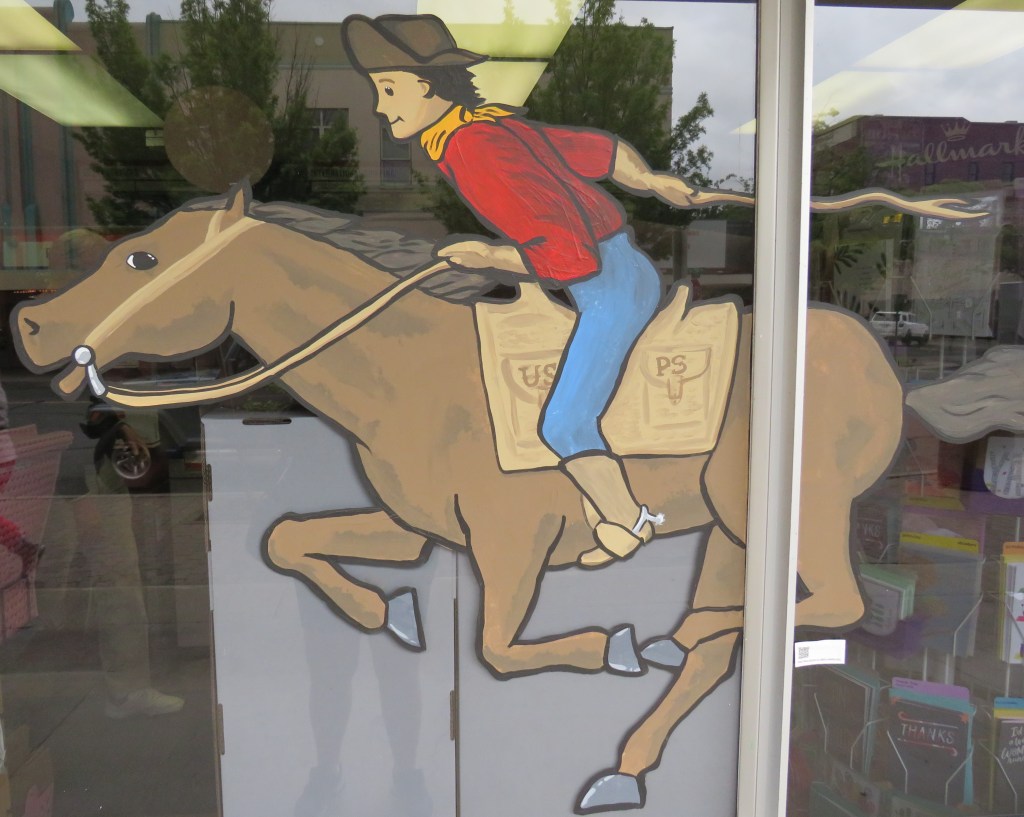
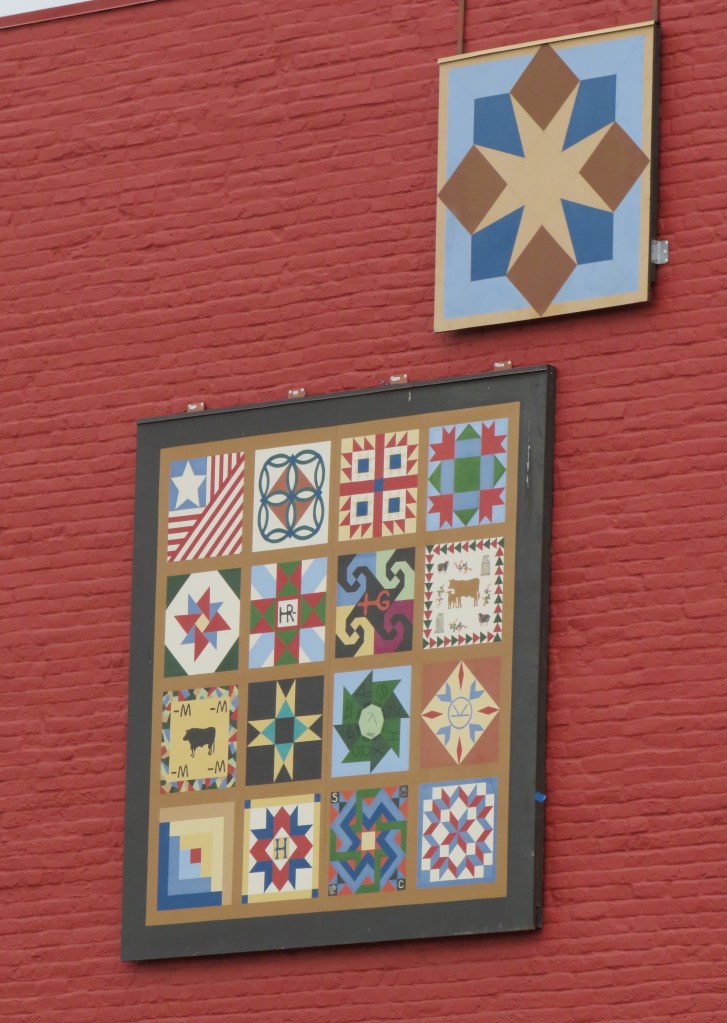
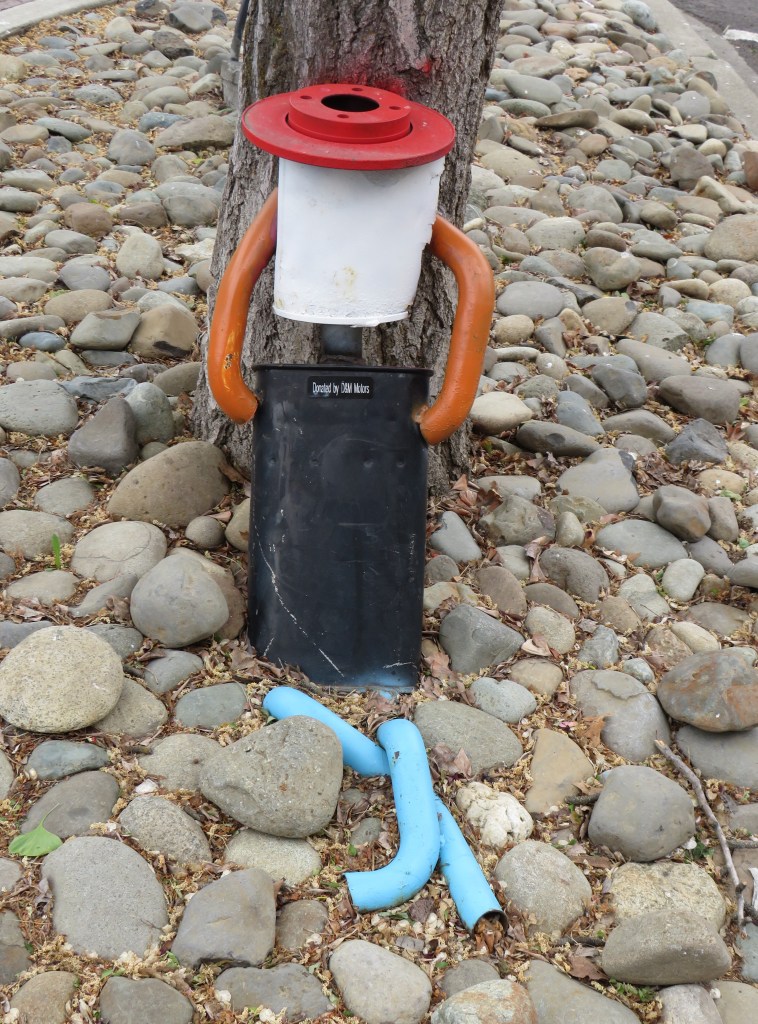
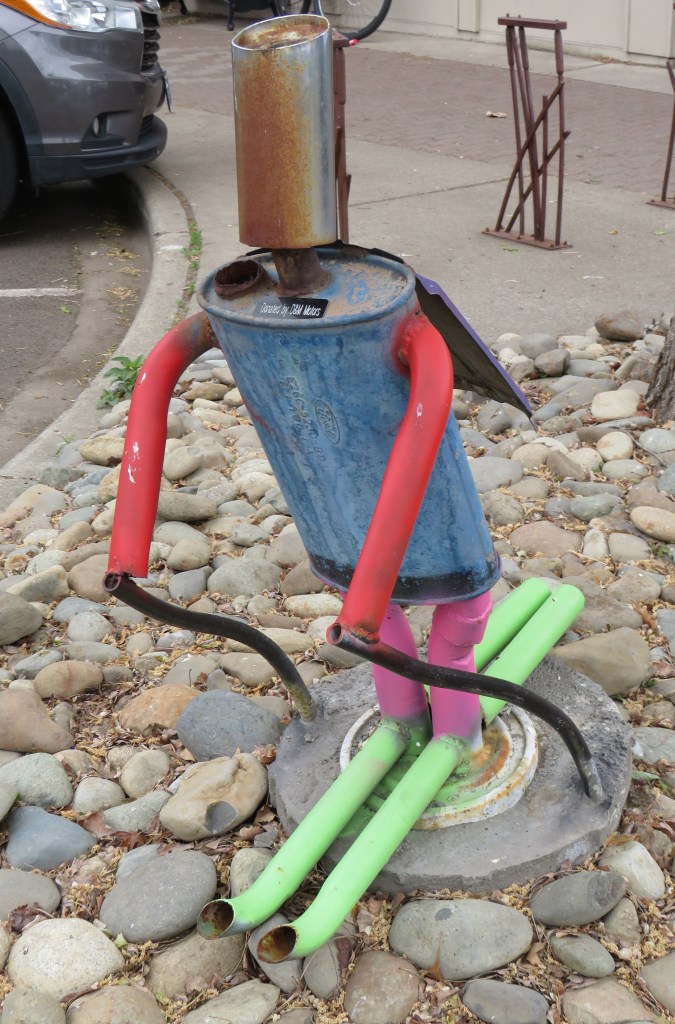
Not all in Ellensburg is old though. There were modern displays and so many gorgeous flowers lining the streets as well. With imagination, anything can be turned into creative pieces of art.


Our time in Oregon was very short. We were only passing through. We didn’t spend much time in Washington either, though both were very beautiful indeed. Larry and I have seen both Washington and Oregon in more depth at other times, but there is always so much more to see and explore. That means we will have to do it again later. 🙂

There is beauty everywhere, all around us, in so many different forms. We just need to look for it, and we will see it everywhere. Have a great day and make everyday great. Stay safe and stay well. ‘Til next time.